
In this post I am going to describe how you can make an led edge lit mirror. I have used an XMEN theme because this was made for my daughter who is an XMEN film fan but the design can be anything you wish.
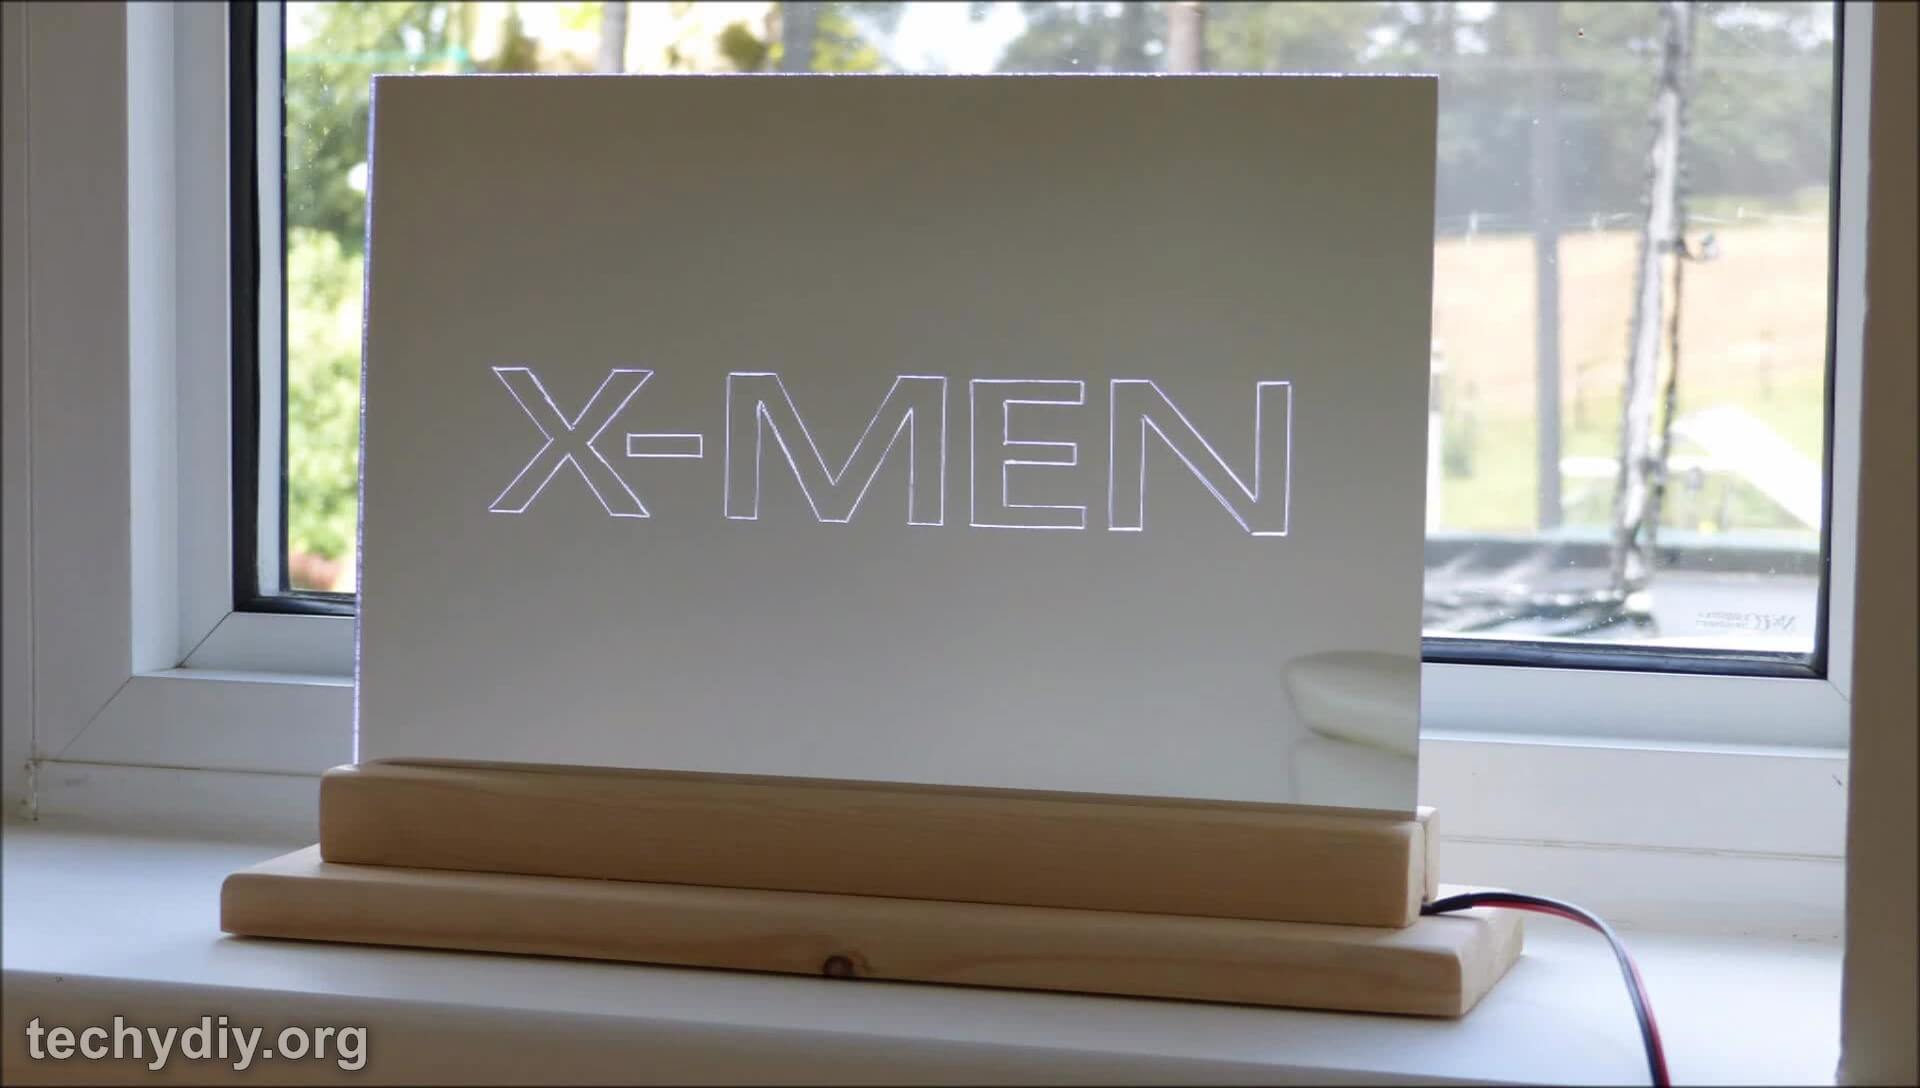


The sign is engraved on an acrylic mirror sheet. I have used an A4 3mm sized sheet which is common in Europe but in the US 8″ x 12″ x 1/8″ is a similar size.
The tools I have used to make the sign are relatively simple, if you have a cnc router or laser etching device then obviously you are going to use that but most people don’t, so I have used a Dremel 290 engraving tool instead. Another option is to use a Demel drill or other rotary tool and an engraving bit. The Dremel engraver is a bit easier to use than a rotary tool as it has a reciprocating action which makes engraving easier.
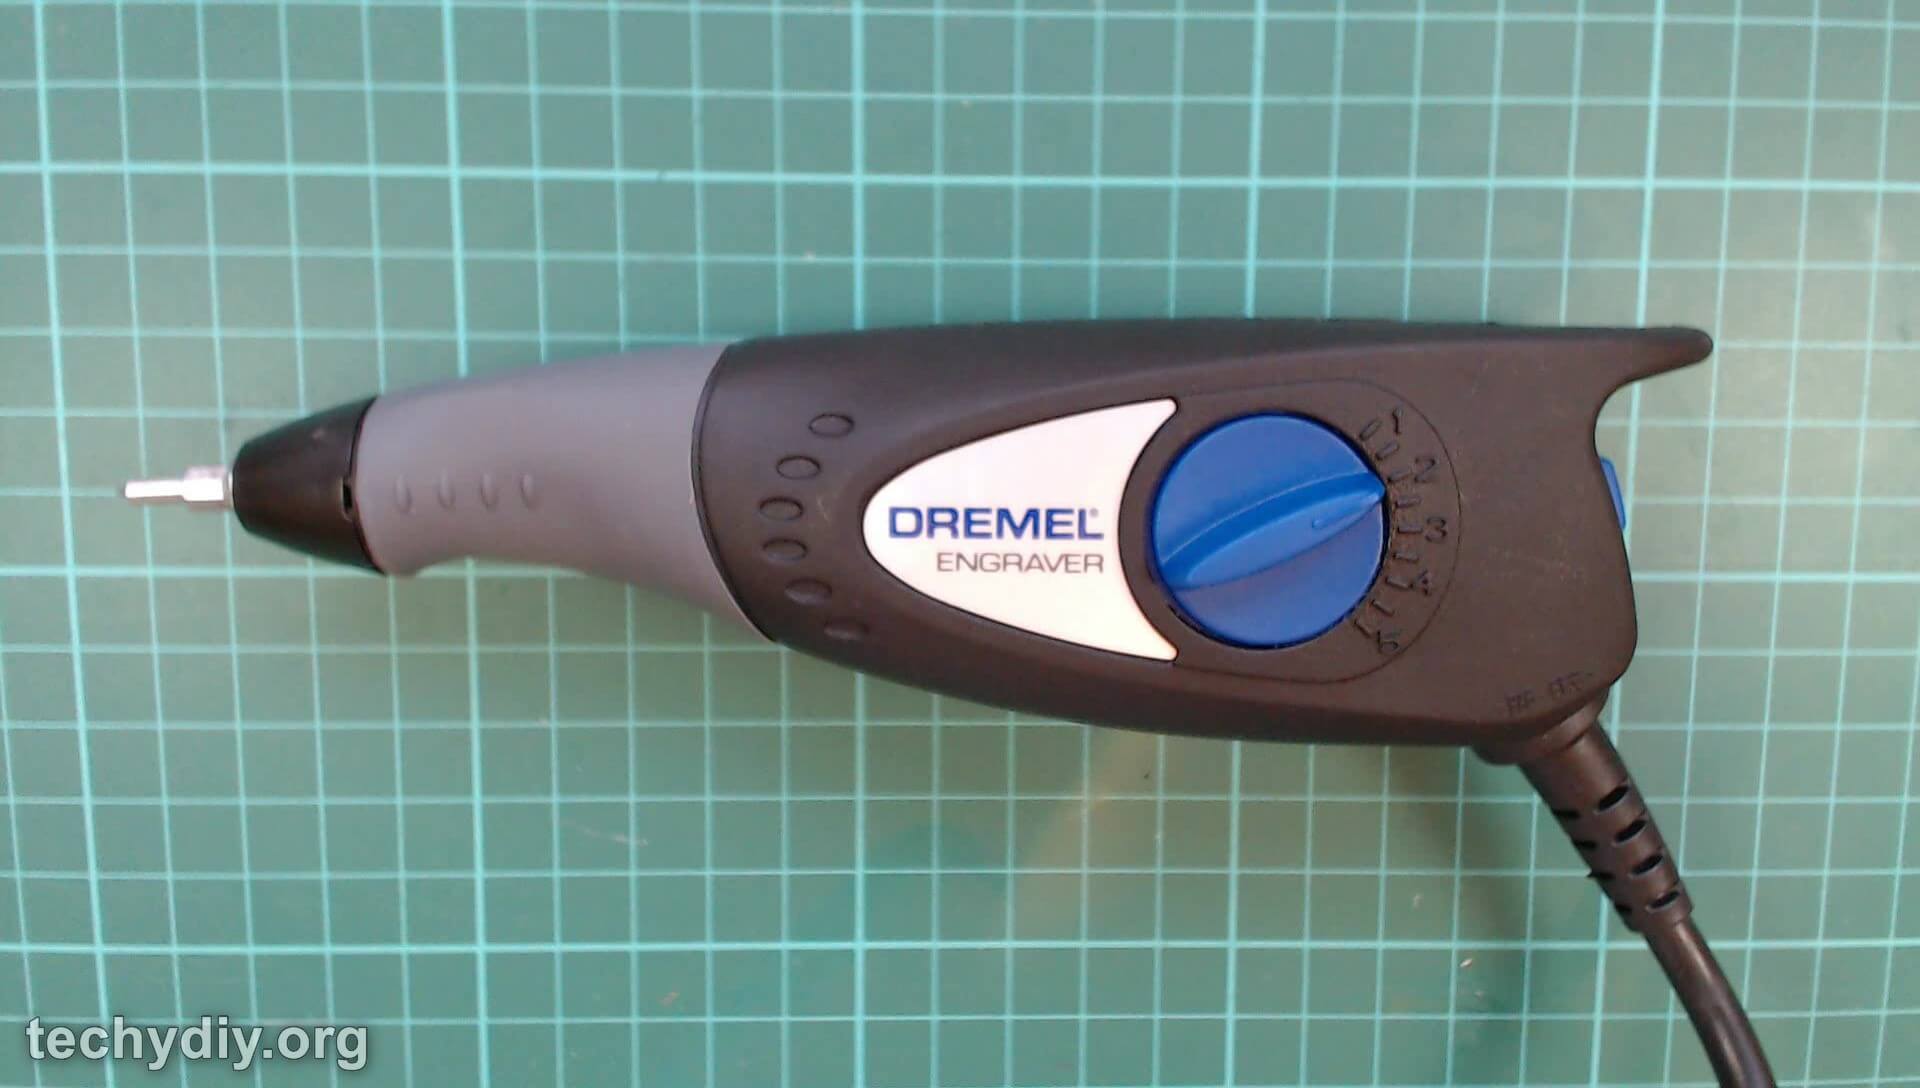
Dremel Engraver
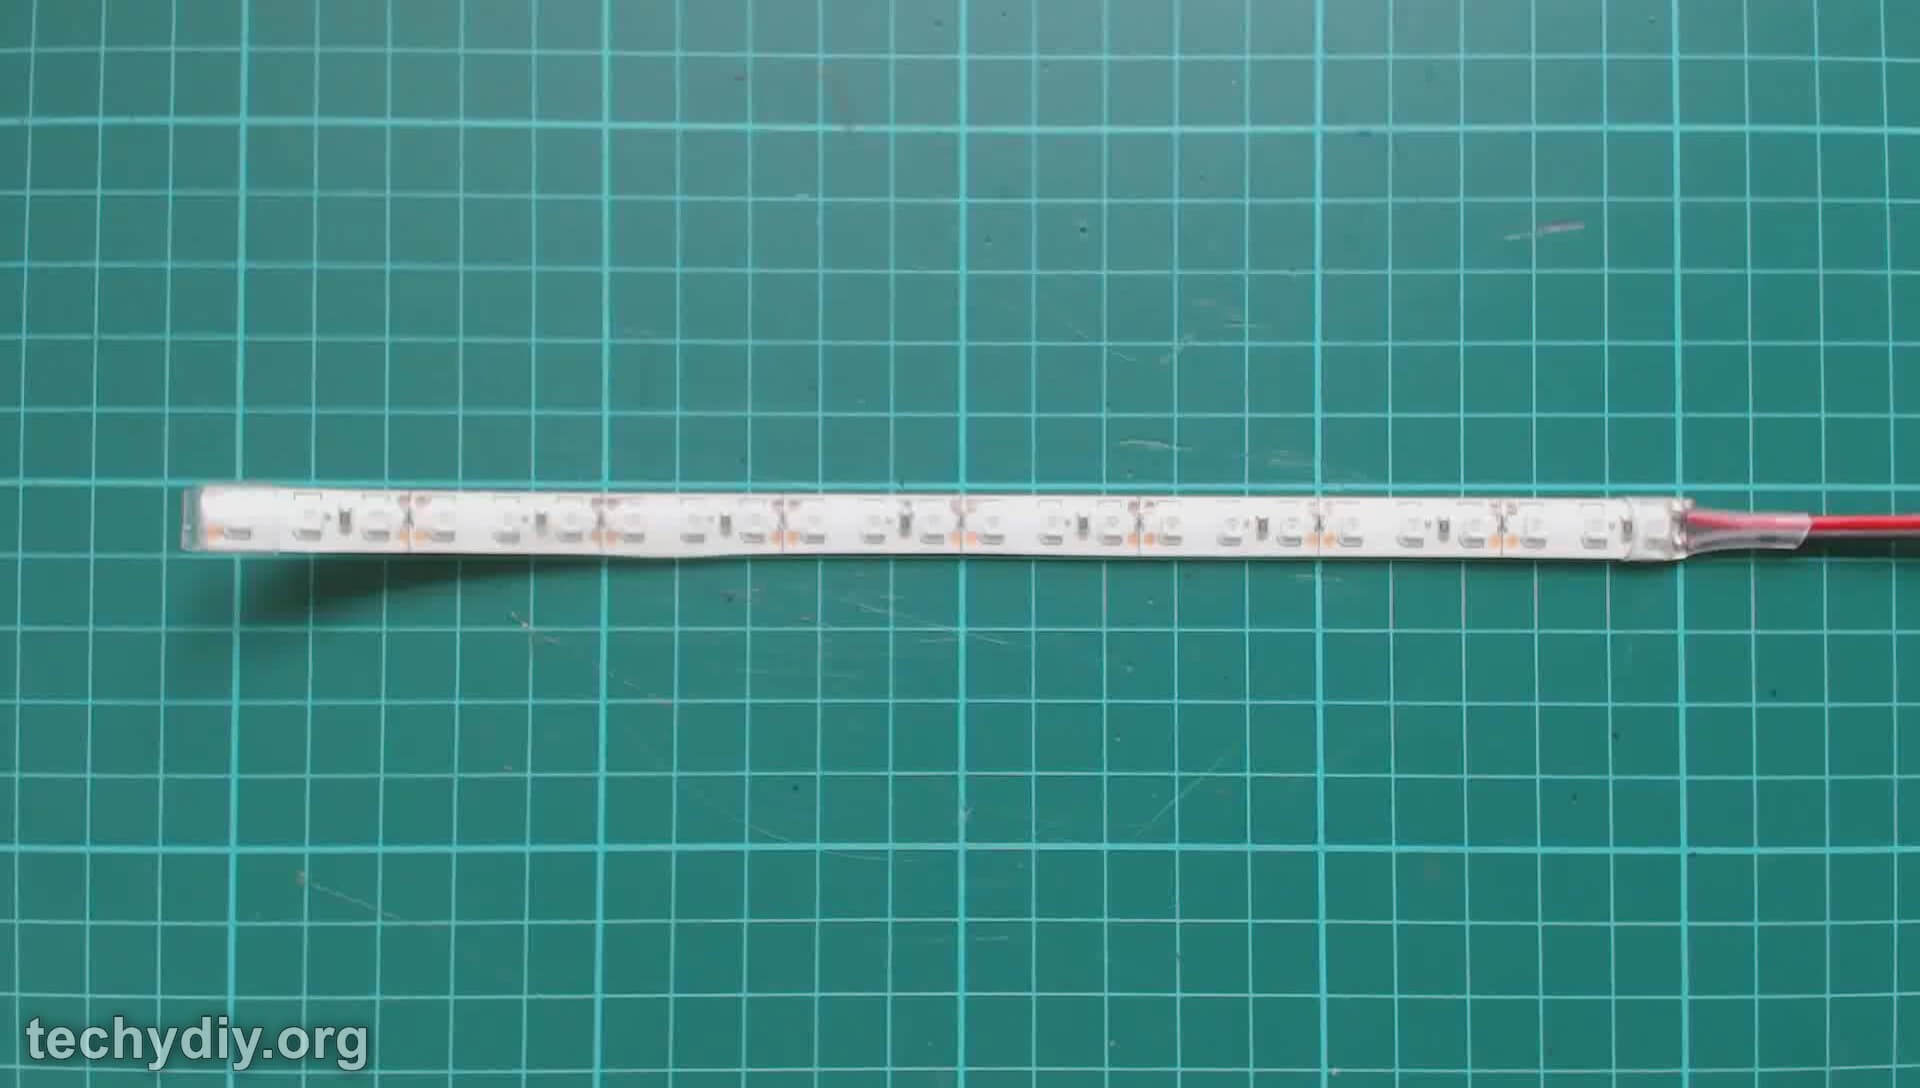
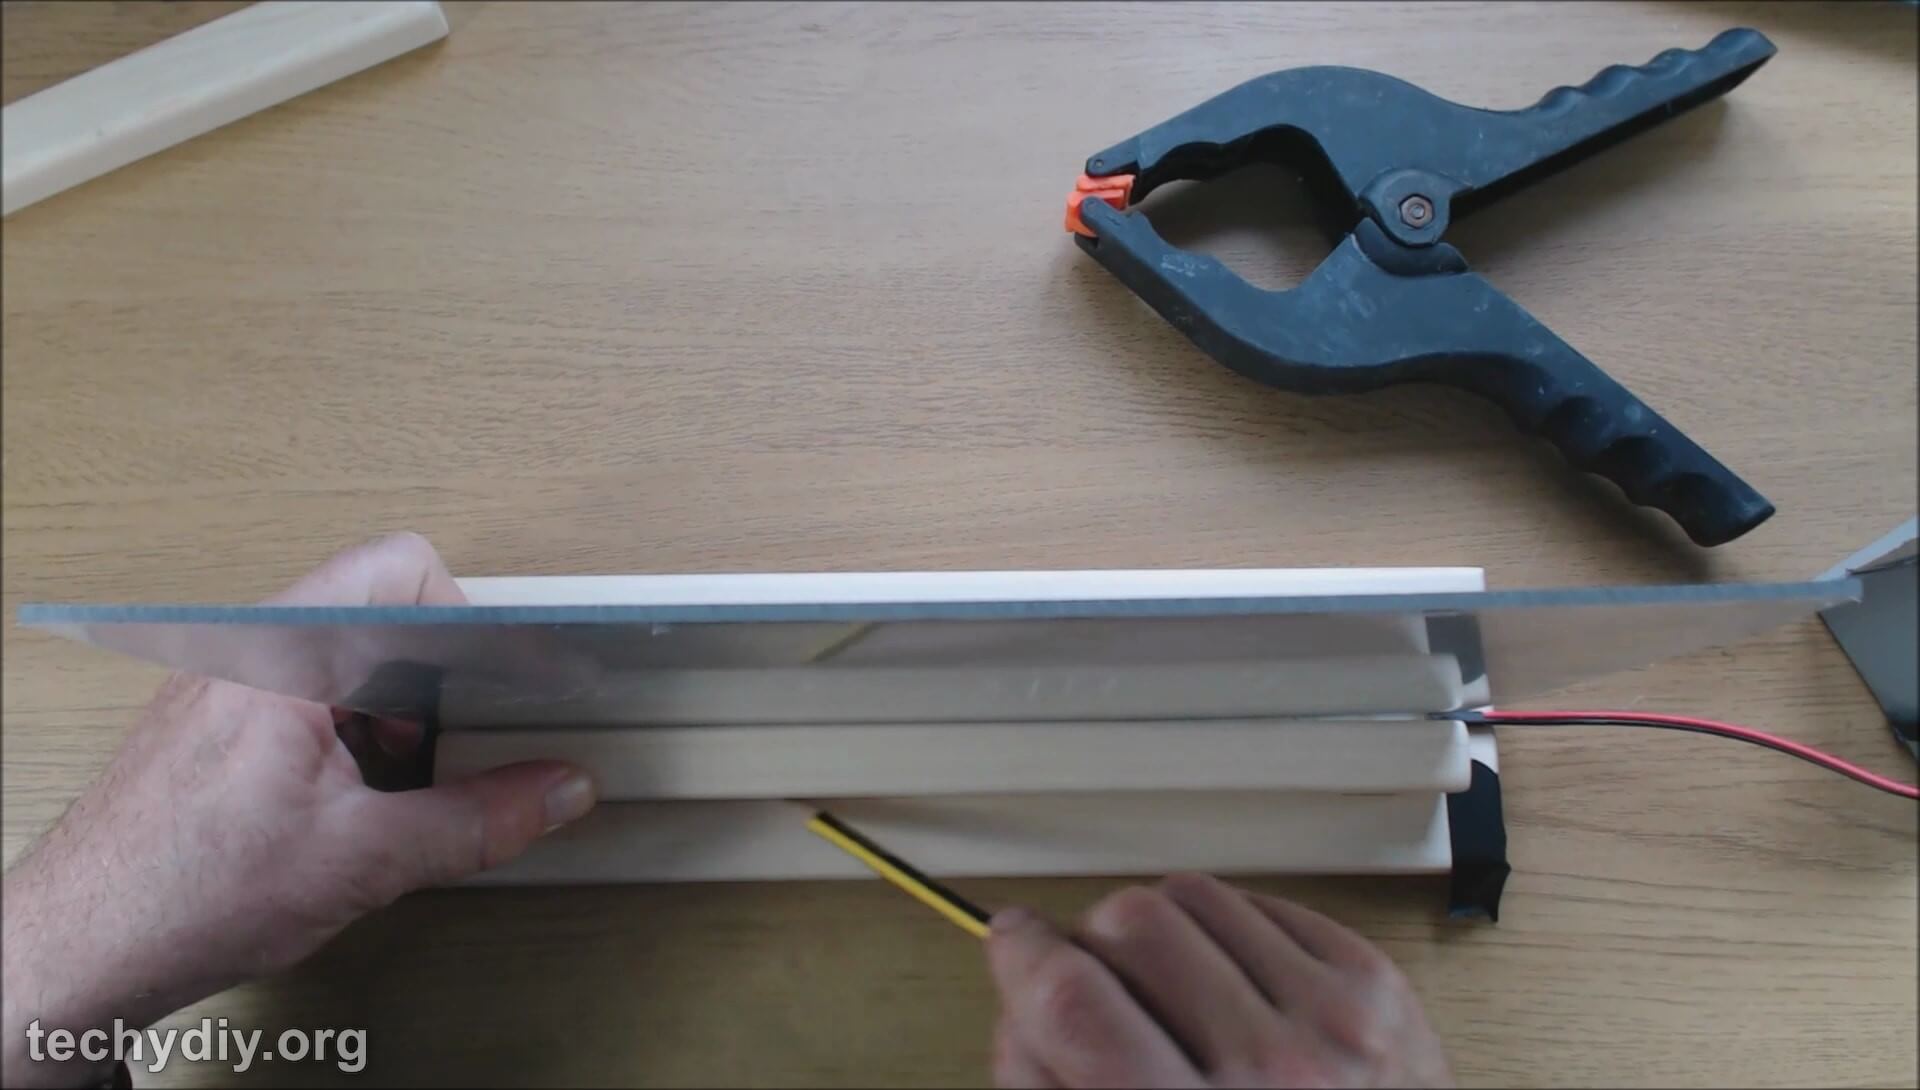
The sign is lit by a 12 volt led strip tape. These can be purchased in various lengths with wires attached or whole reels. The tape can be cut to length at the marked positions and then wires soldered to the contacts.

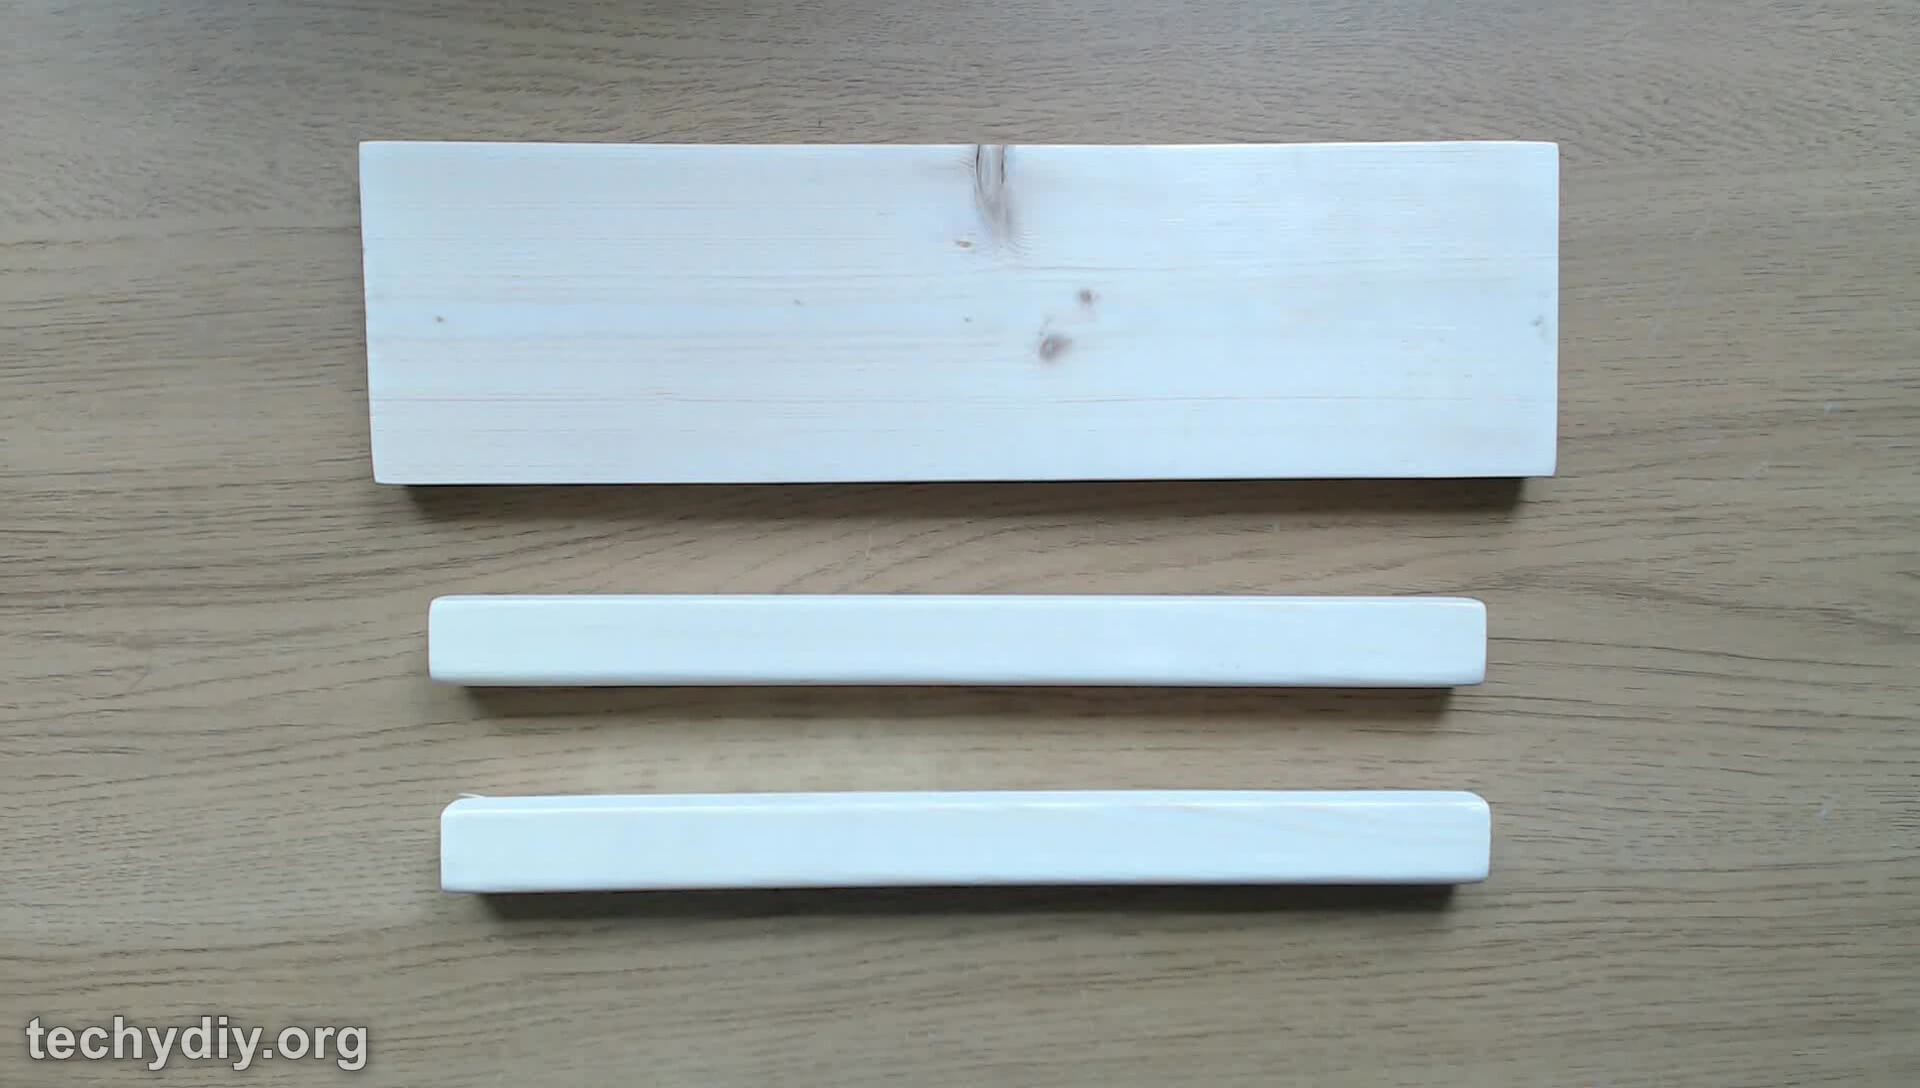
The led base is made from three pieces of wood glued together to form a slot for the led strip tape.
Parts:
- LED strip 12 volts US Link Uk link
- Power supply 12 volys DC 1 Amp US Link UK link
- DC power connector US Link UK link
- A4 size acrylic mirror sheet – 201 x 297 x 3mm or in the US 8″ x 12″ x 1/8″ acrylic mirror sheet
- 2 x lengths of square planed wood – 300 x 21 x 25mm
- 1 x length of square planed wood – 340 x 95 x 18mm
- Wood glue
- Screws
- 220 grit sandpaper
- Thin card
Tools:
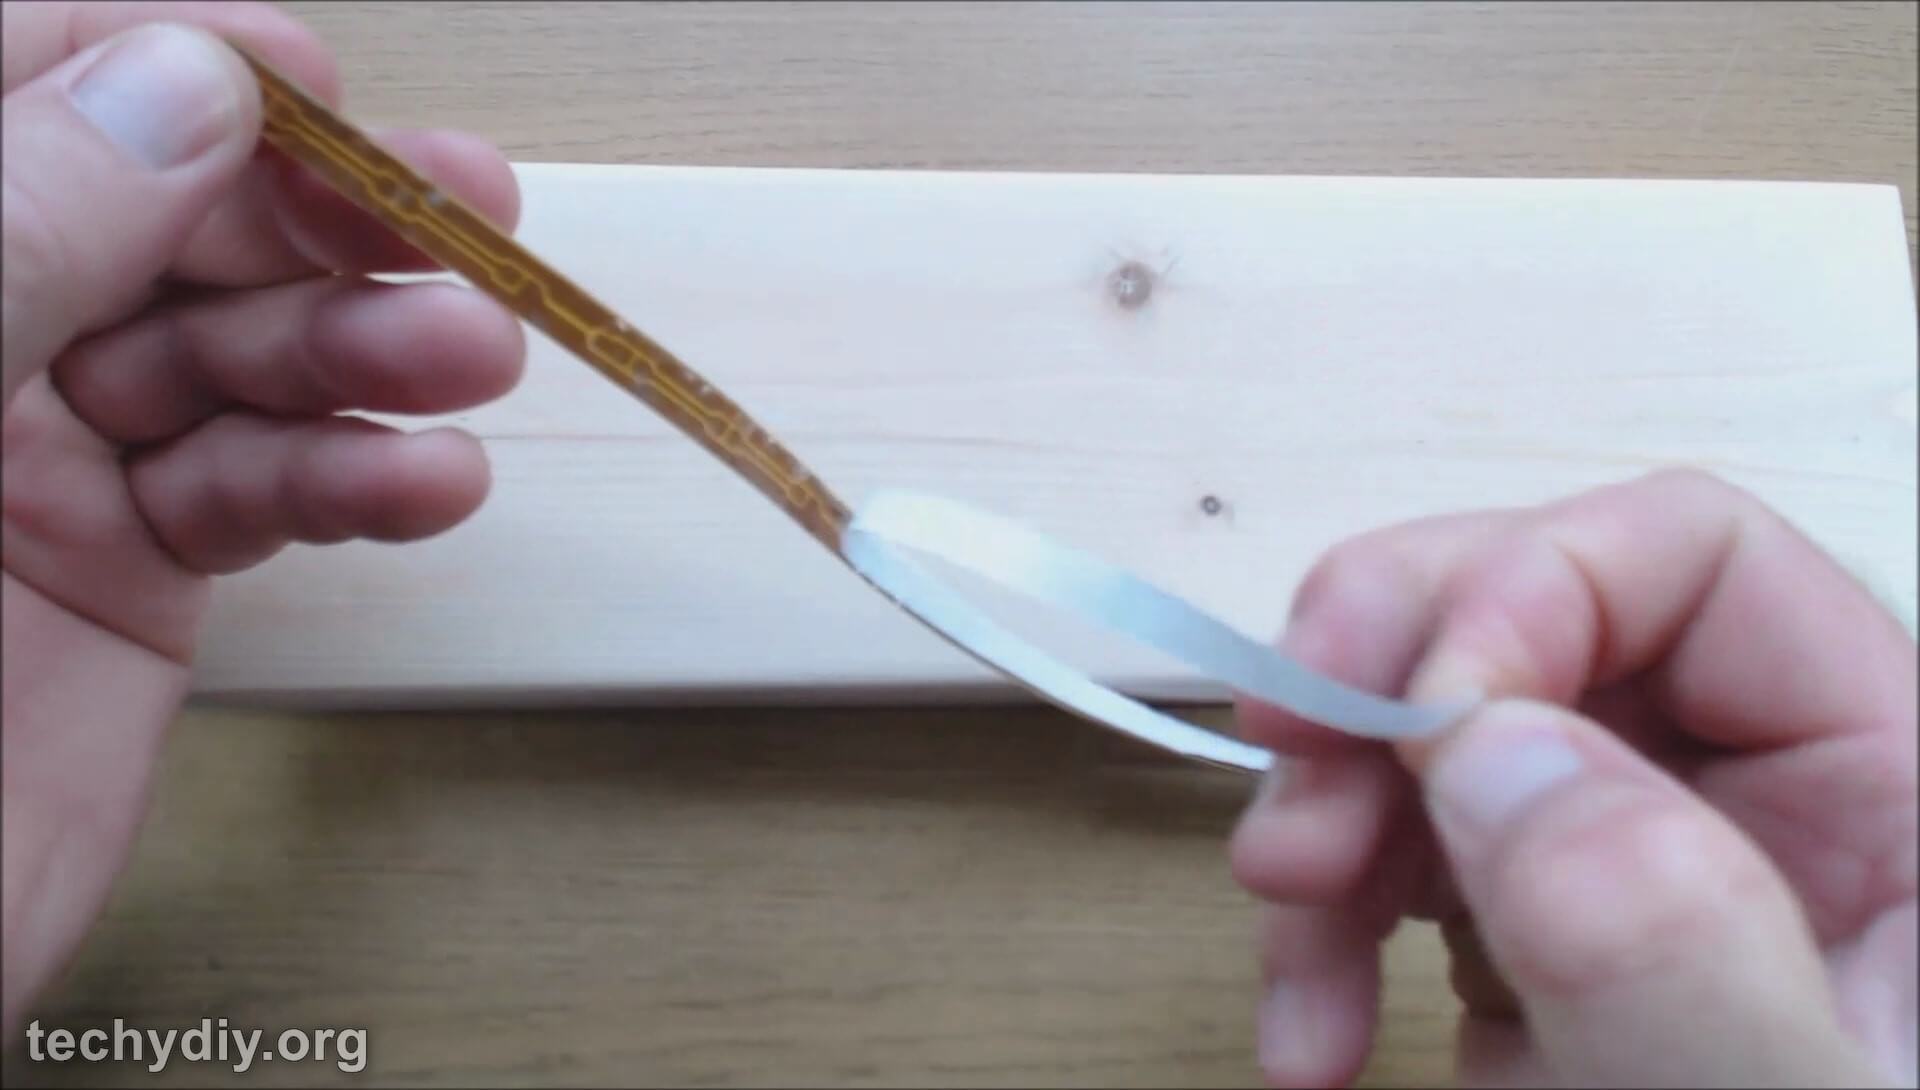
- Sharp knife
- Dremel engraving tool US Link UK link
- Drill bit
- Countersink drill bit
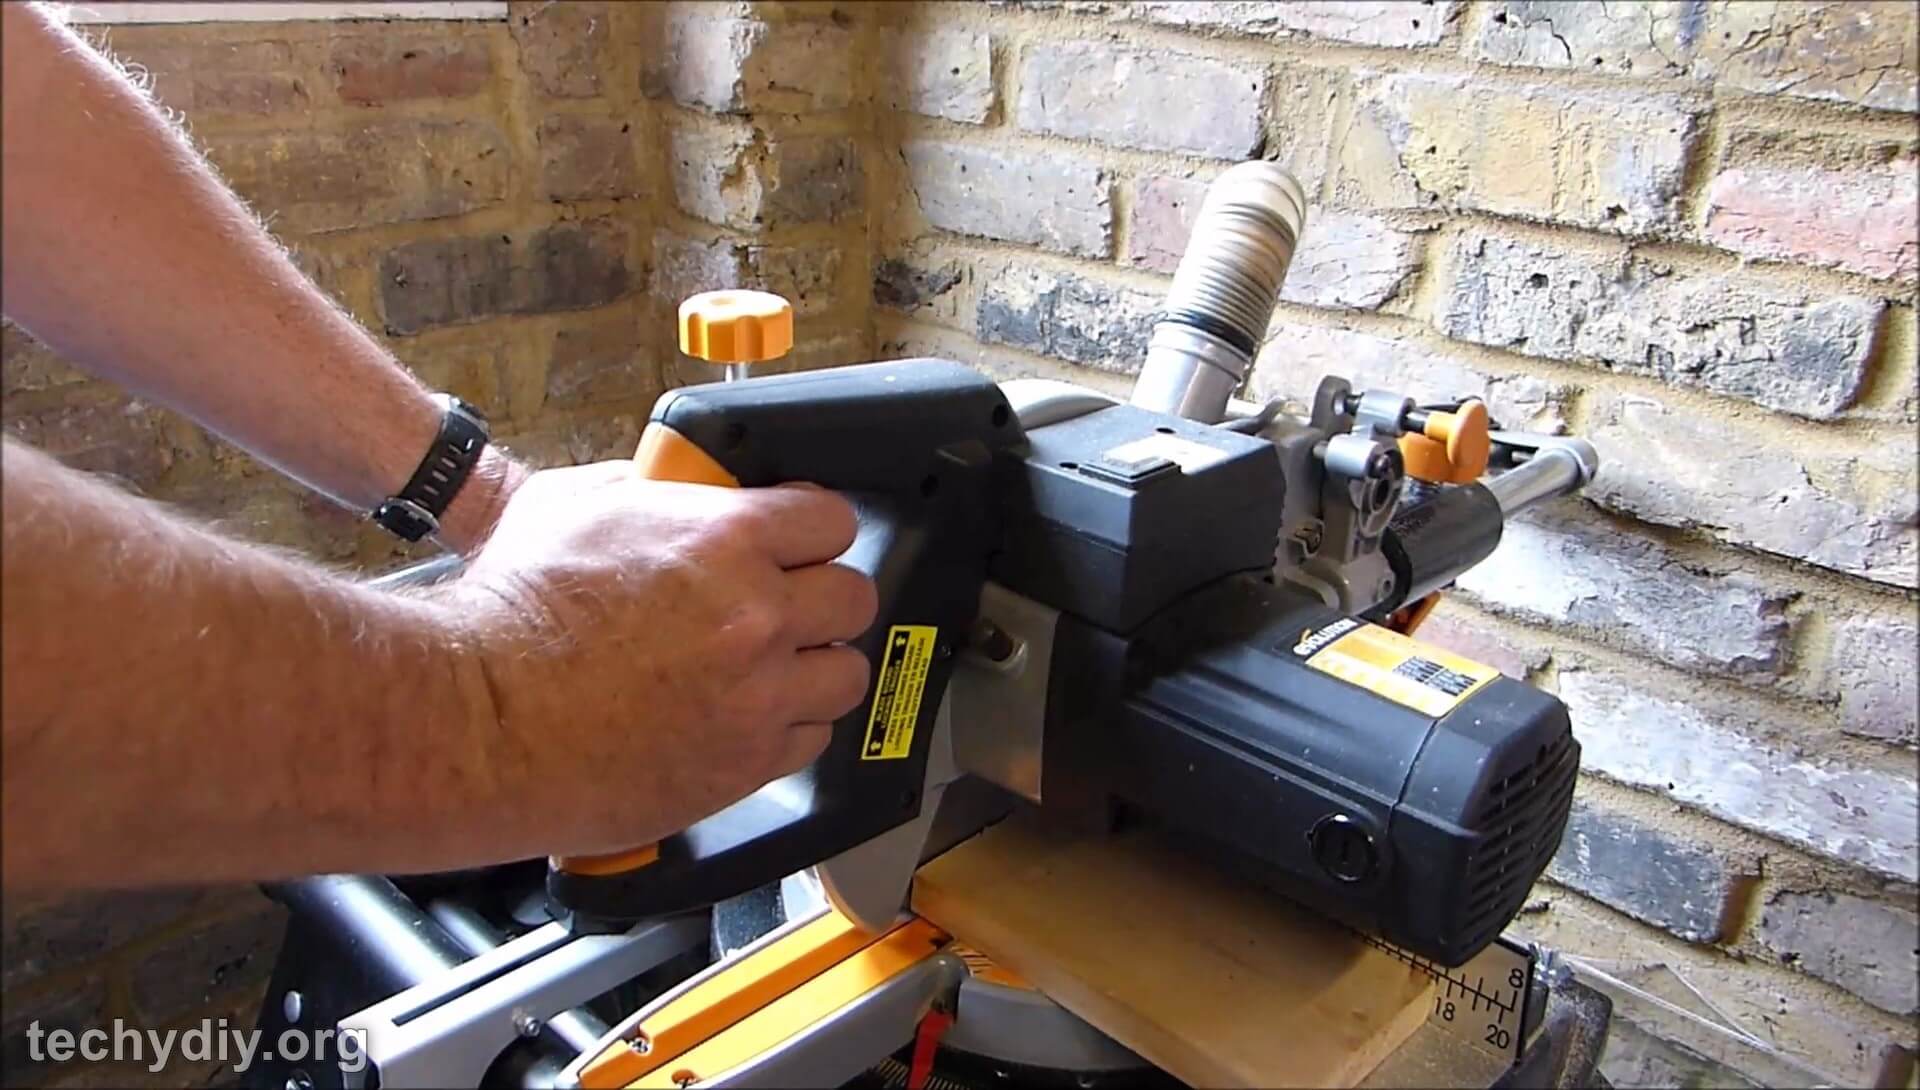
- Mitre Saw & stand
- Router & table
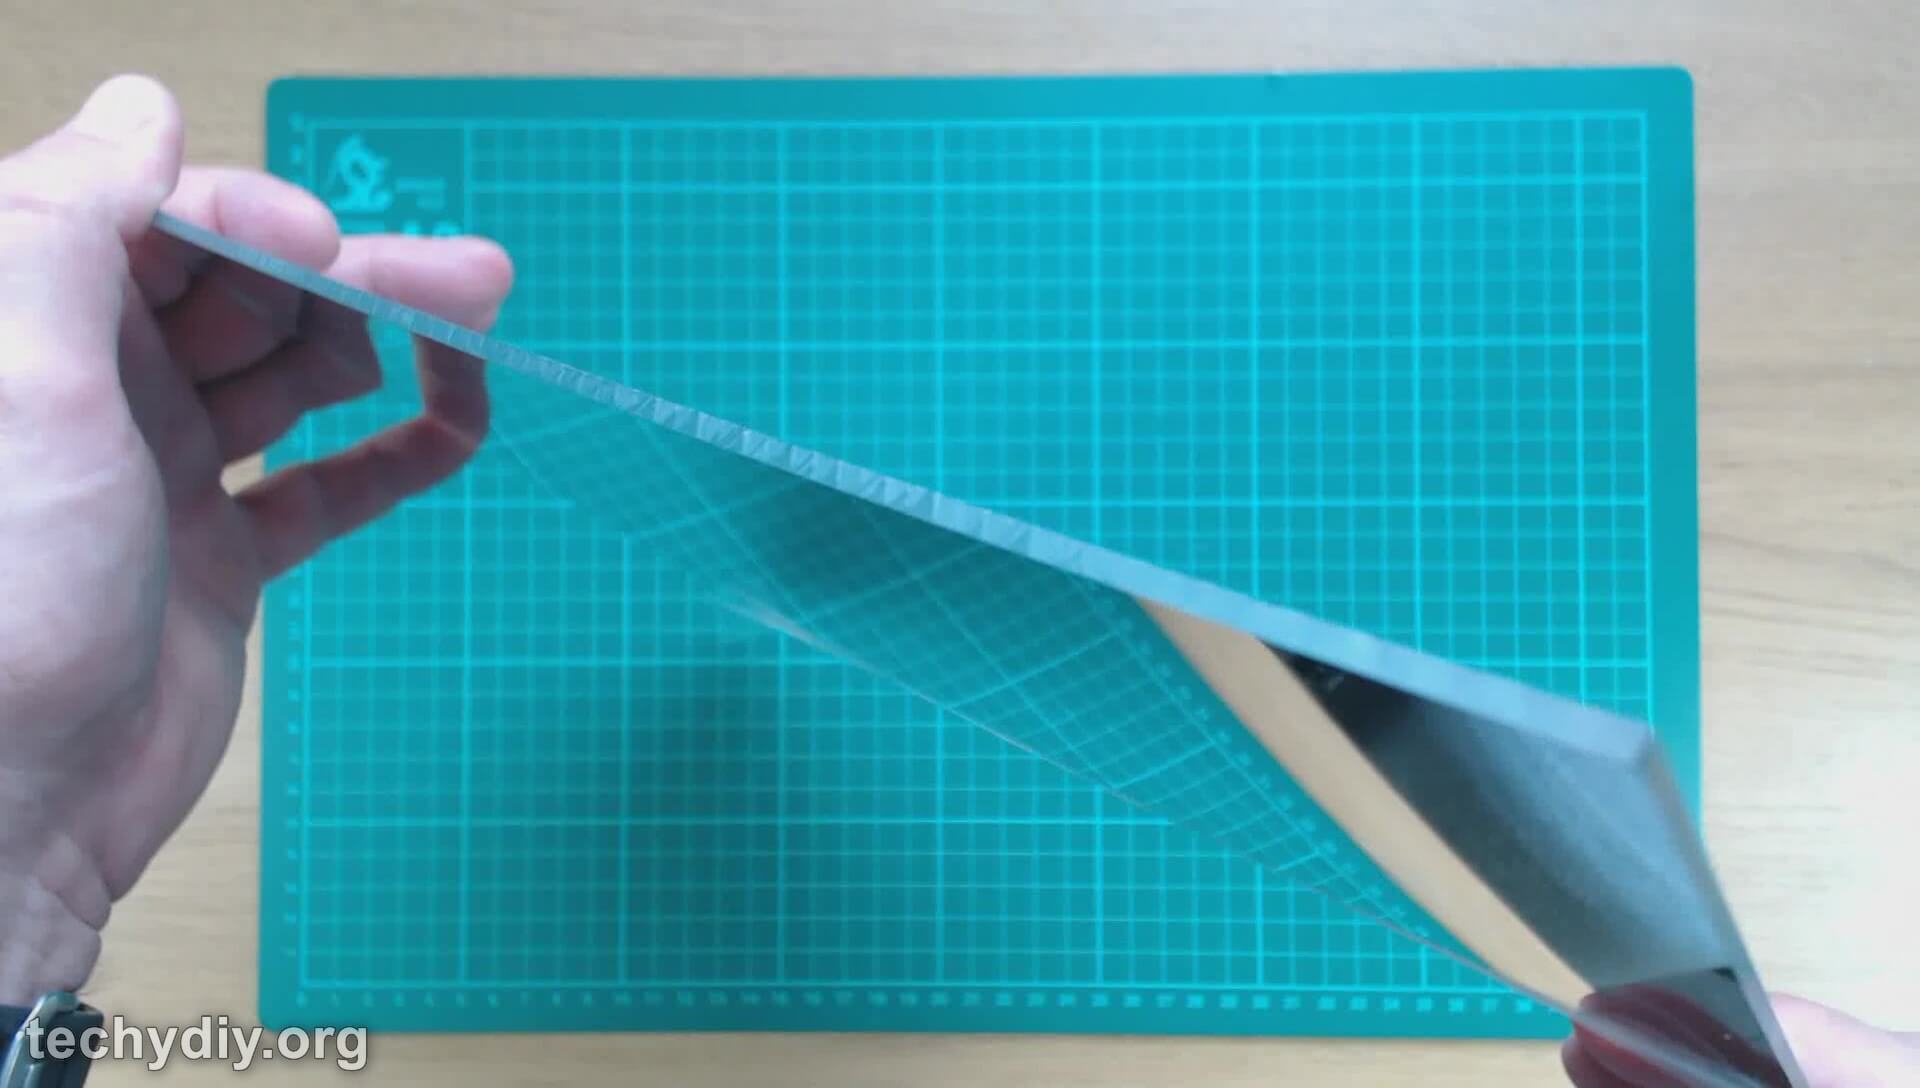
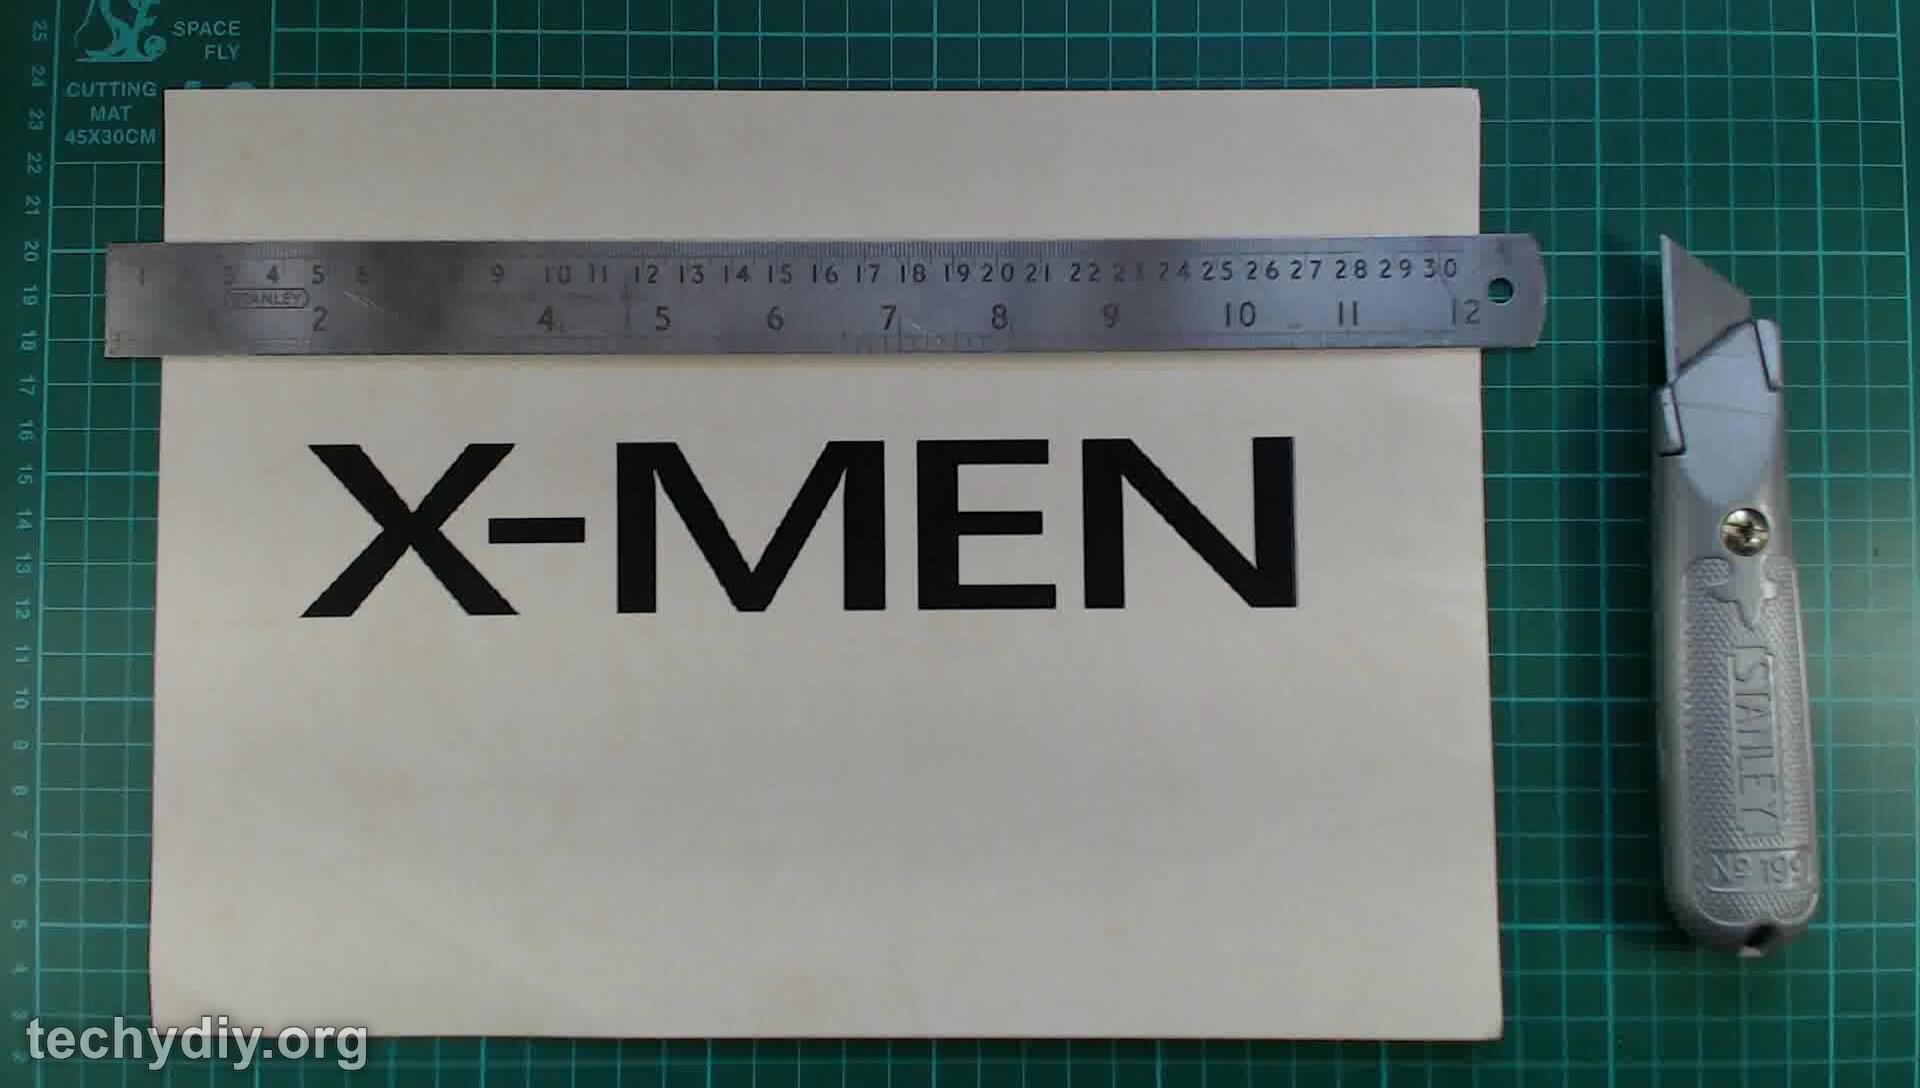
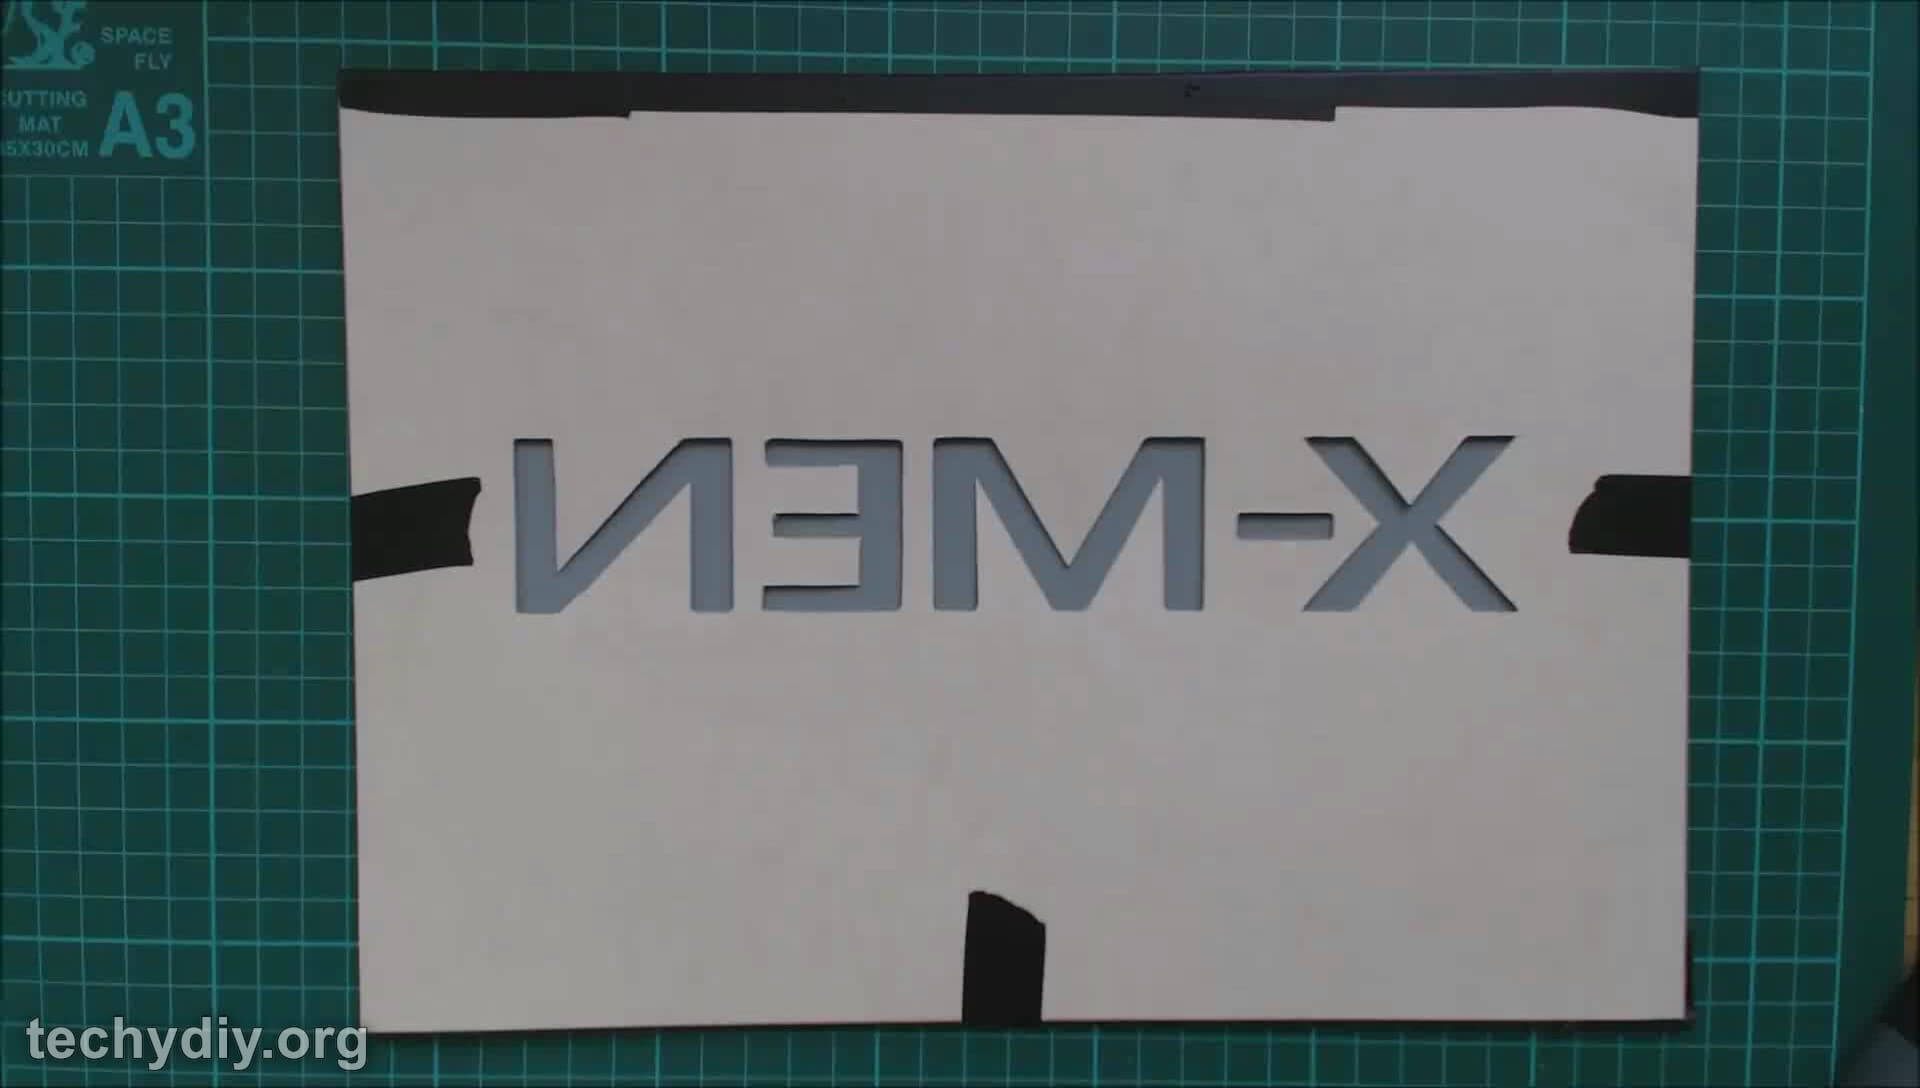
How to make an XMEN cardboard stencil
Download the stencil graphic XMEN STENCIL GRAPHIC (2776 downloads )
Print the graphic onto thin cardboard

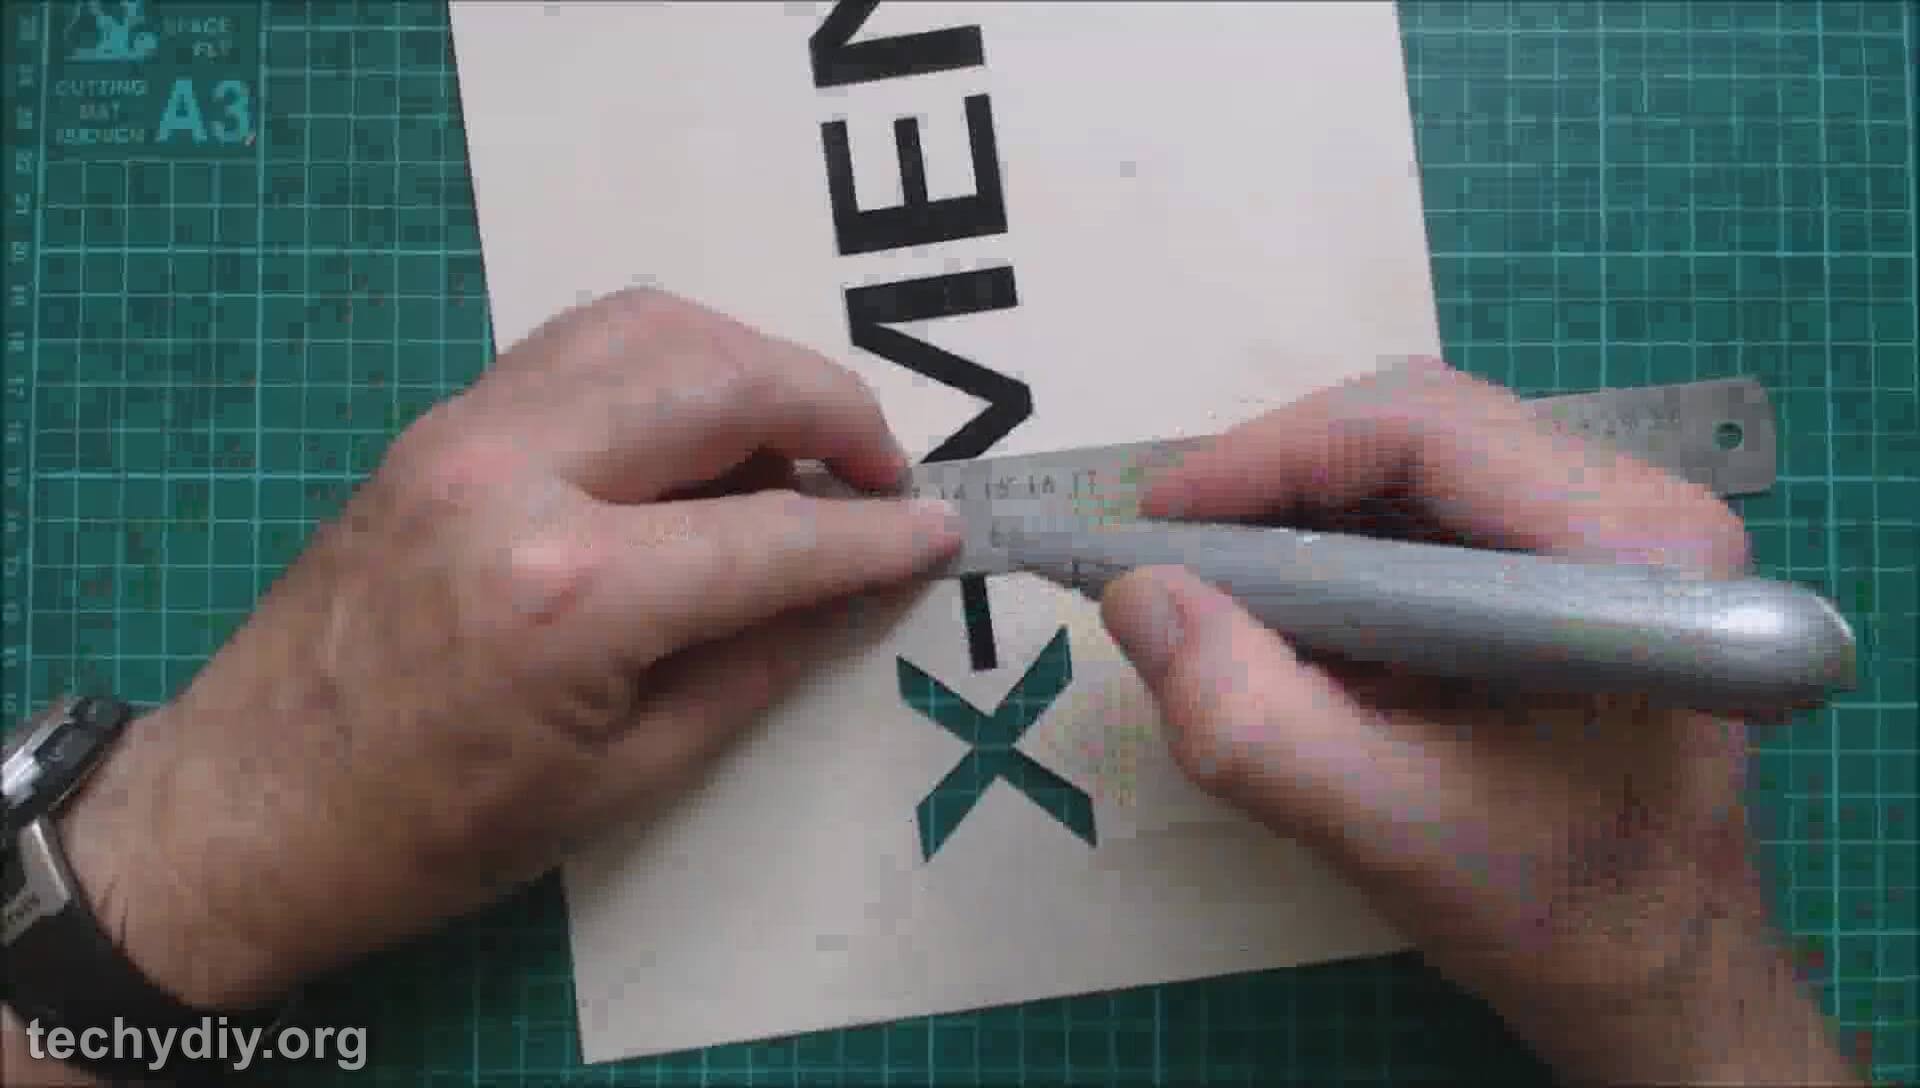
Cut out the letters with a sharp knife using a ruler to maintain straight edges.

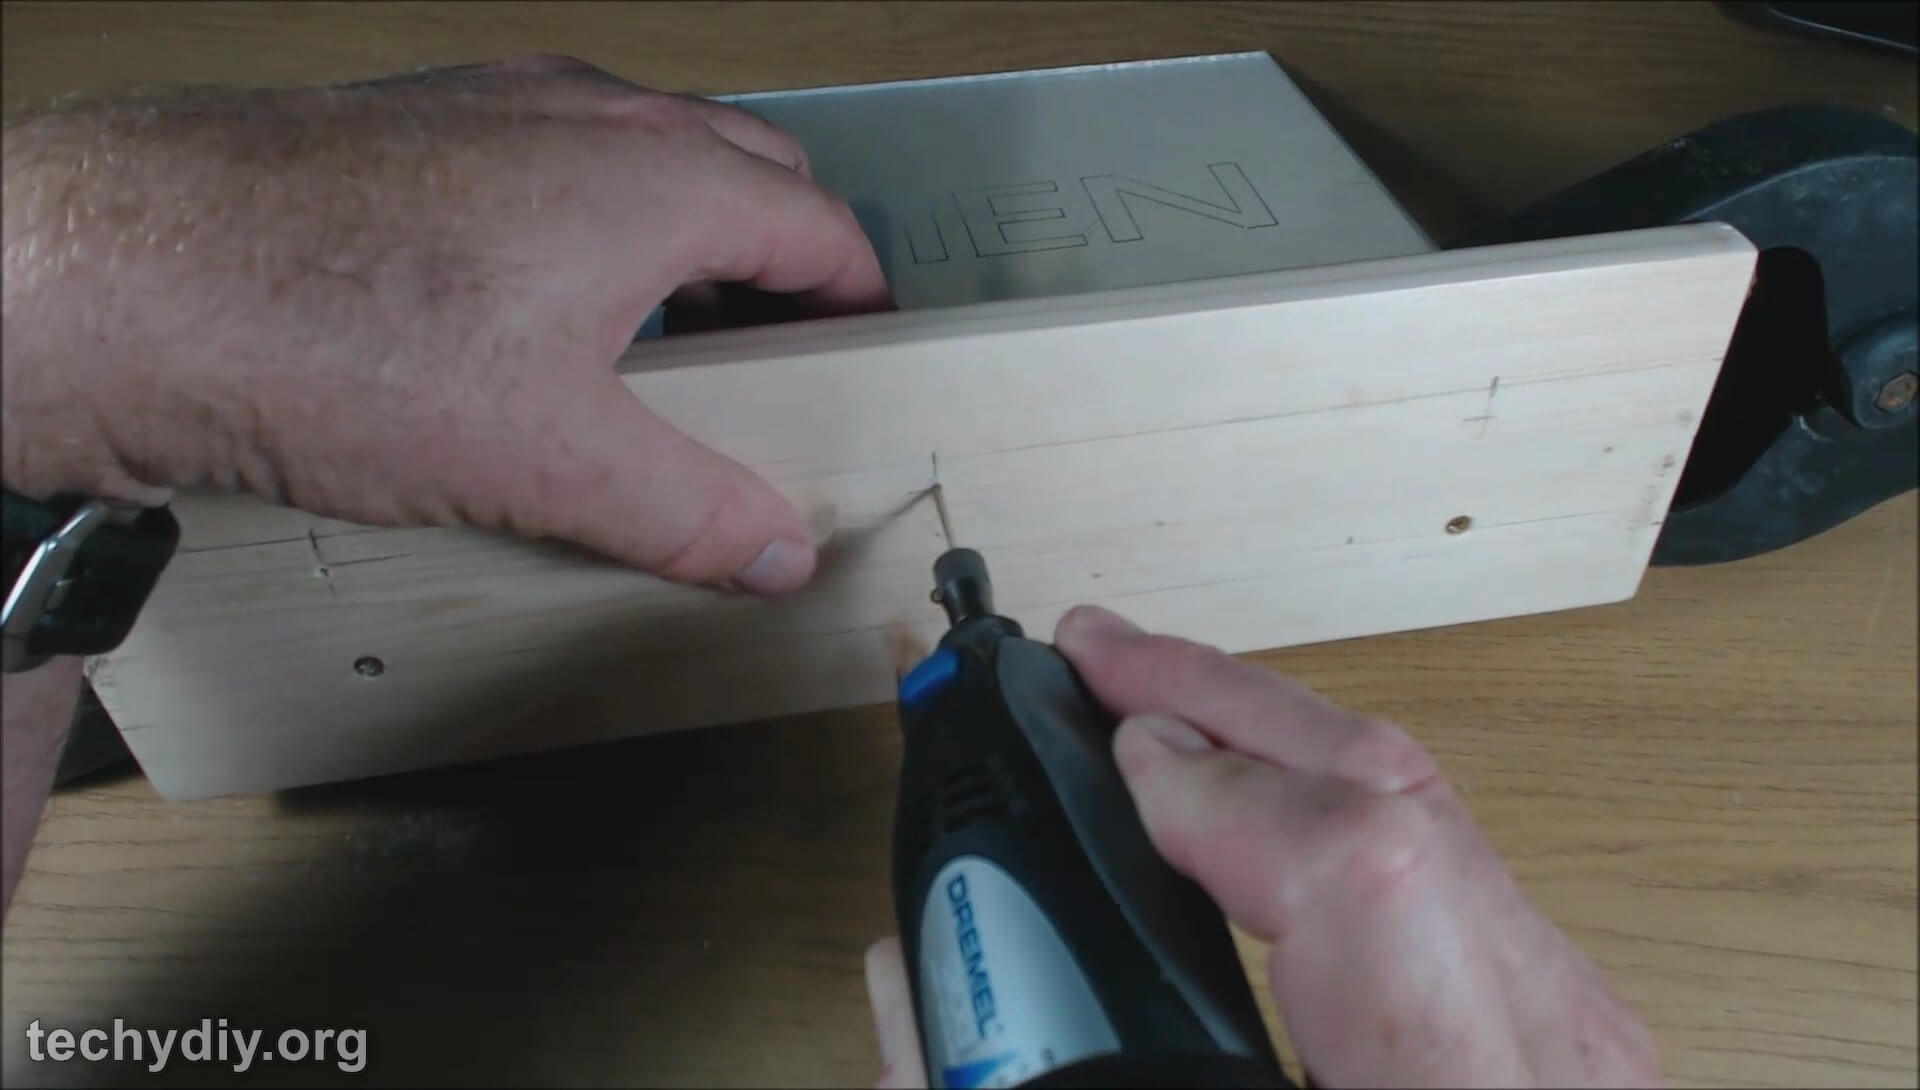
How to engrave the acrylic mirror sheet
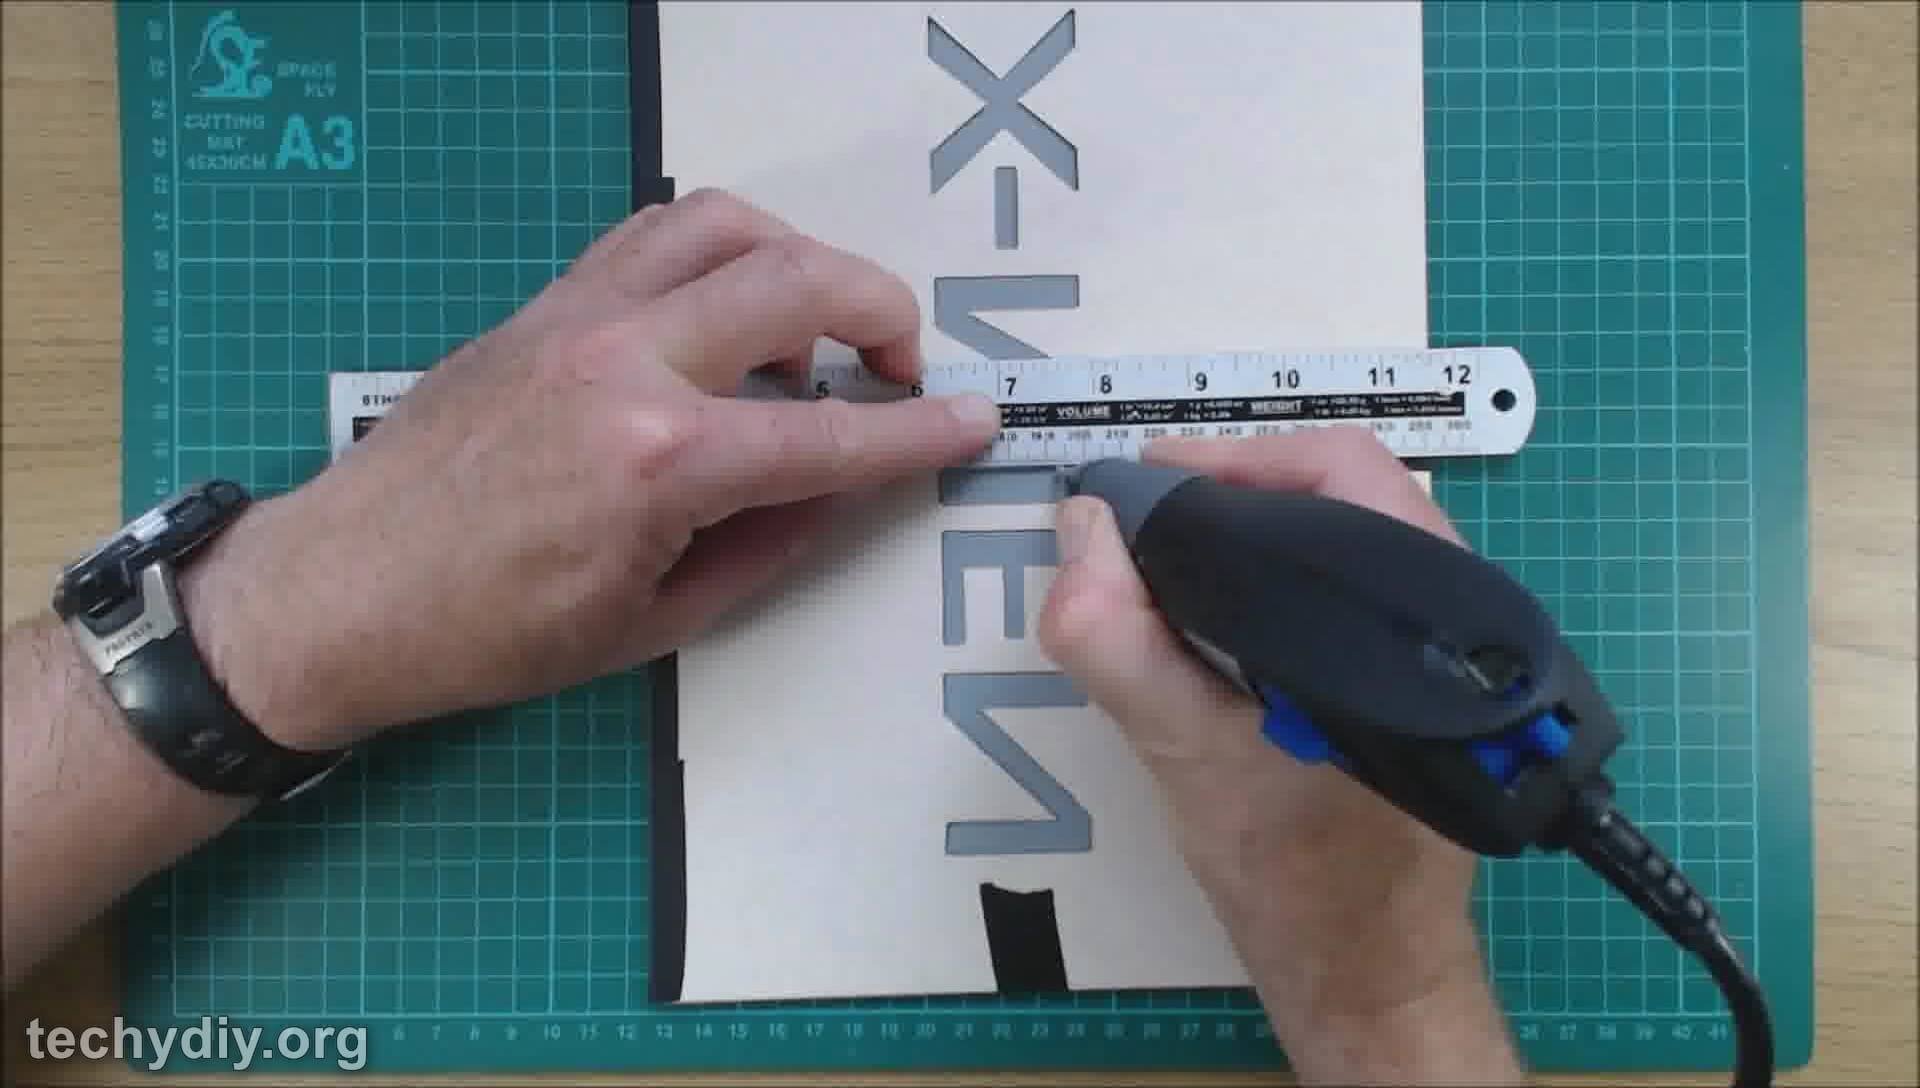
Reverse the template and tape it to the back of the acrylic sheet
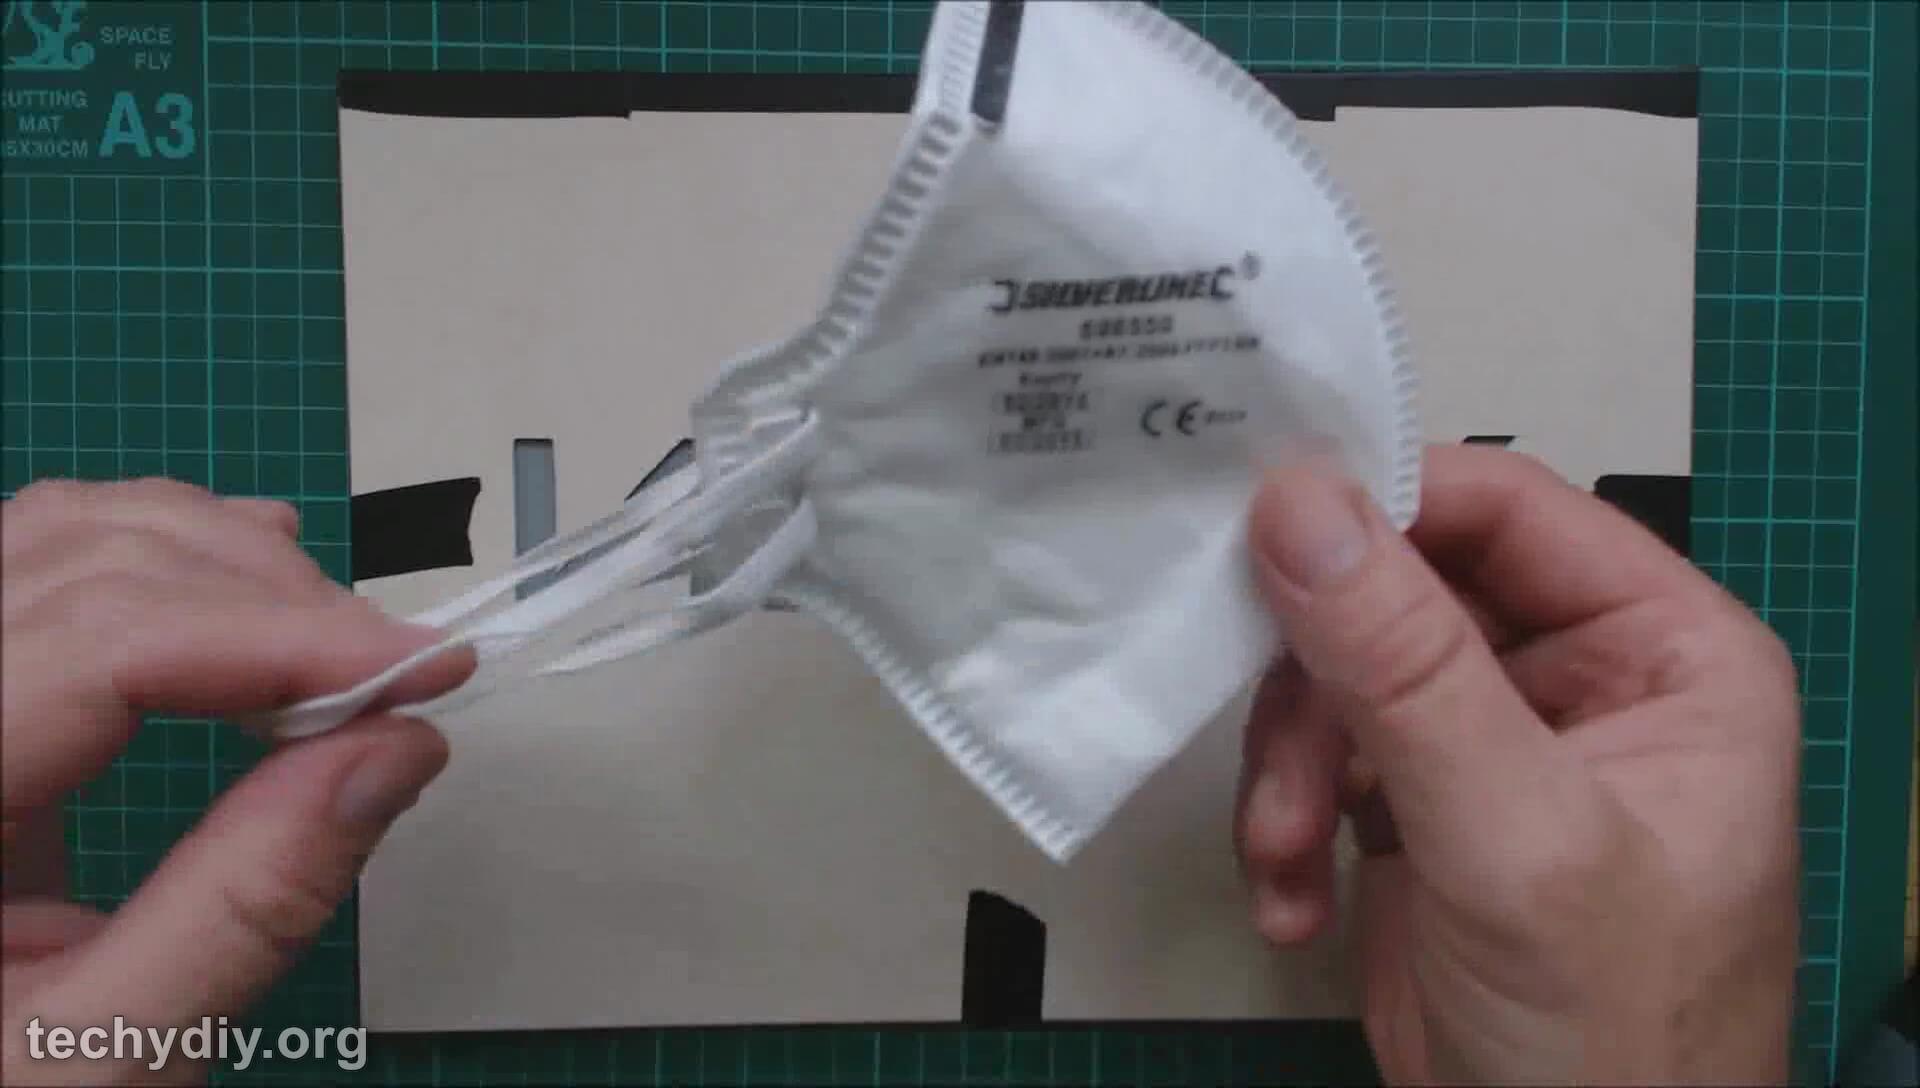
The engraving process creates quite a bit of dust, so please wear a dust mask for the next step.
Using a ruler to maintain straight lines, trace around the template with the engraver.
Remove the template from the acrylic sheet but leave on the protective sheet on the mirrored side.
How to make the LED edge lit base
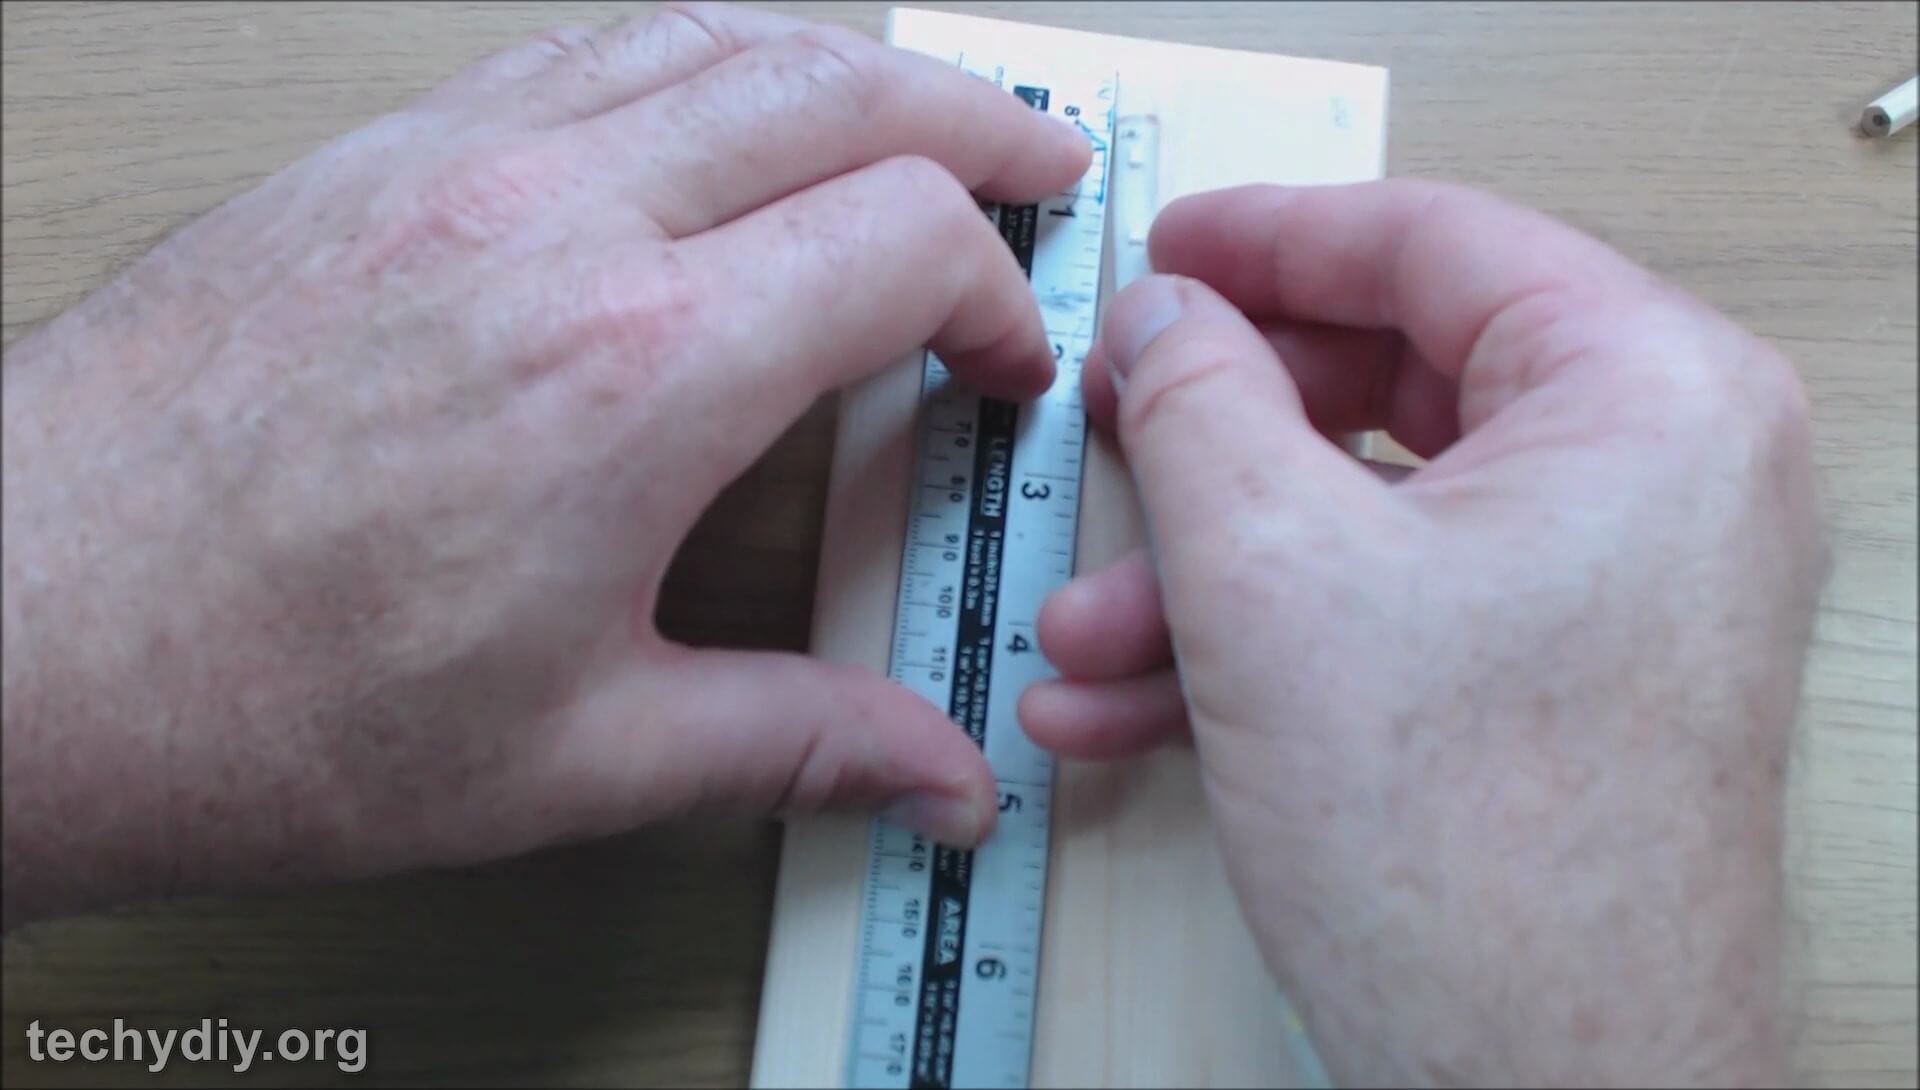
For an A4 sized acrylic sheet cut the wood base to 340mm in length.
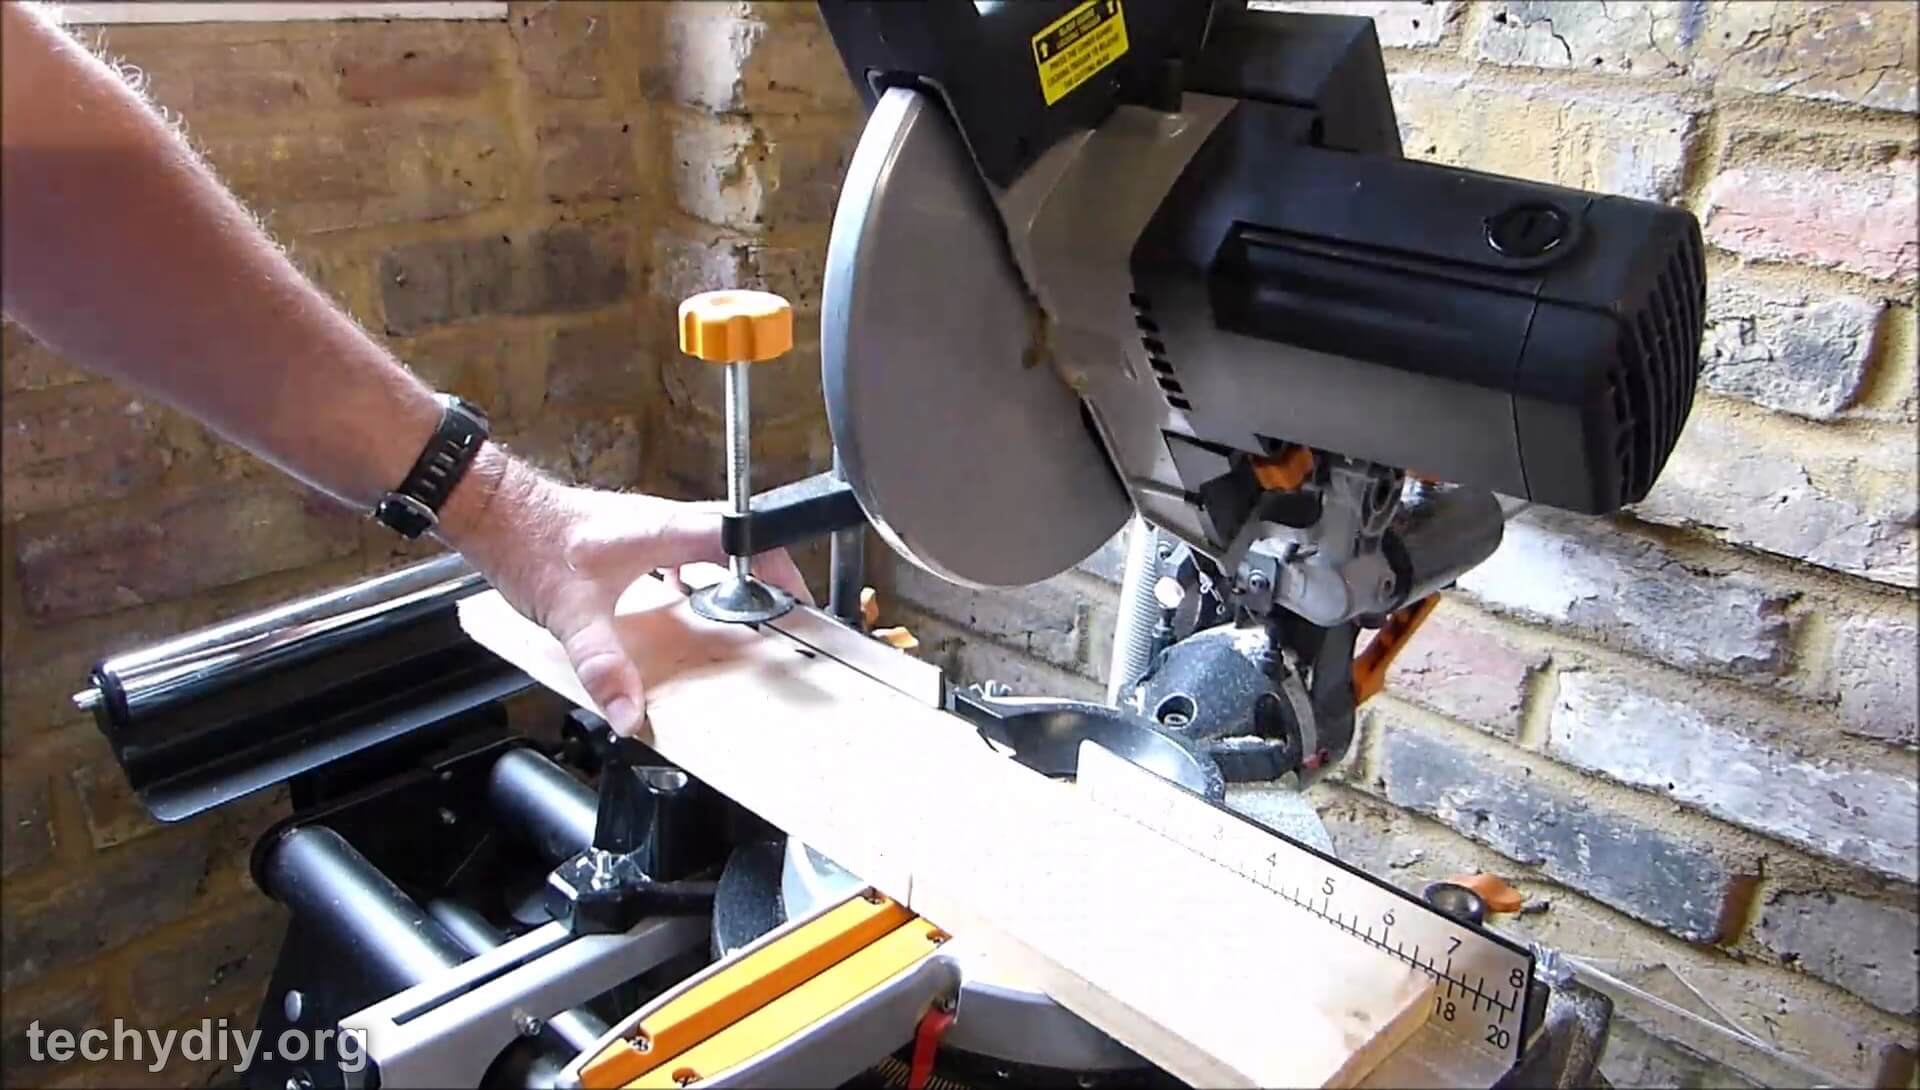
Cut the wood base to length
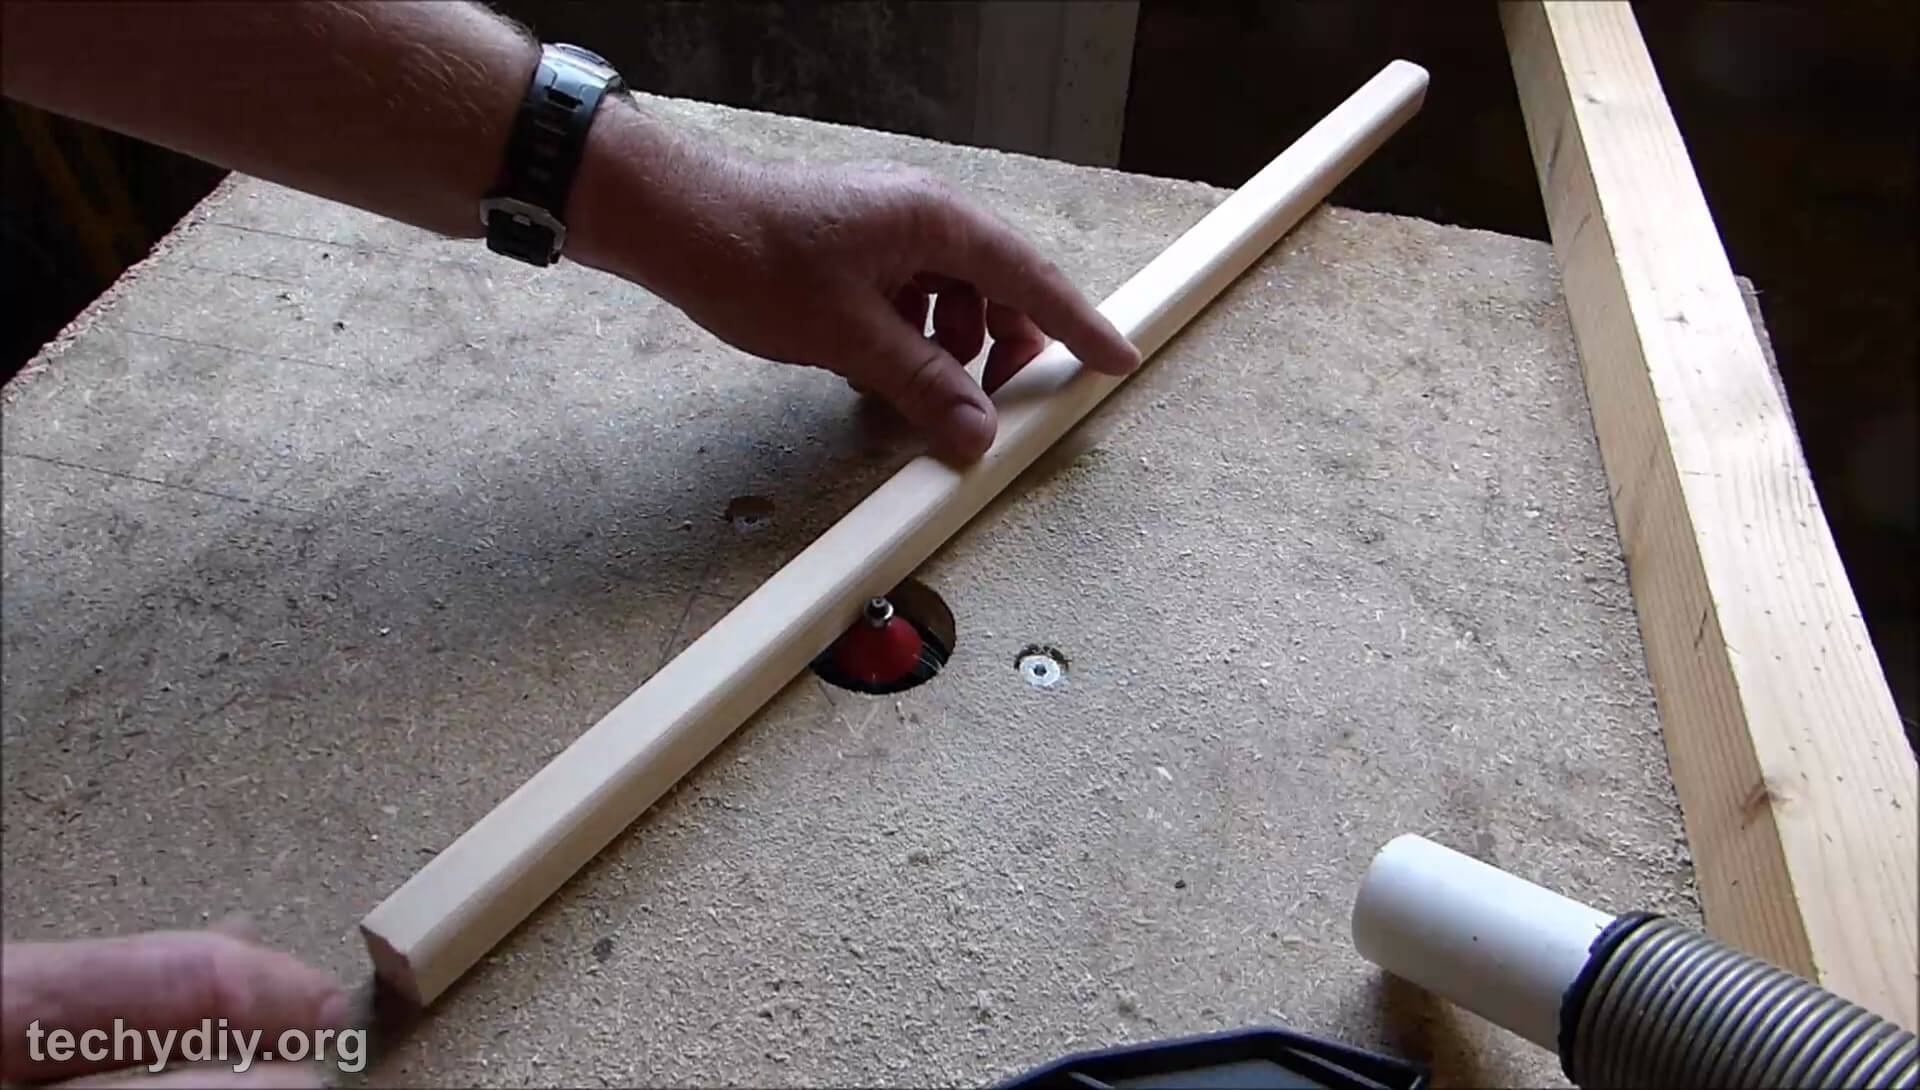
Round over the top edges of the wooden base with a roundover bit in a router.
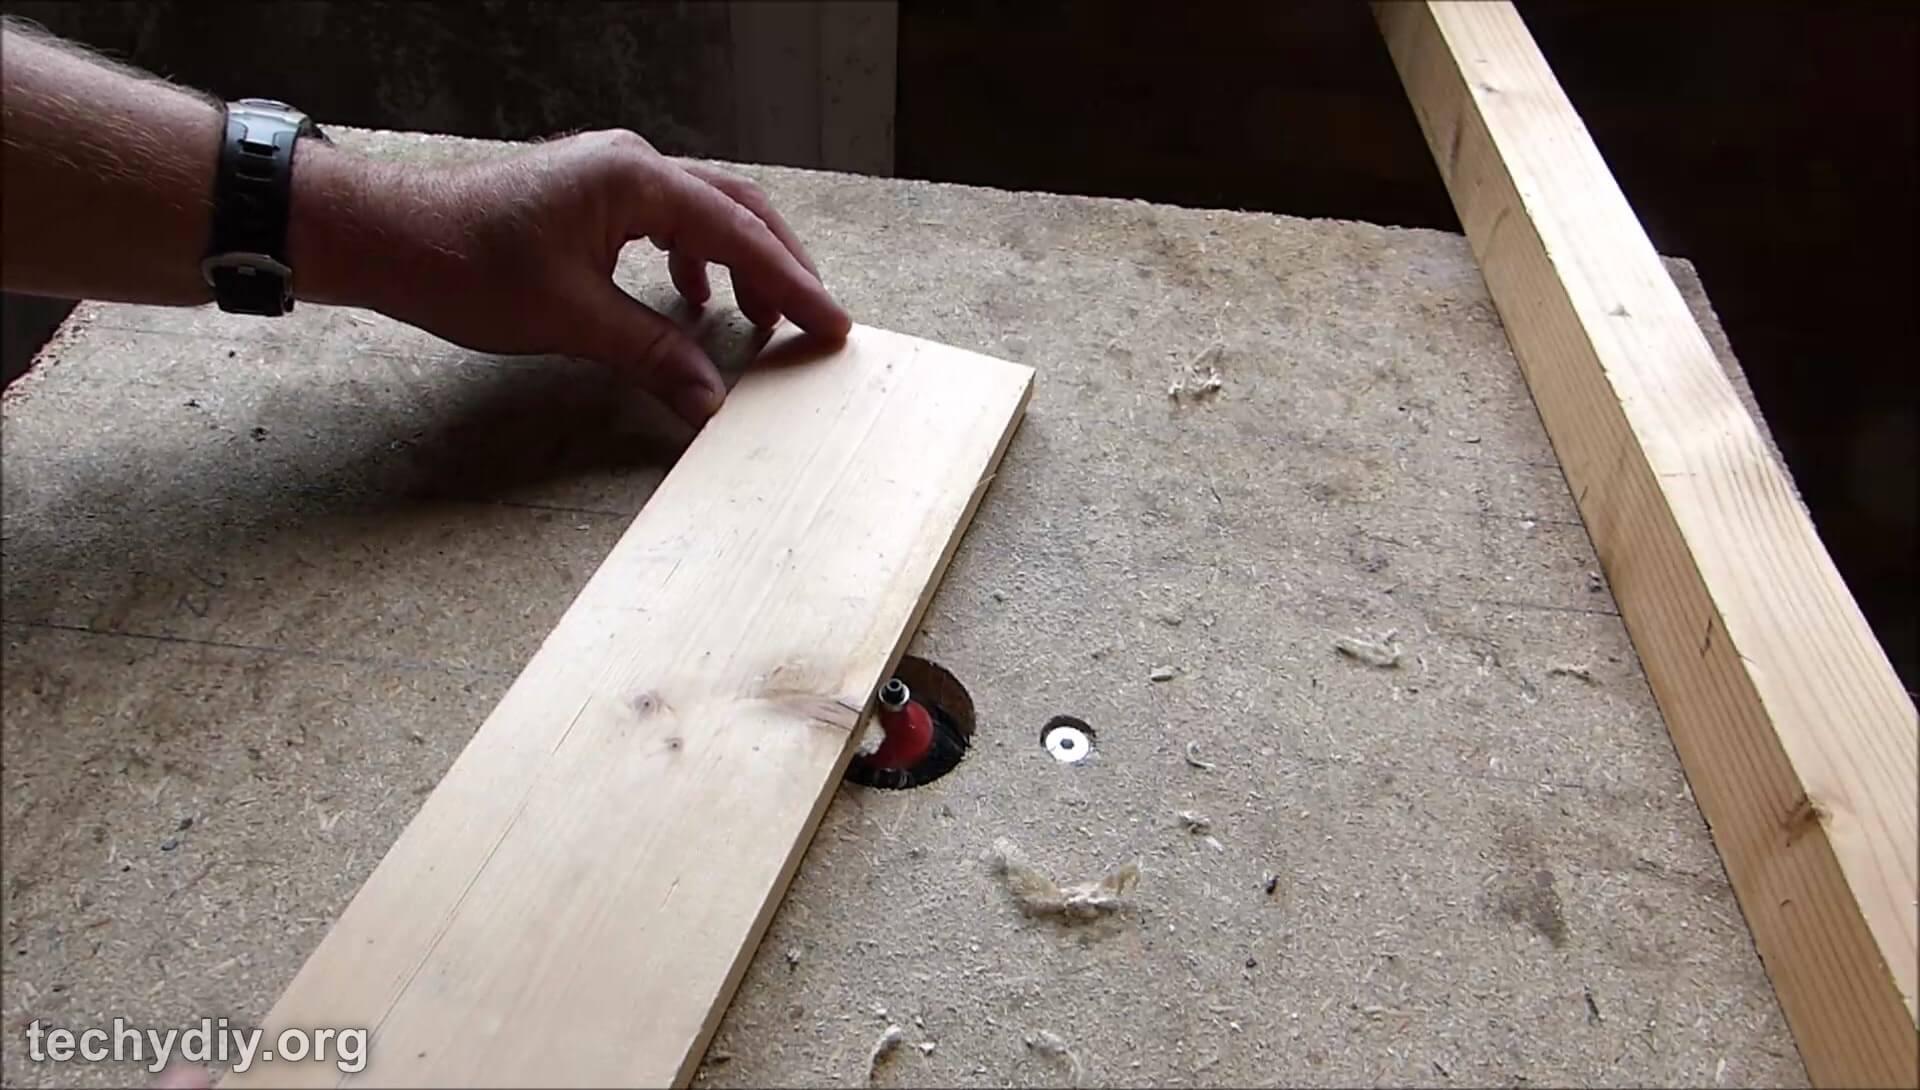
Route the base with a roundover bit

Rounded base profile
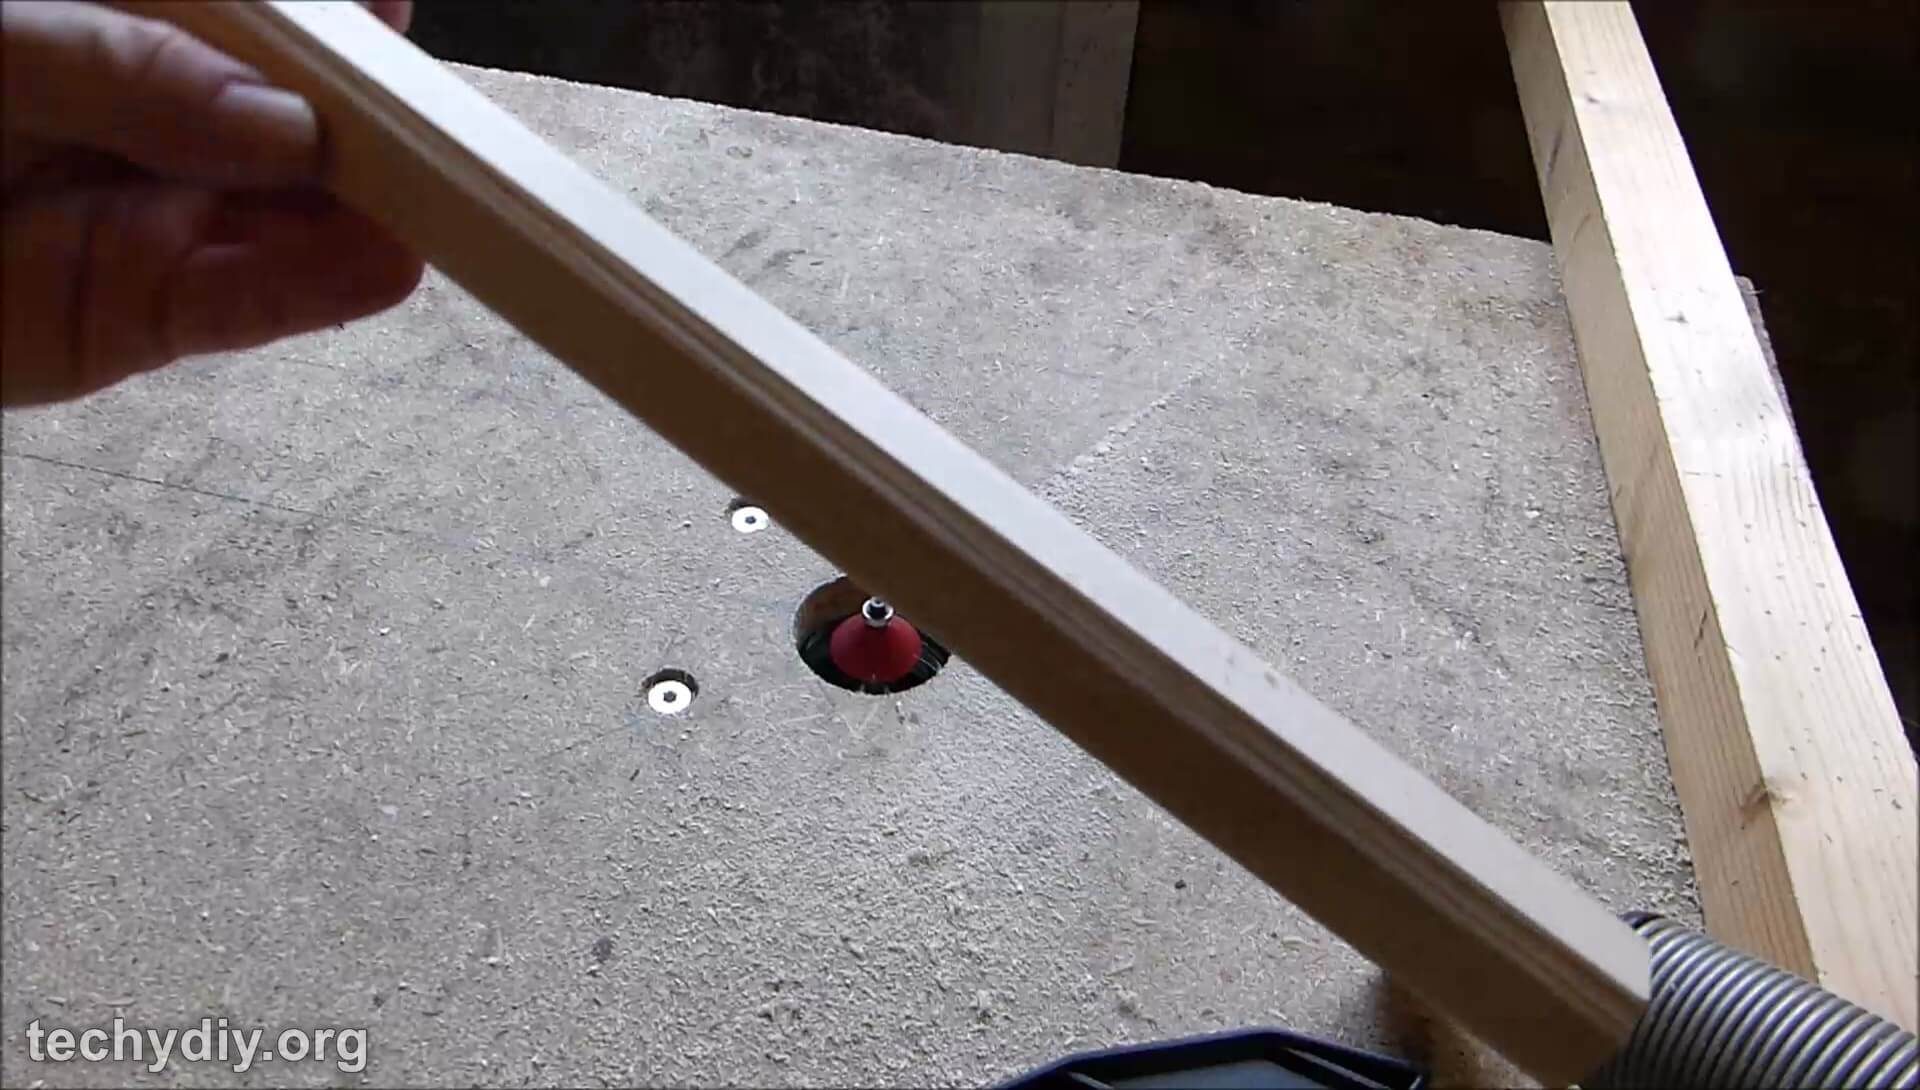
Roundover the top two edges of the wood for the sides with a roundover bit in a router.
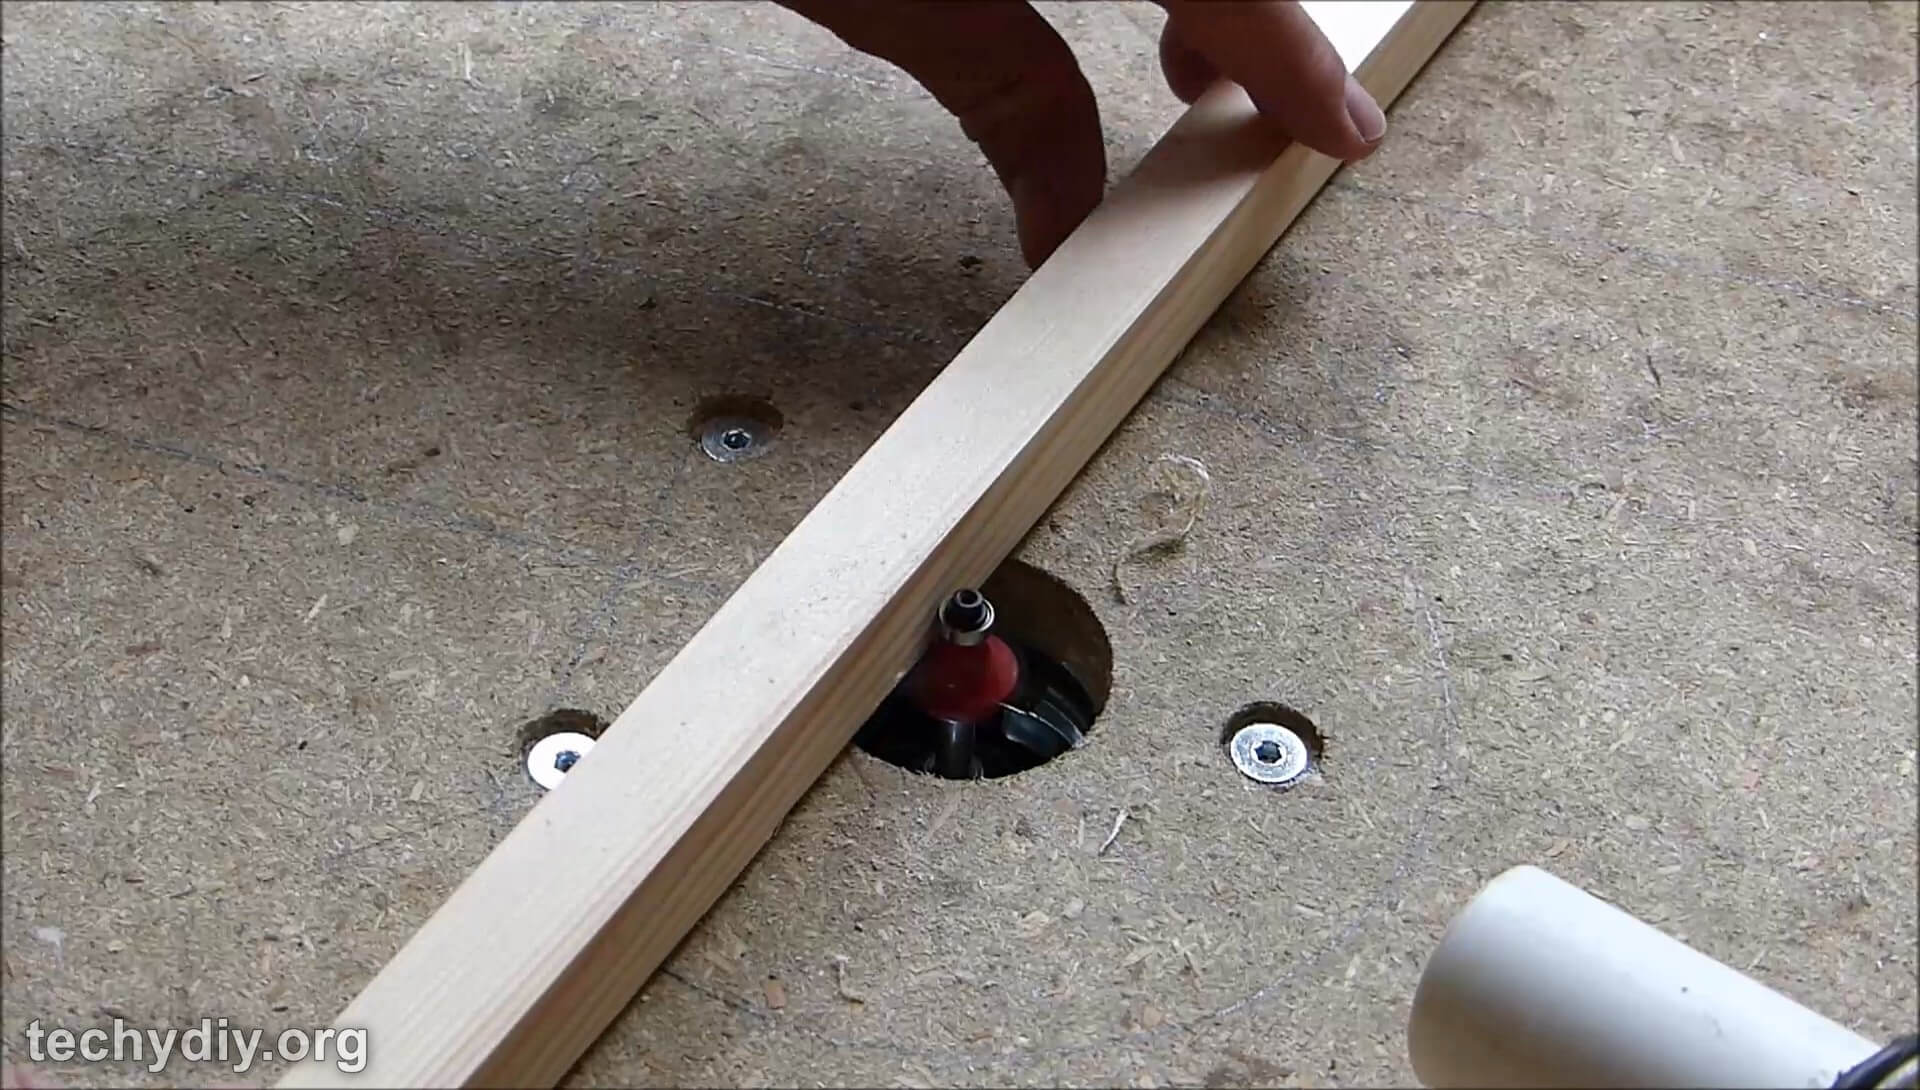
Route the top two sides with a round over bit
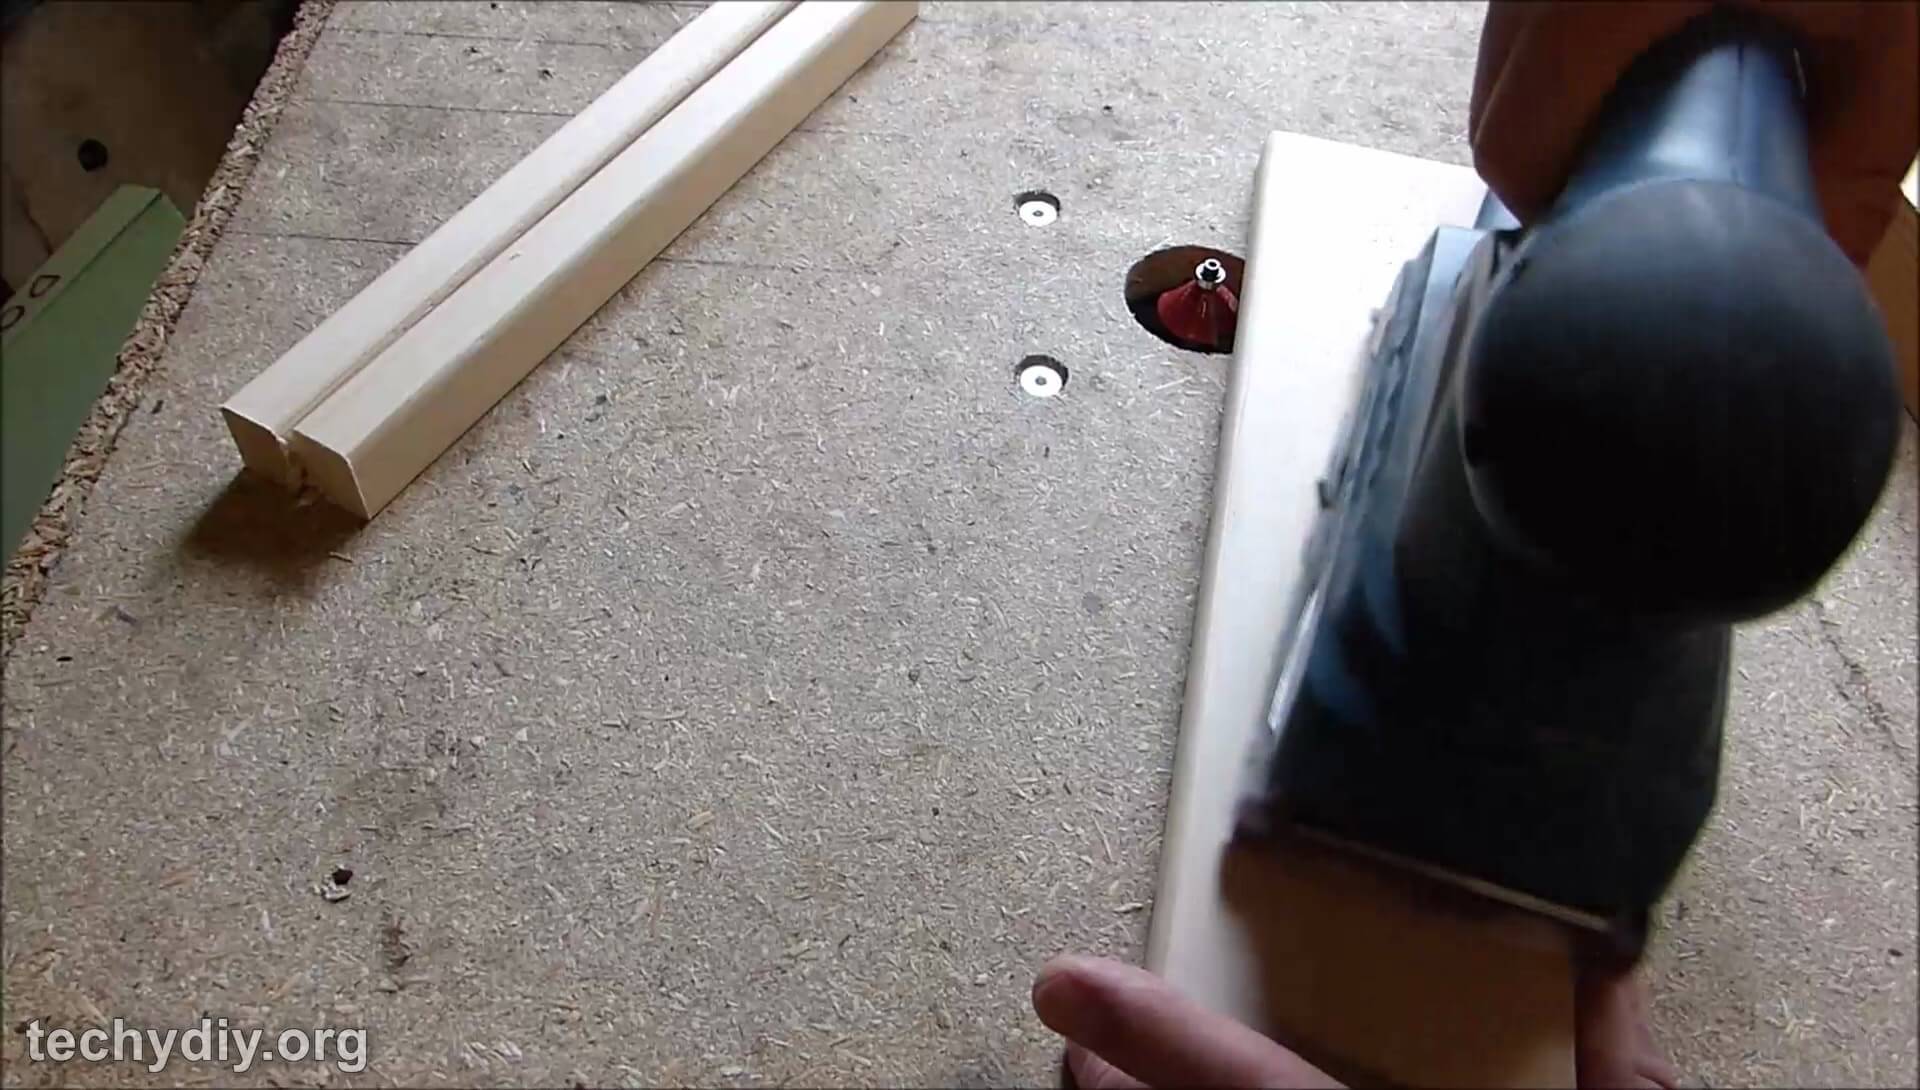
Taking the length of wood for the sides, route a chamfer on one of it’s bottom edges.
Route the sides with a chamfer bit
The routed side chamfer
For A4 sized acrylic sheet cut the wood for the side pieces into two lengths of 300mm.
Cut the sides to length
To improve the finish sand the base and sides with 220 grit sandpaper.
Sand the sides and base
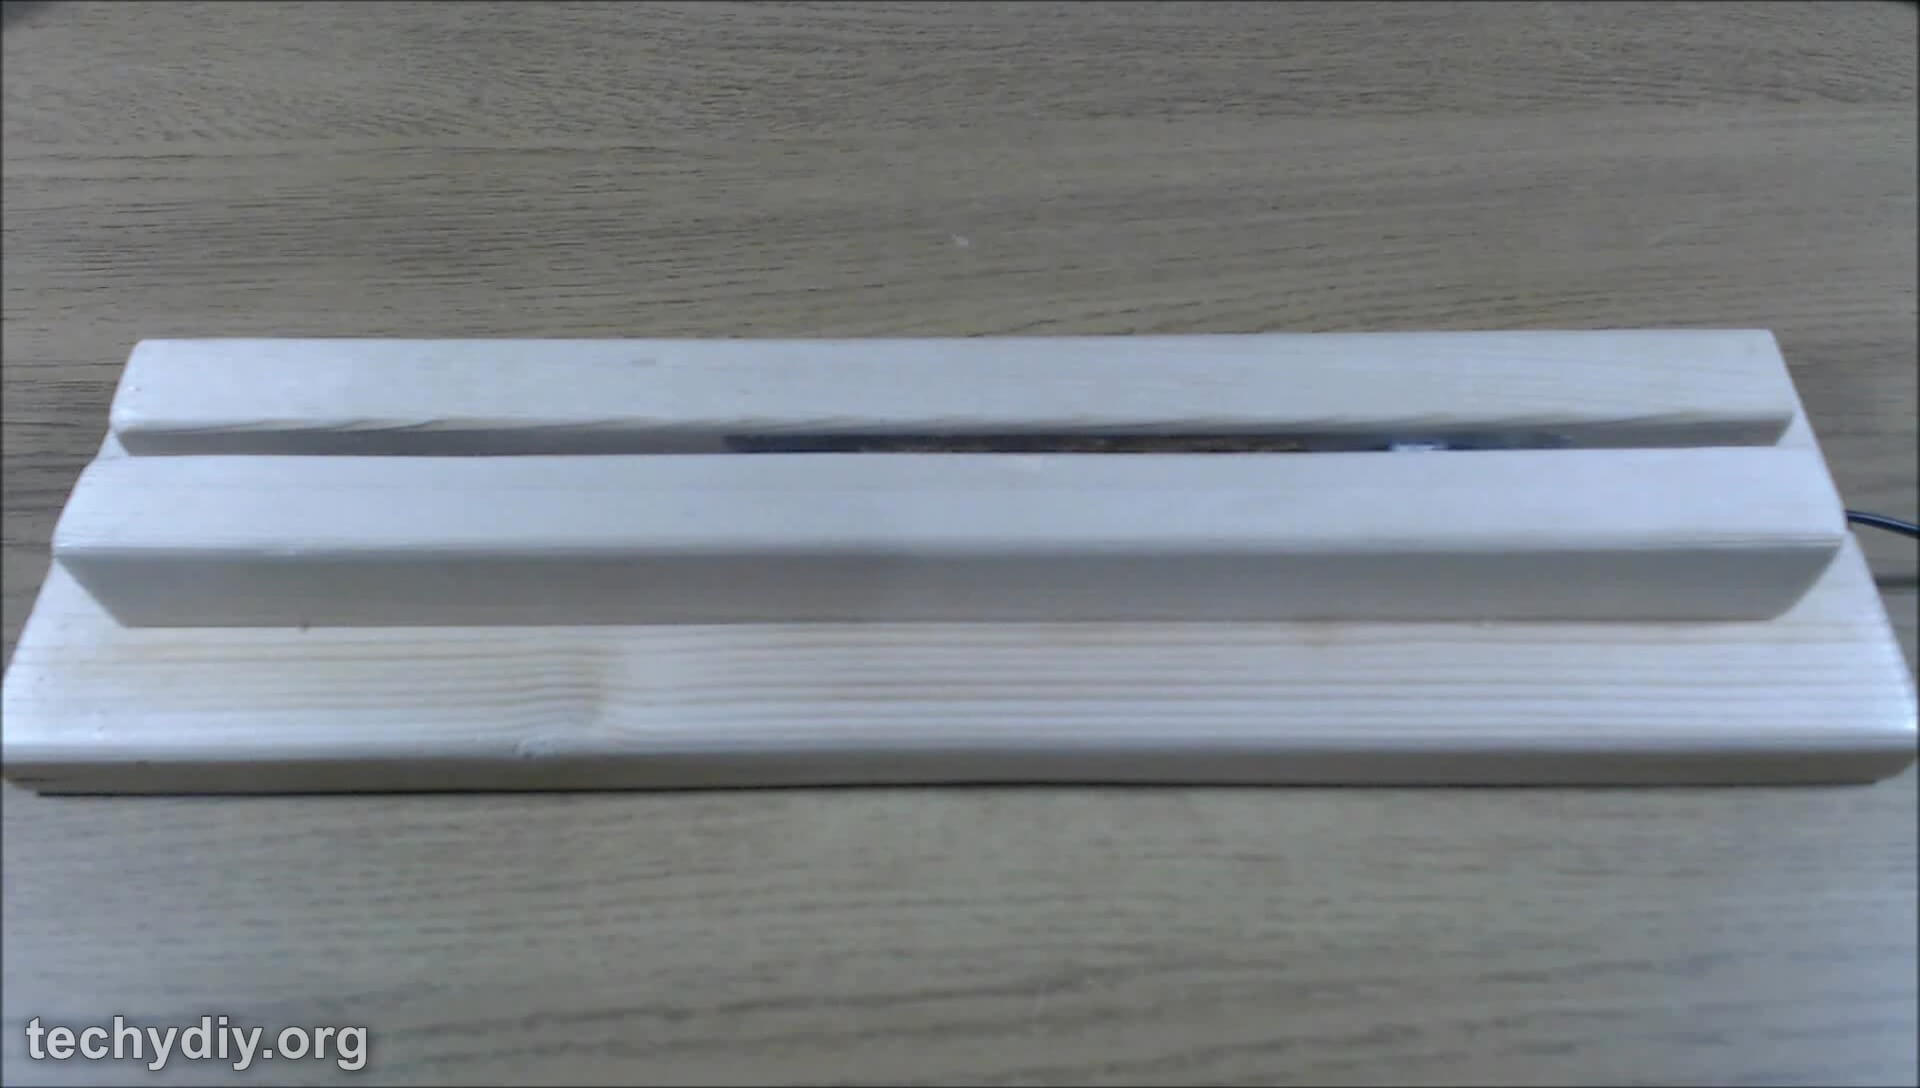
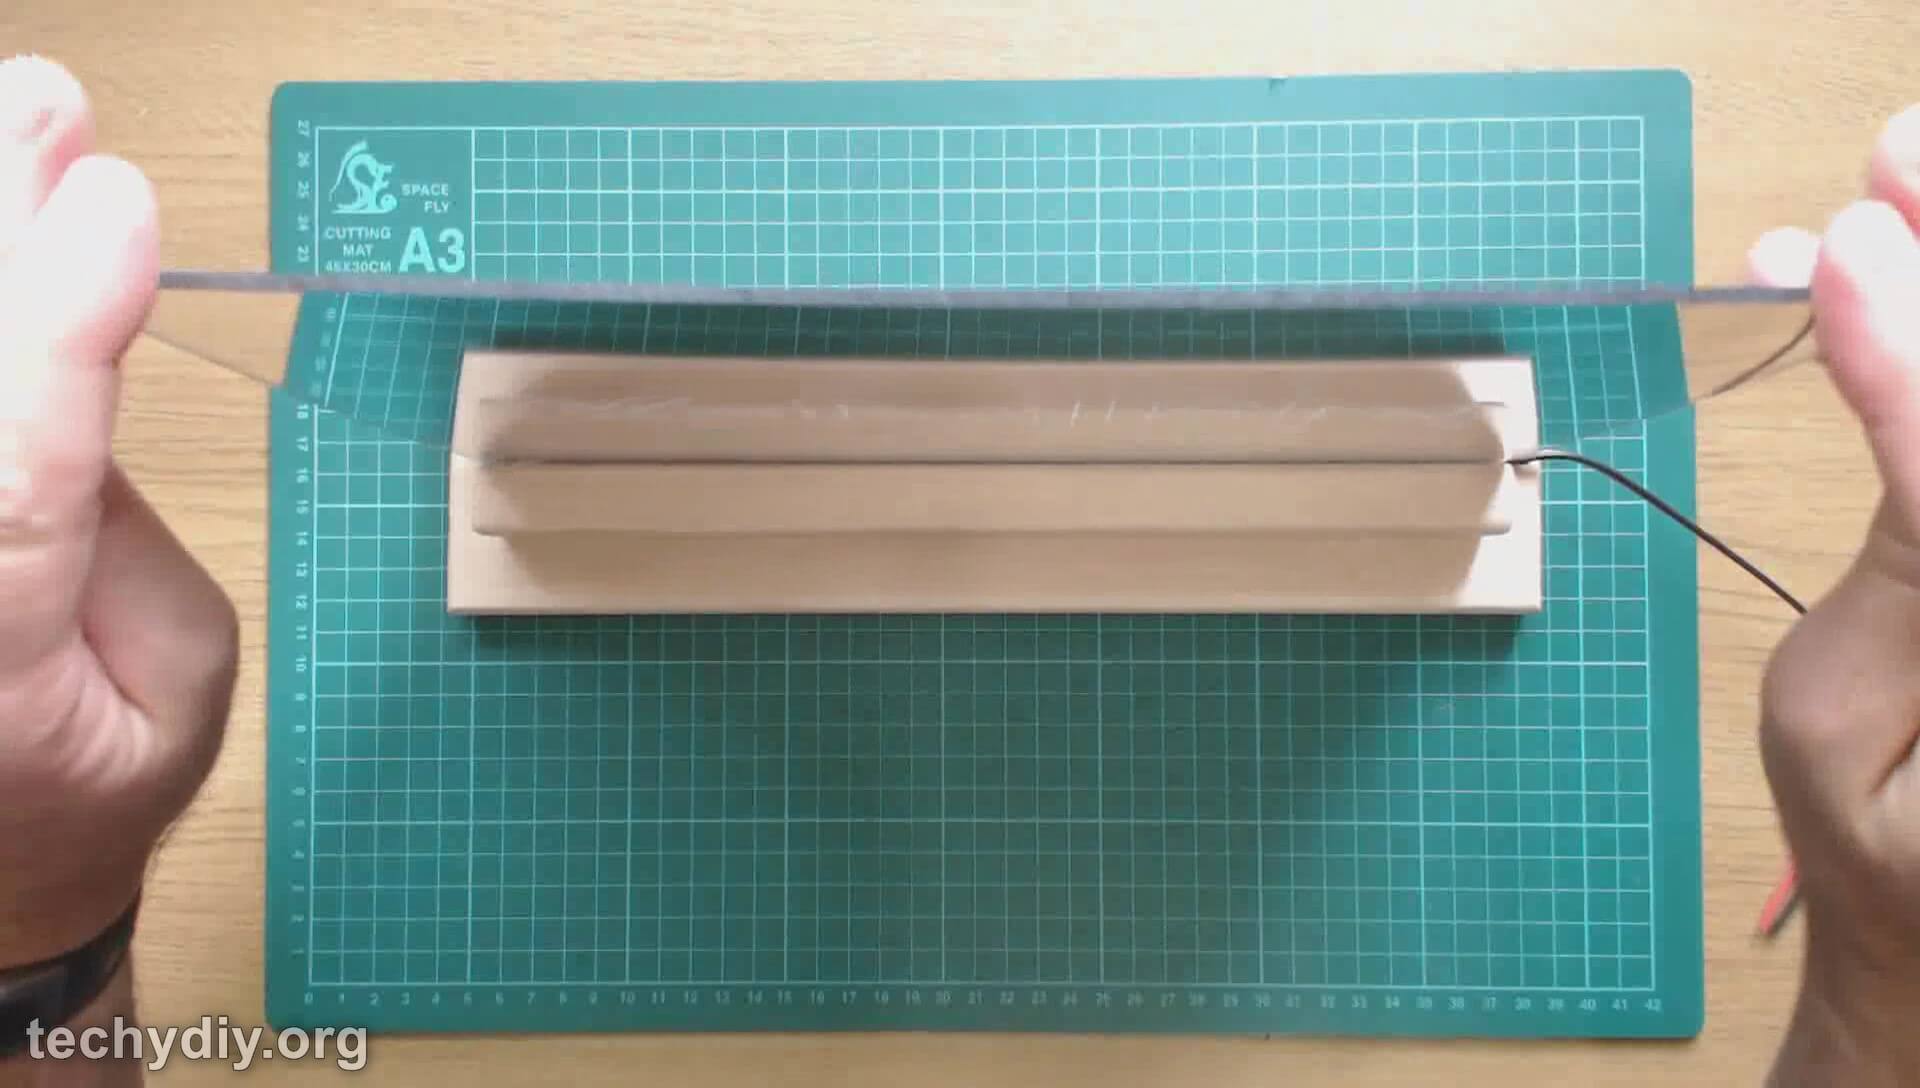
The profile of the wooden pieces will now look like this with a V slot at the bottom of the sides ready to accept the led strip.

Led edge lit base wood profiles
To find the correct postion of the led strip on the wooden base. FInd the centre line and then add half the width of the led strip. Mark this line with a pencil.
Remove the backing from the led strip
Remove the led tape backing
Placing a ruler against the marked line, apply the led strip to the centre of the wooden base.
Stick the led tape on wooden base
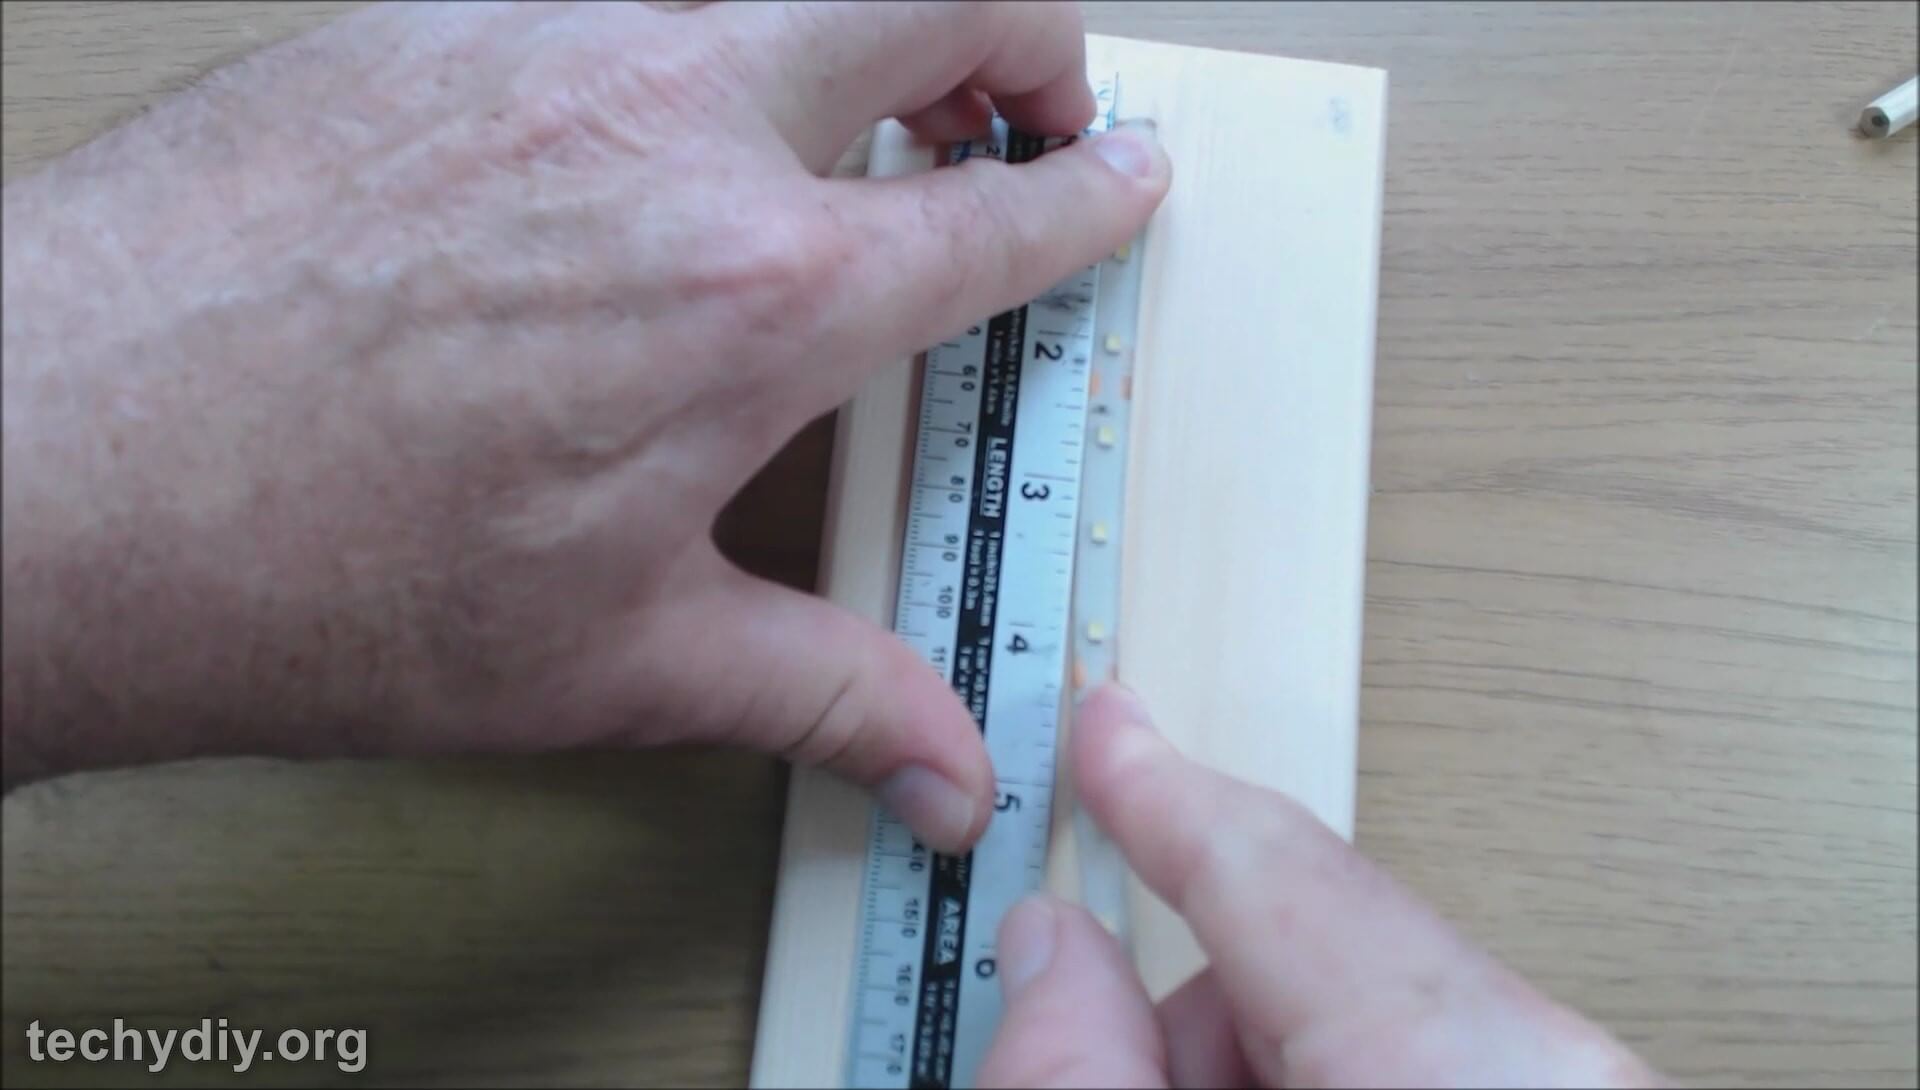
Stick the led tape on wooden base
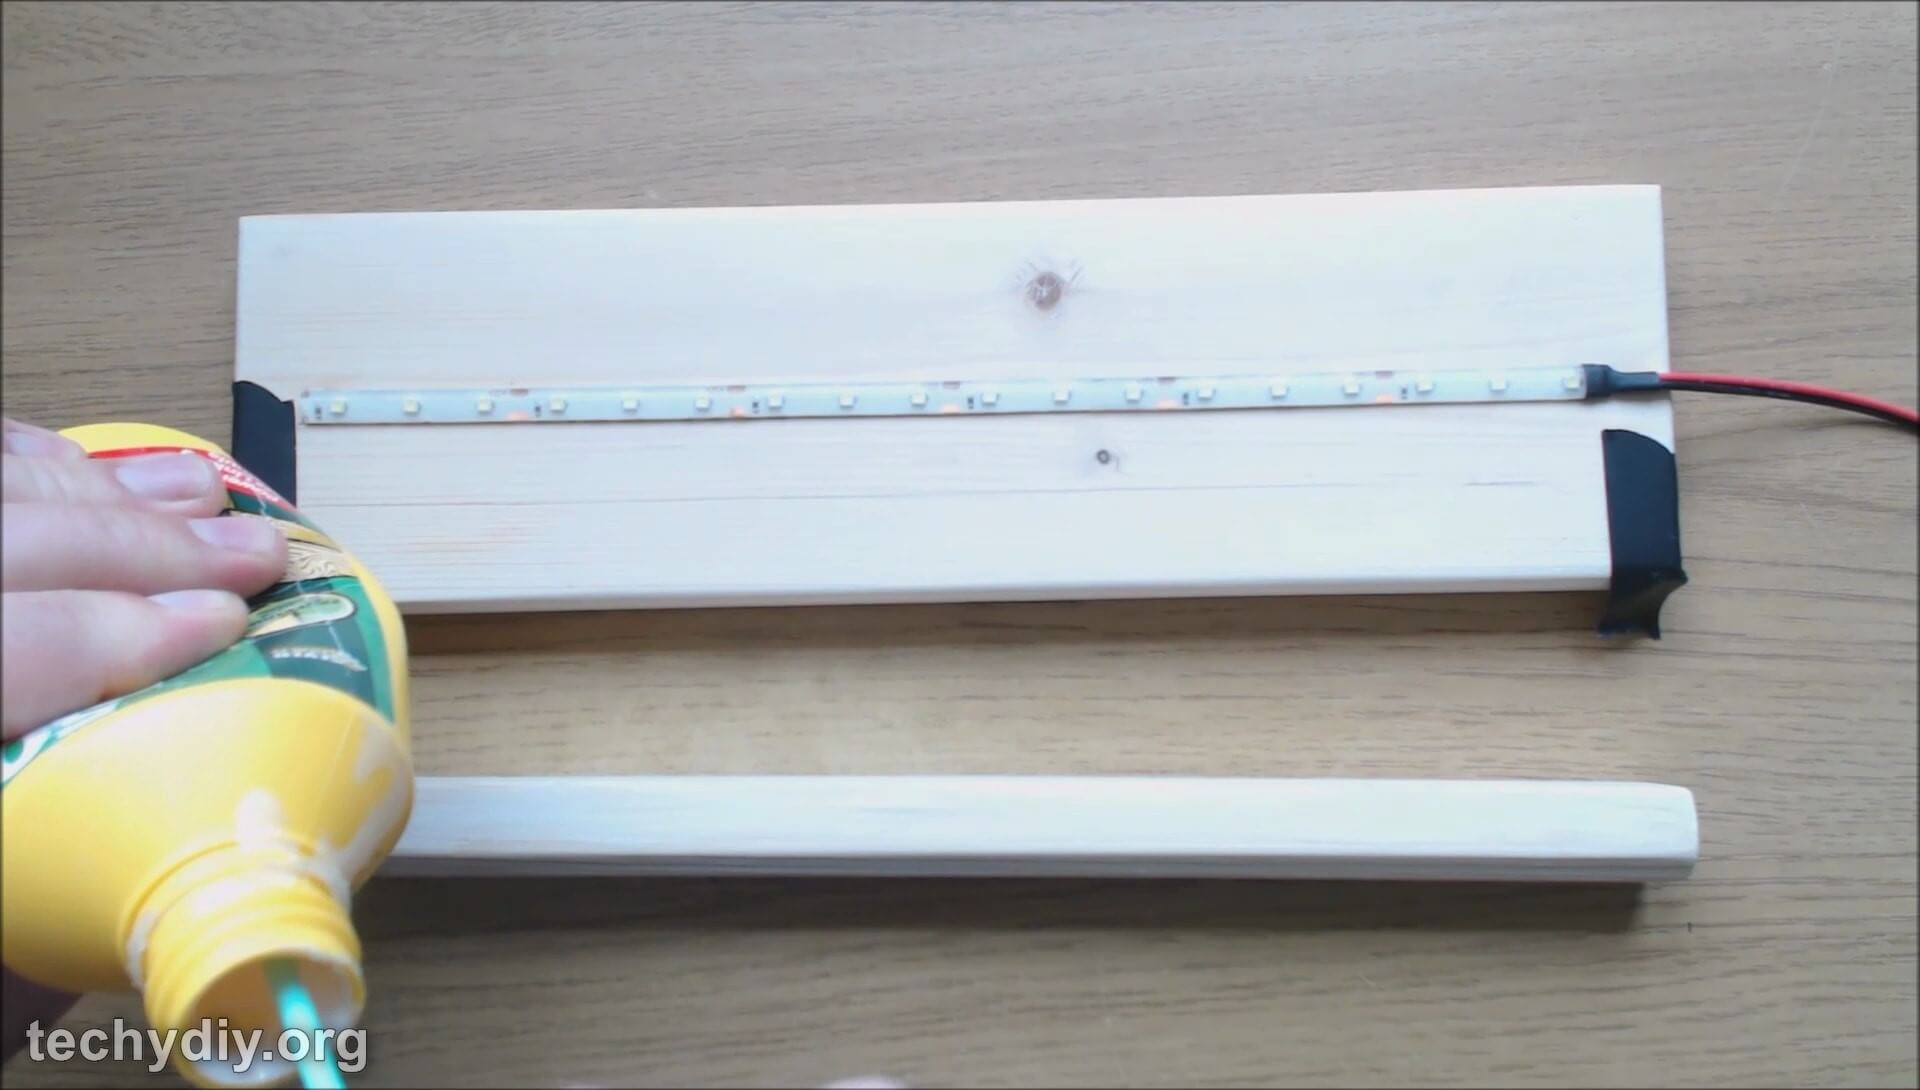
Base with the led tape stuck on
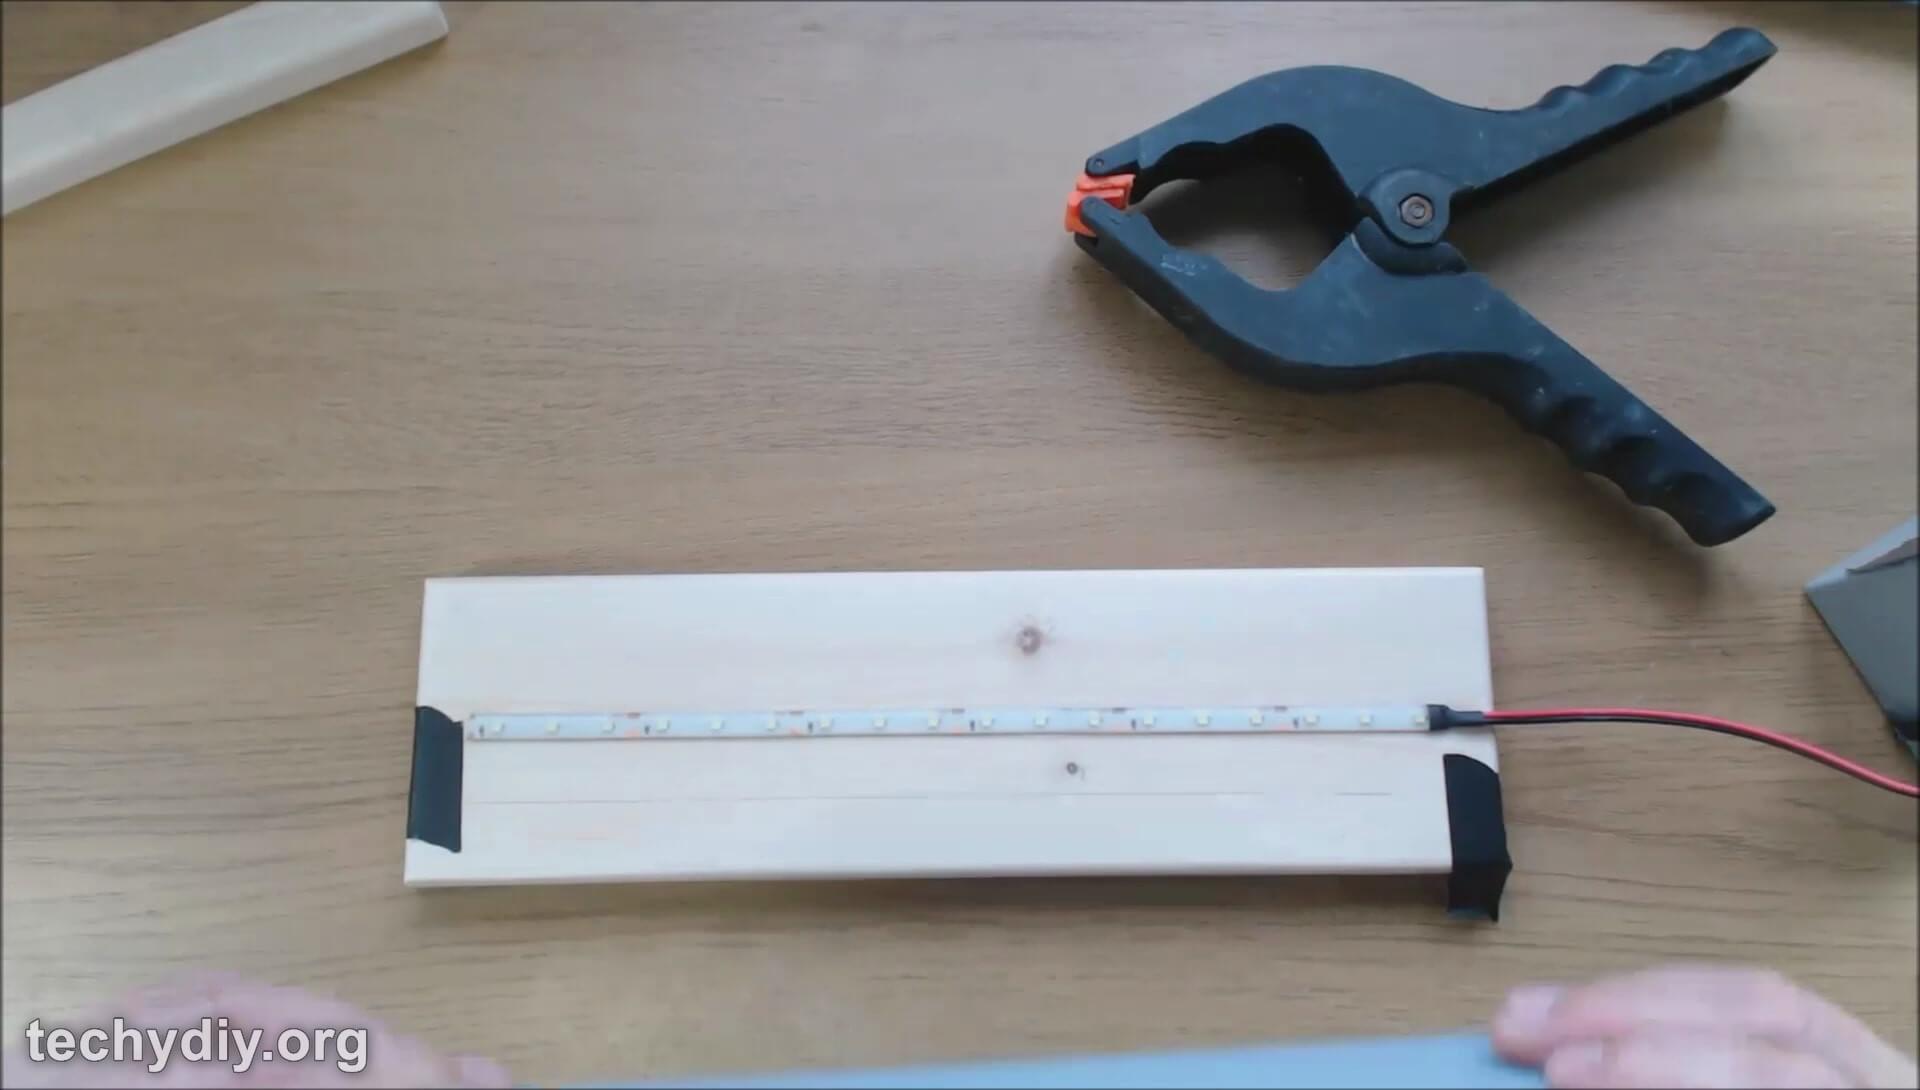
To find the position for the first side piece rest the acrylic mirror sheet on the centre of the led strip.

Put the acrylic sheet onto the leds
Place one of the wooden side pieces against the acrylic sheet. The chamfered edge should be at the bottom and facing the acrylic sheet

Hold the side in place on the LED strip
and then mark the position of the wooden side with a pencil.
Draw a line along the side
Apply wood glue to the base and the side.
Apply wood glue
Apply wood glue to side
Apply wood glue to the base
Clamp the side in position using the second second side for stability.
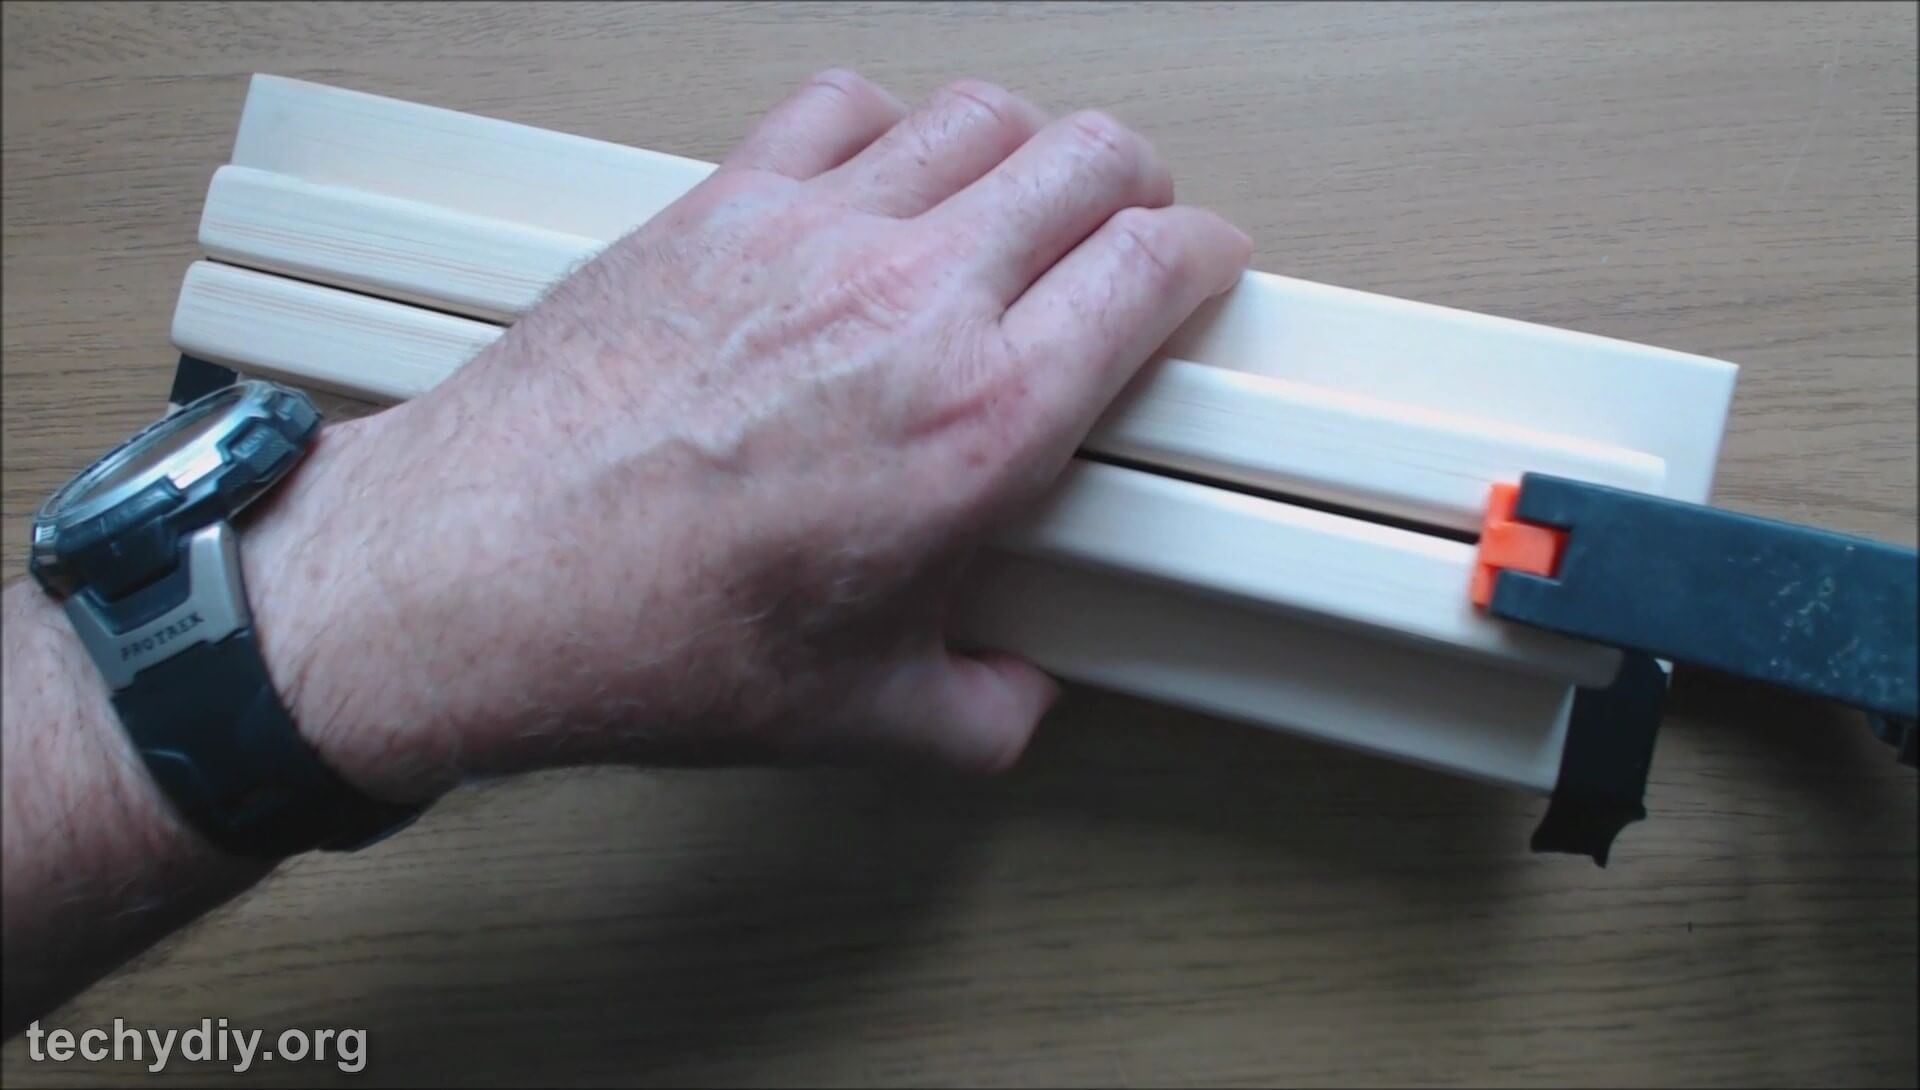
Clamp the side in position
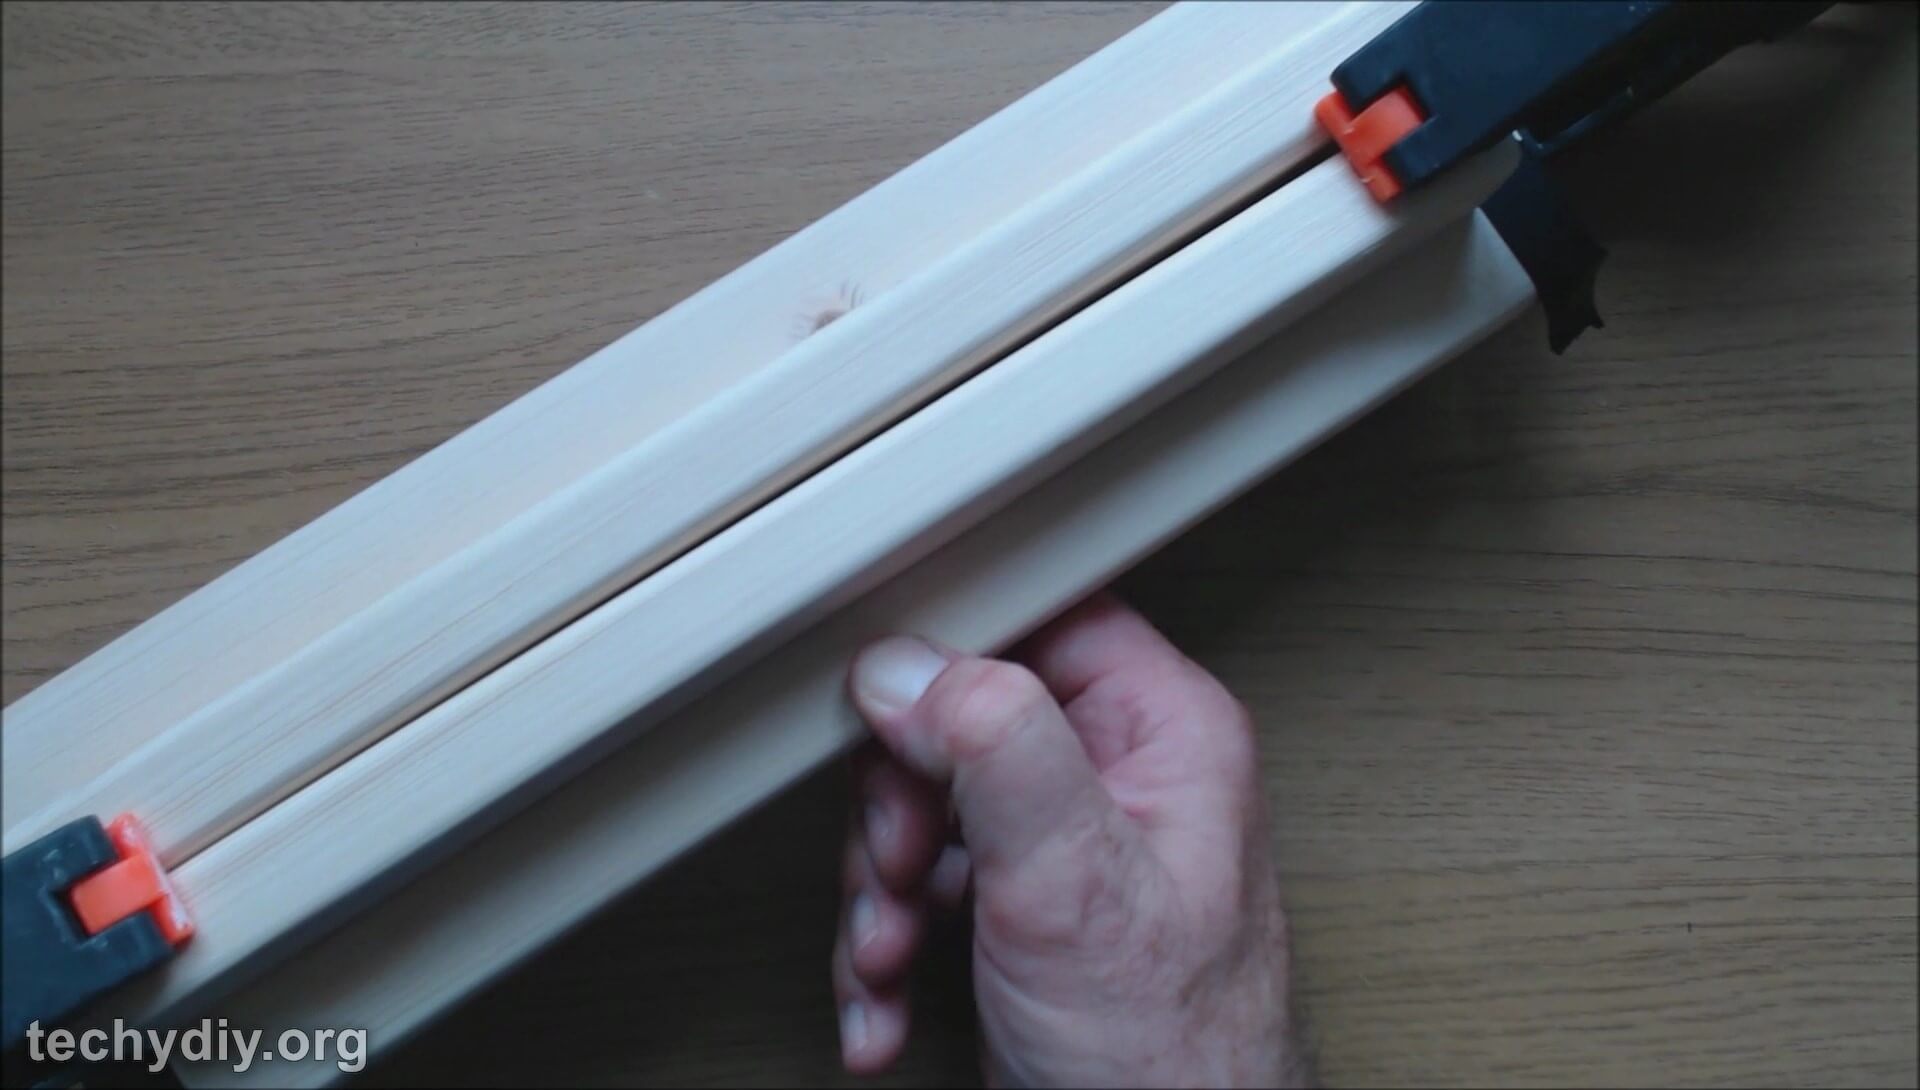
Clamp the side in position
Wipe away any excess glue with a damp cloth.
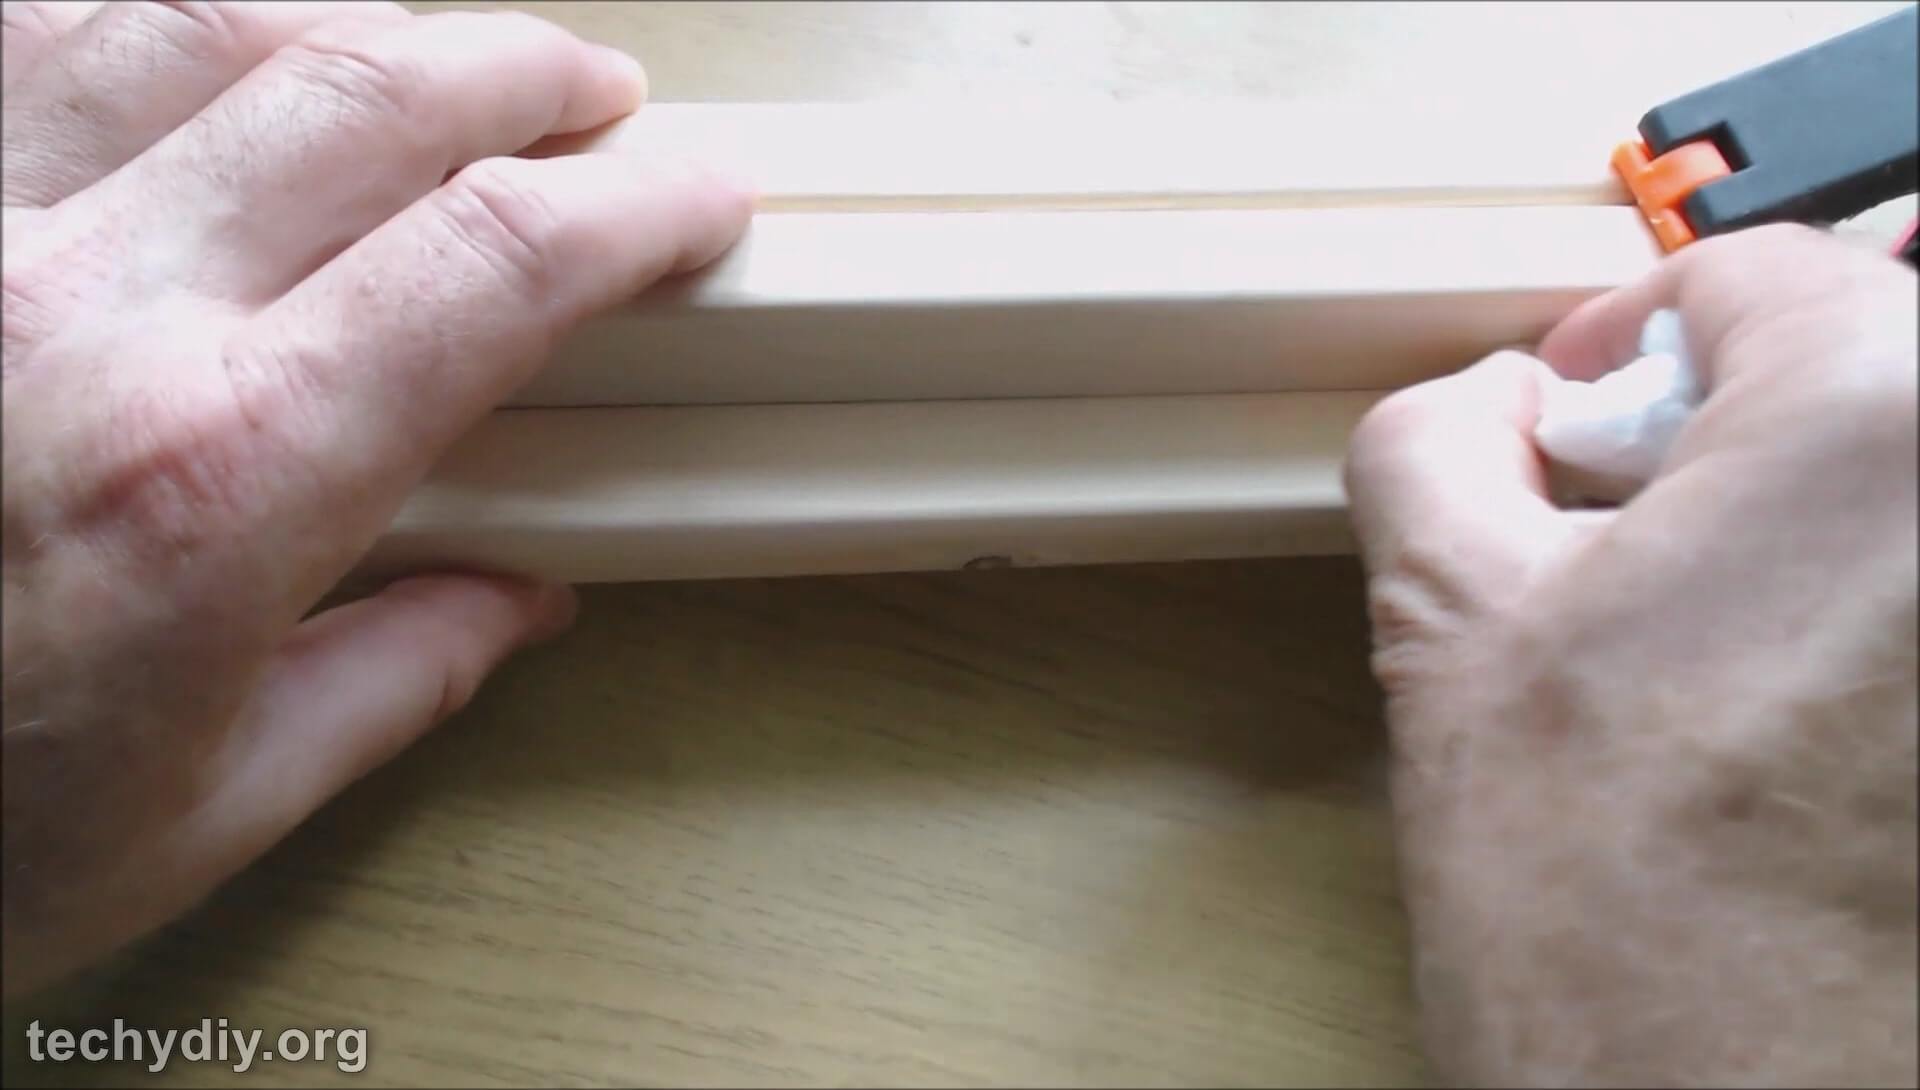
Wipe away excess glue
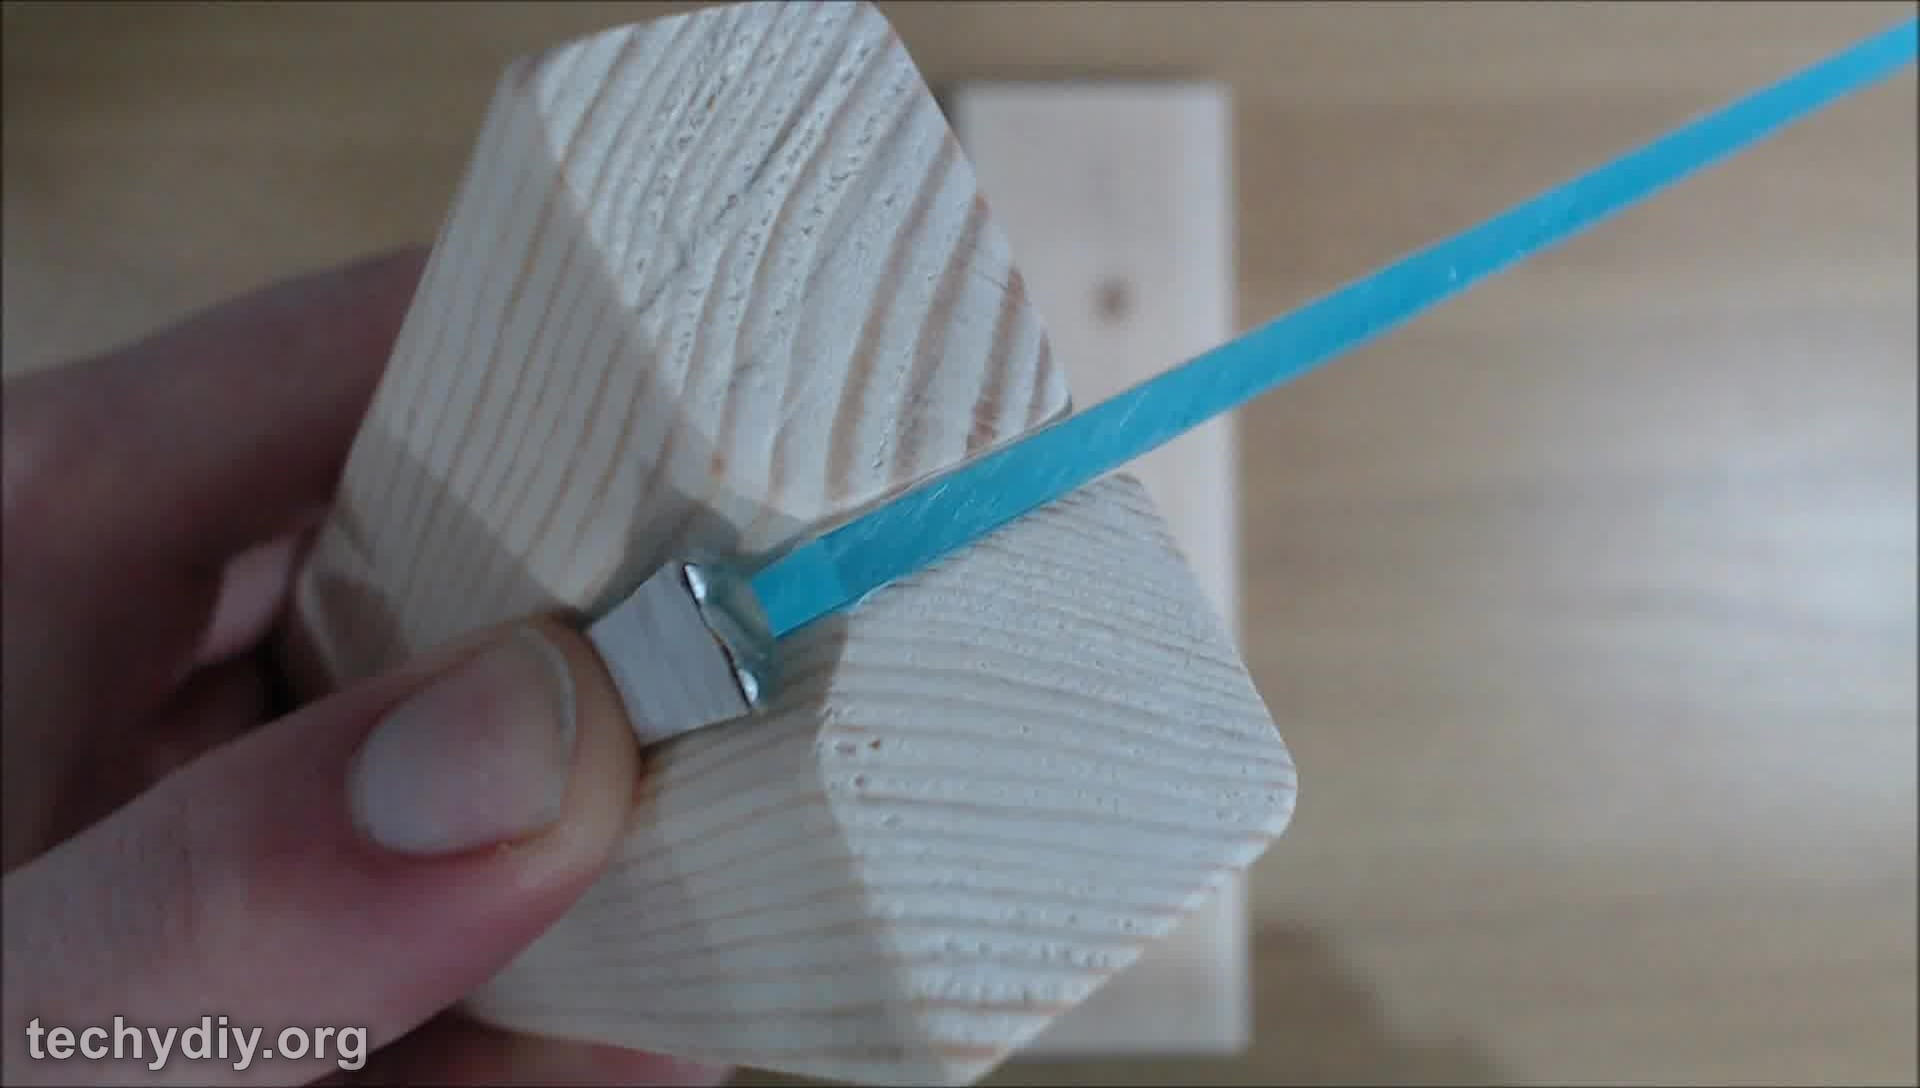
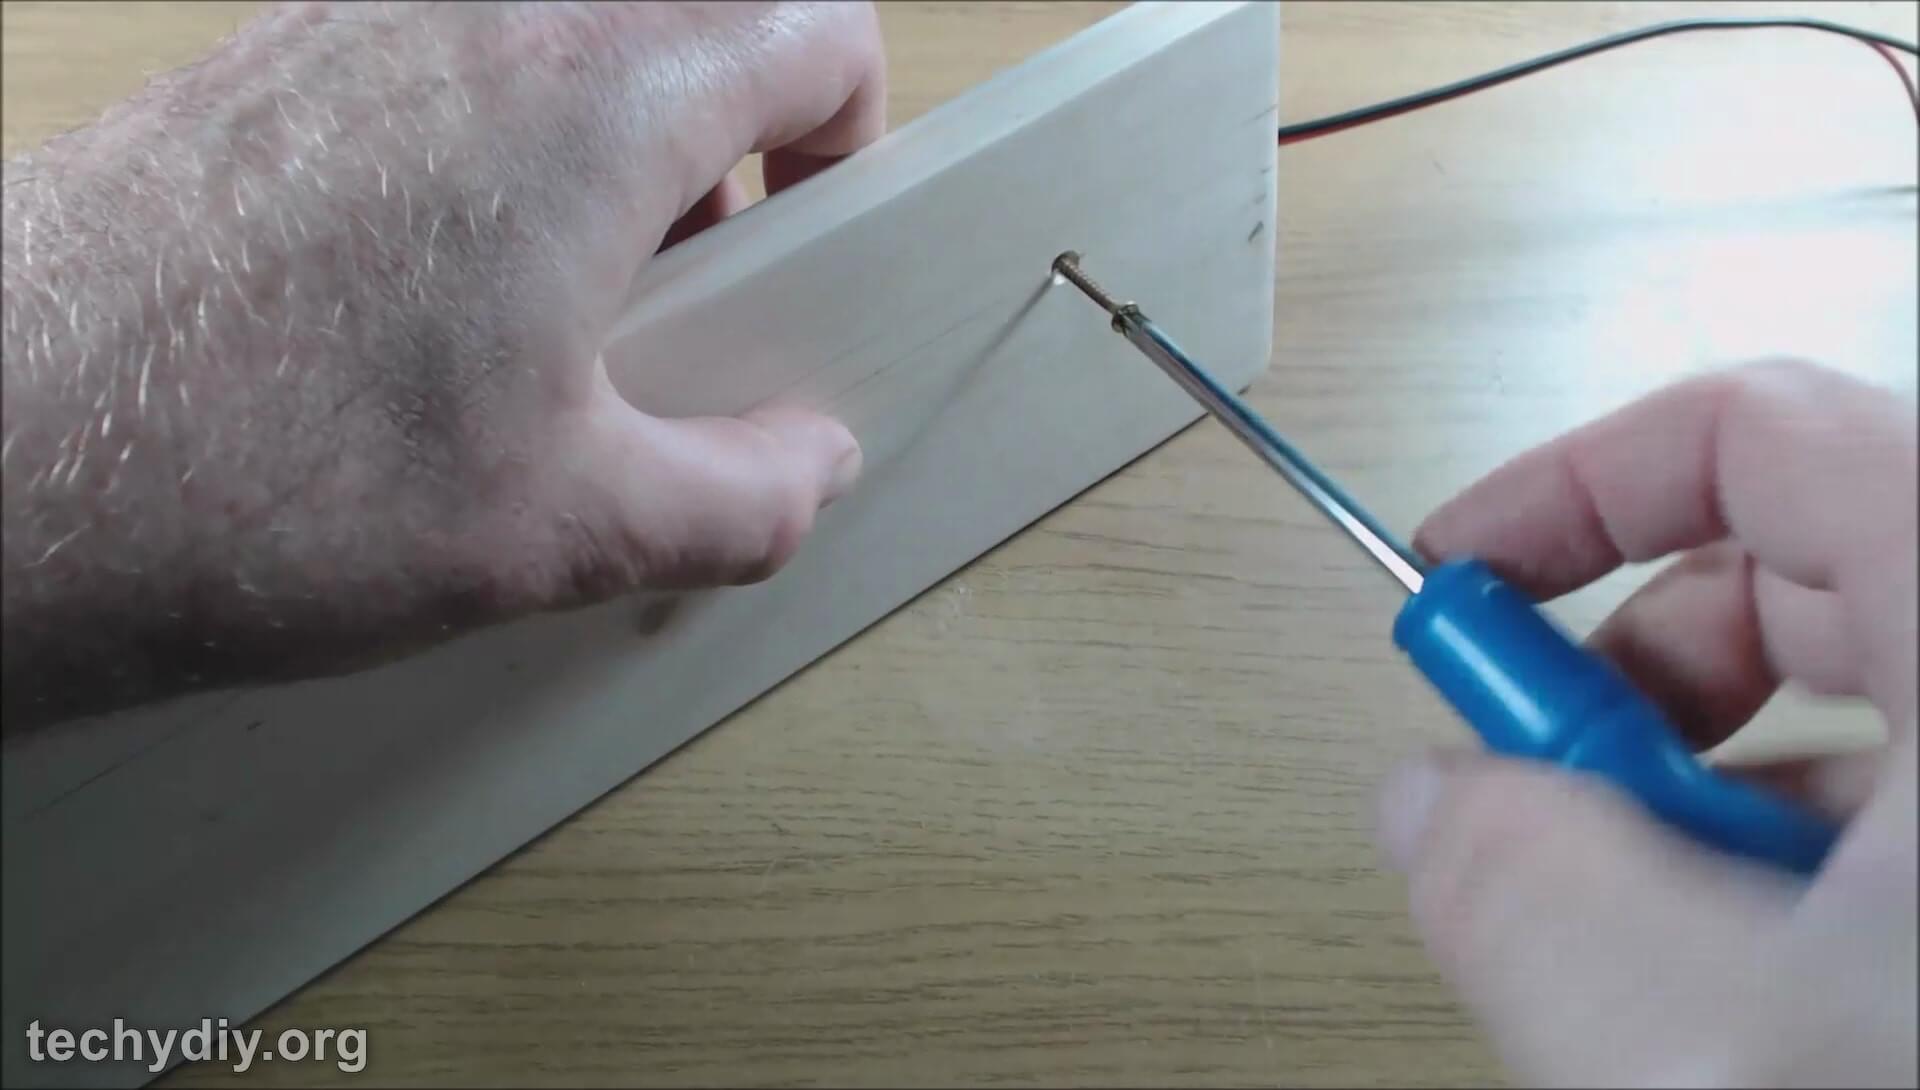
For additional strength drill three pilot holes through the base and into the side.
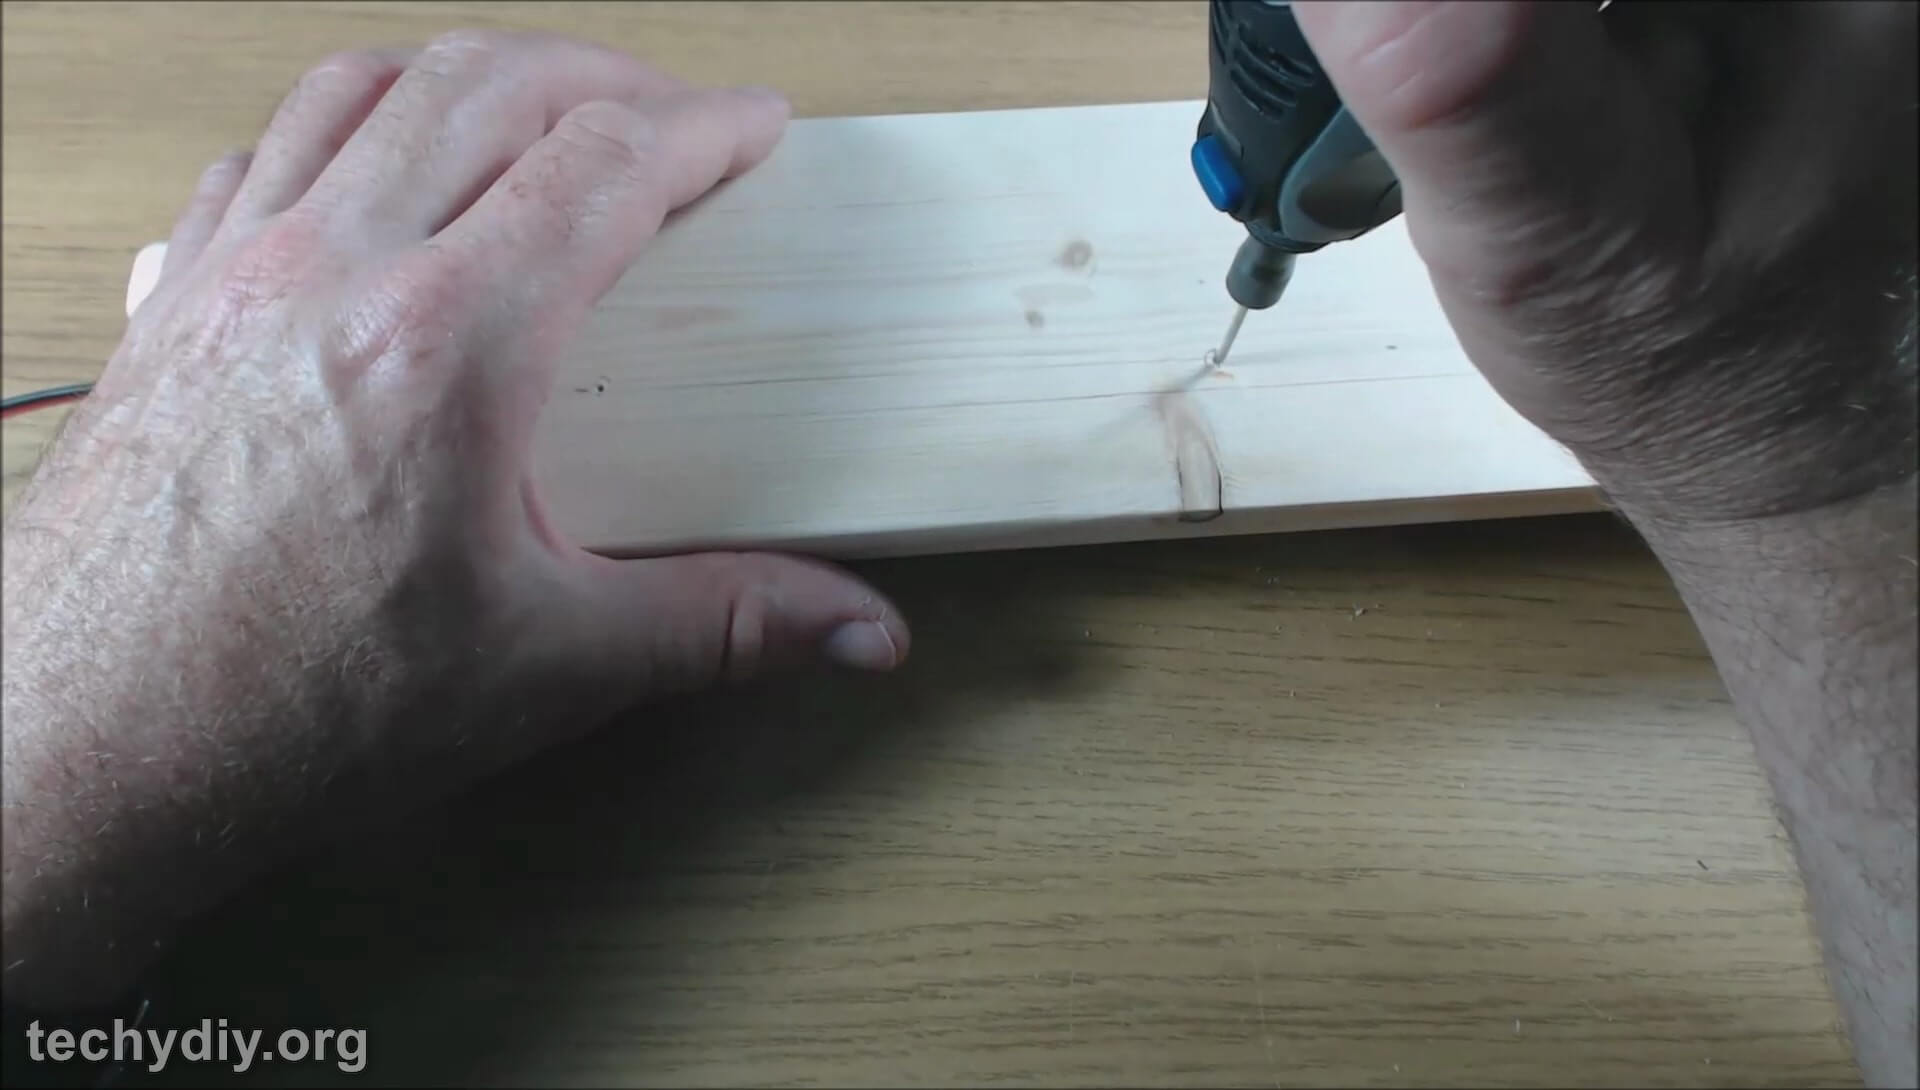
Drill pilot holes through the base
Countersink the holes and screw the side in position.

Side in position
Clamp the second side in place using the acrylic sheet as a spacer.
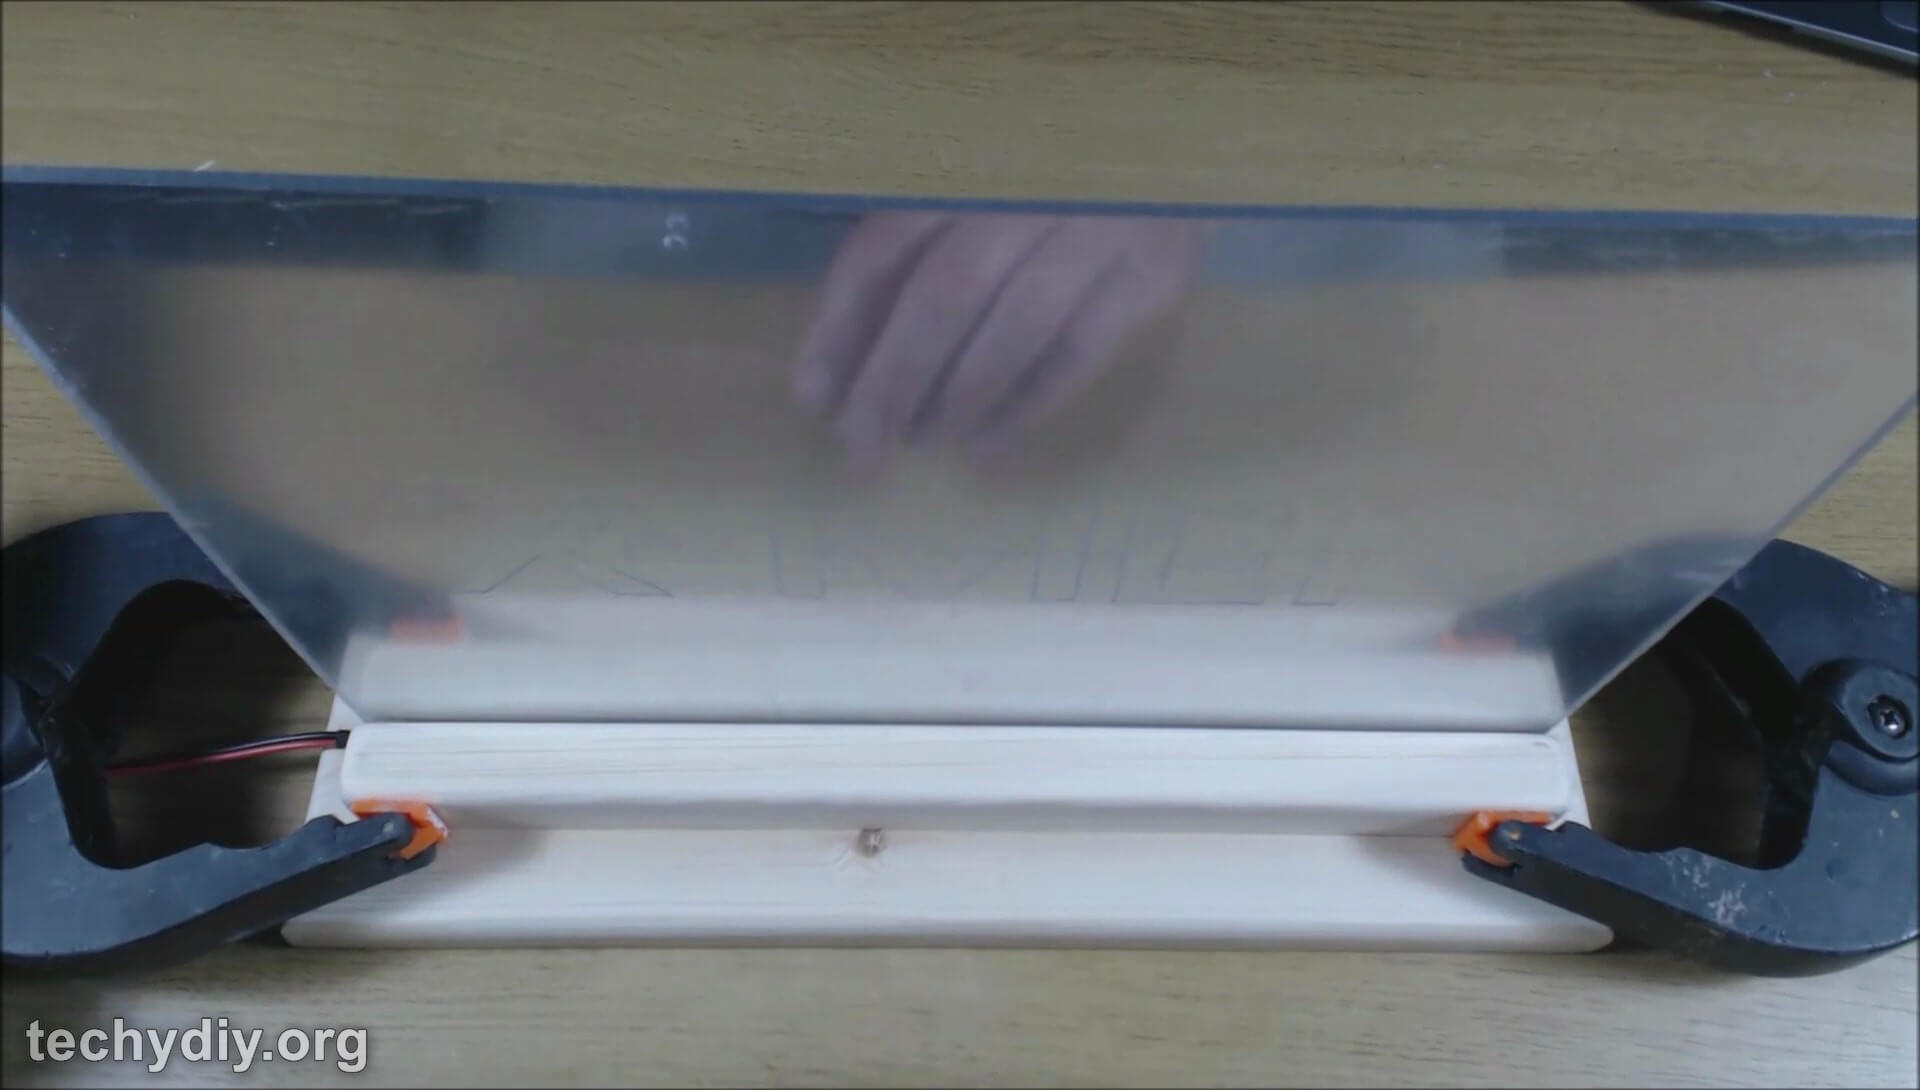
Clamp wooden side in position
Drill three pilot holes through the base and into the second side.
Countersink the holes
Drill pilot holes
and then screw the second side in position.
Screw the side into position
Remove the acrylic sheet from the base.
Remove the acrylic sheet
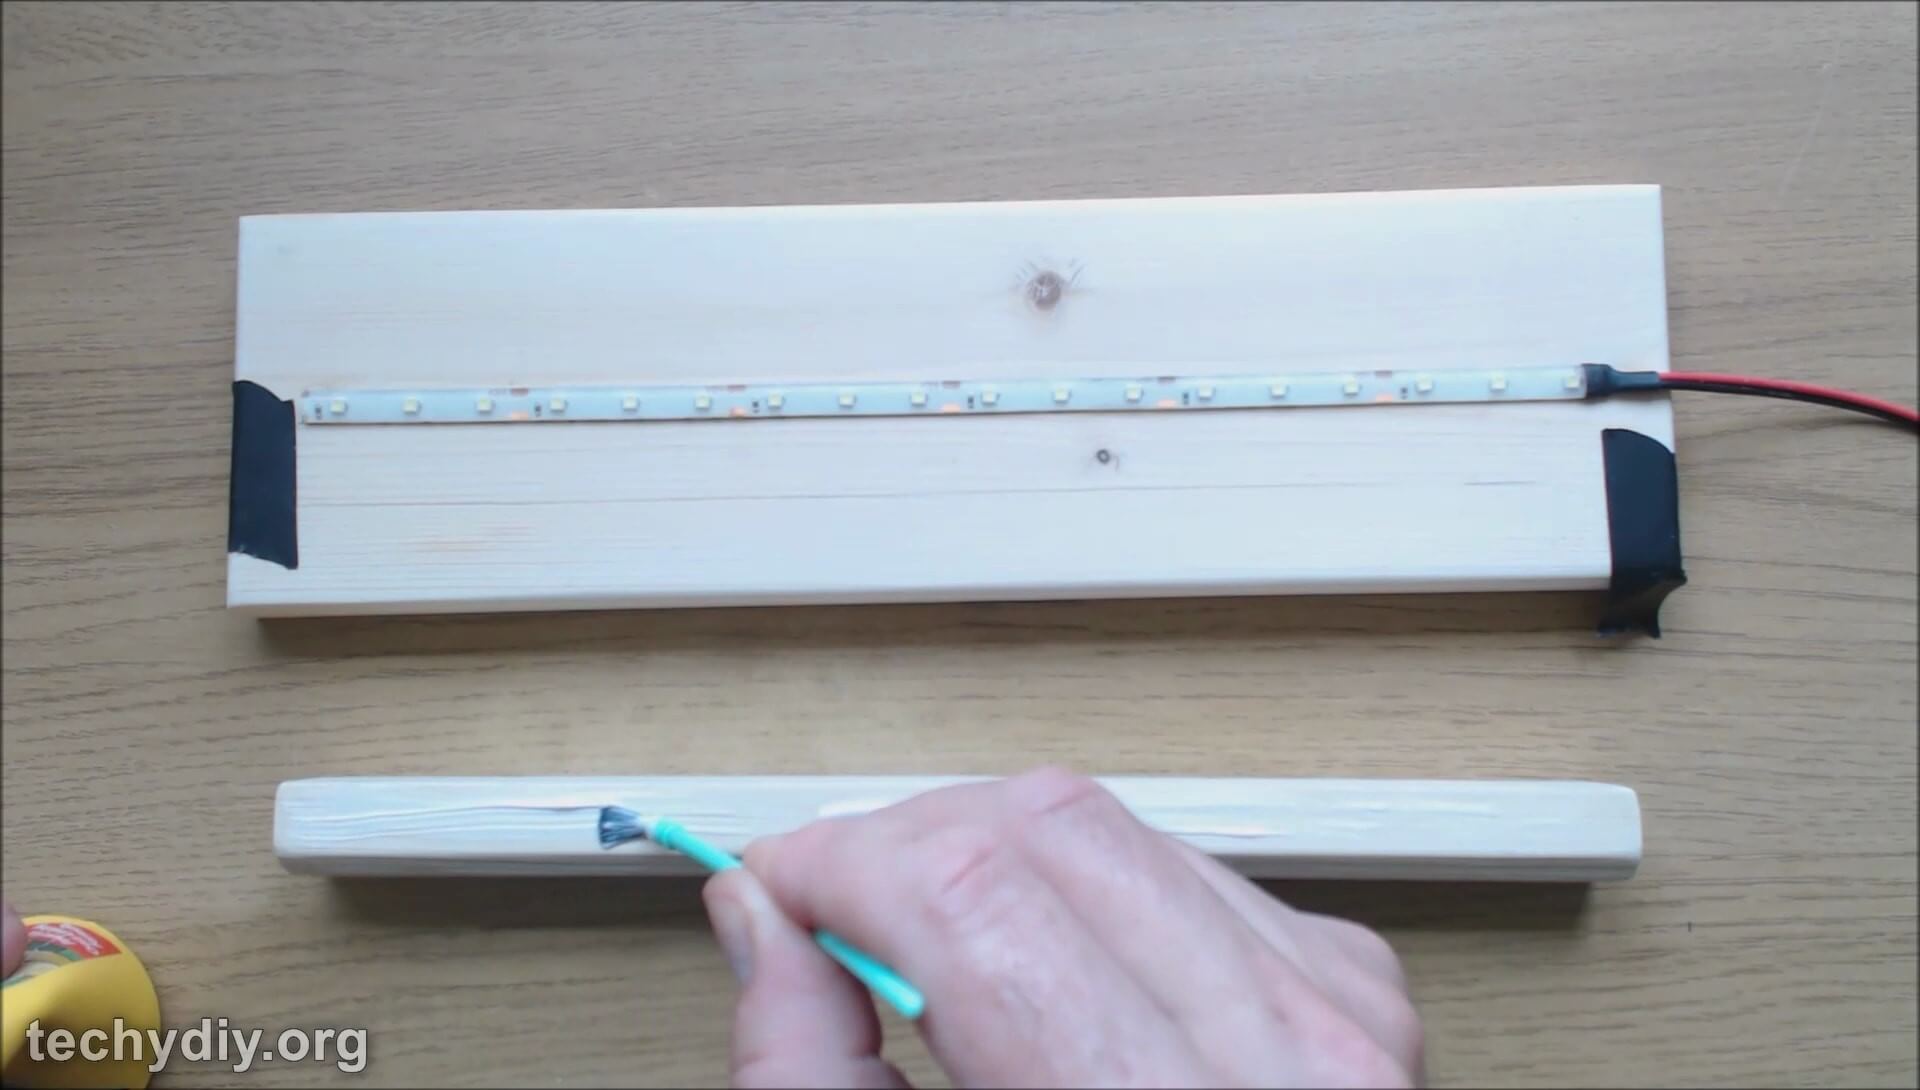
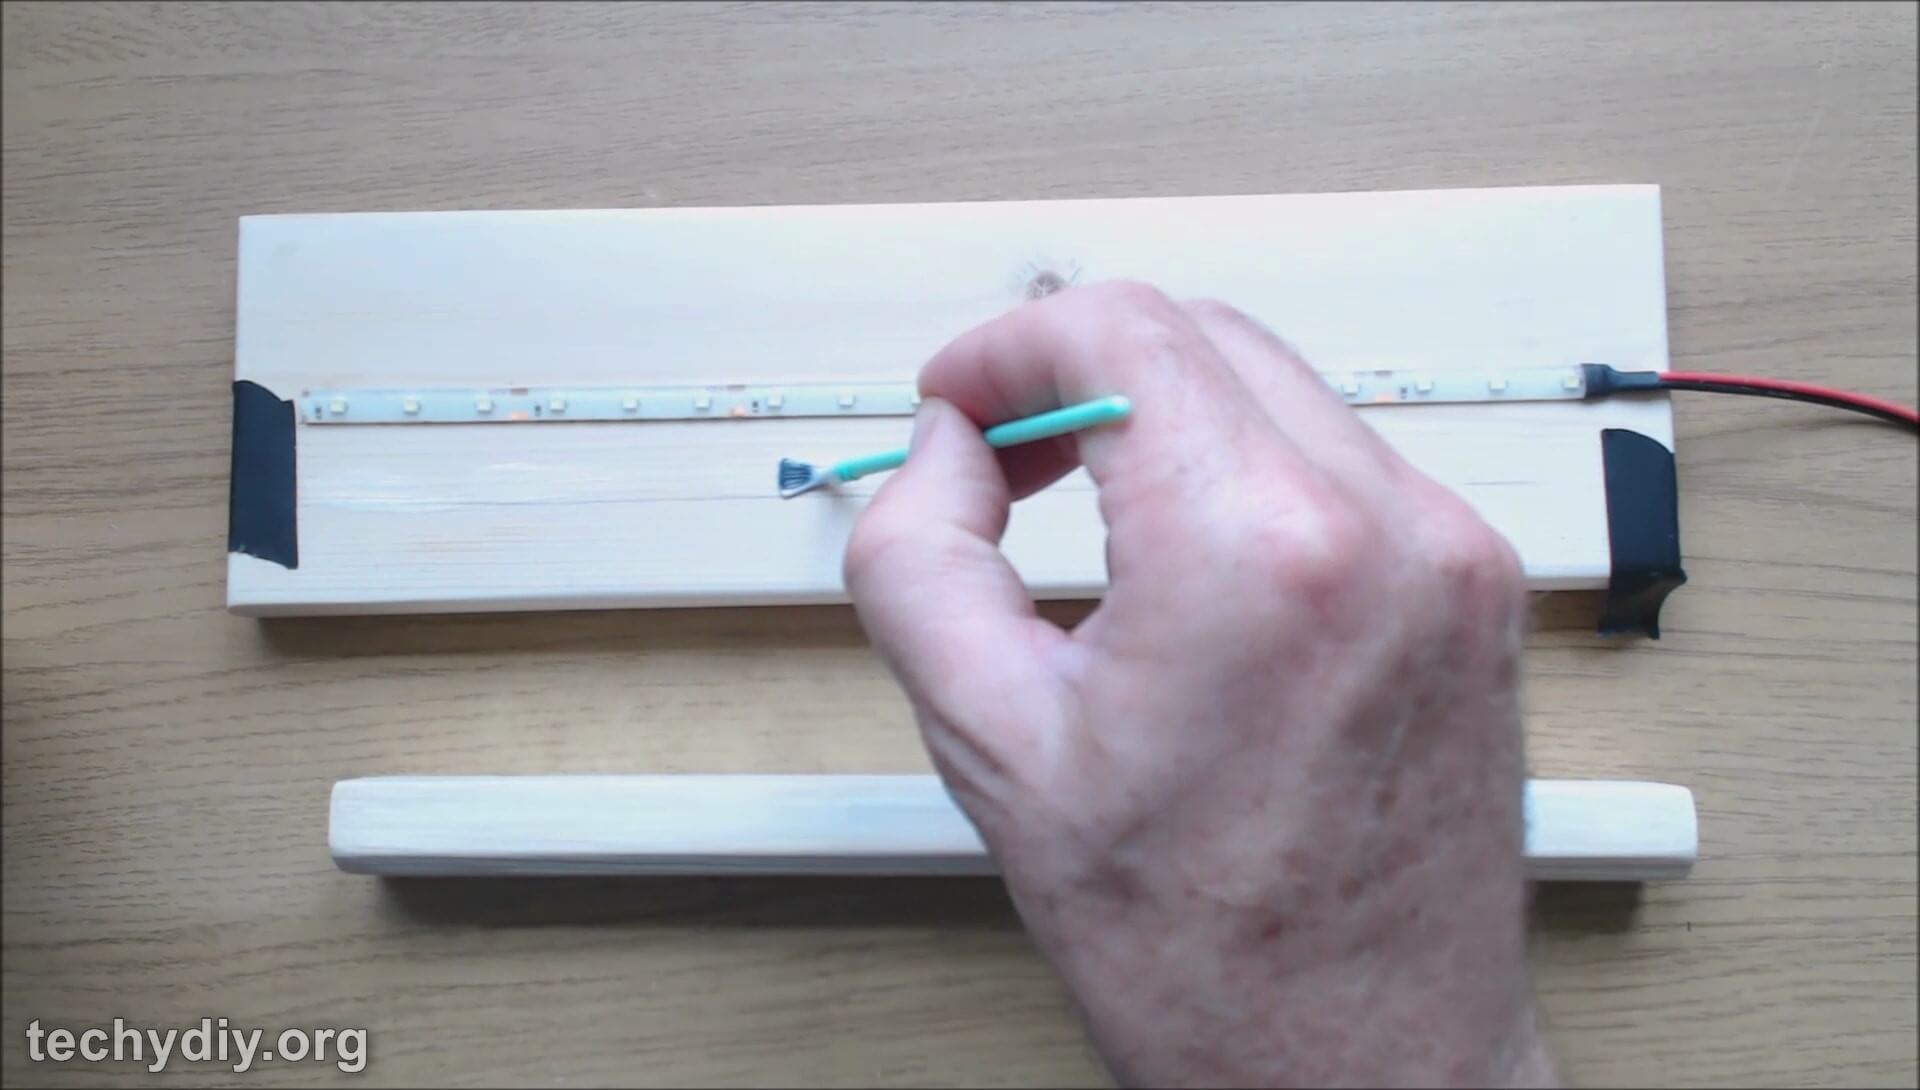
And then finish the base with varnish.
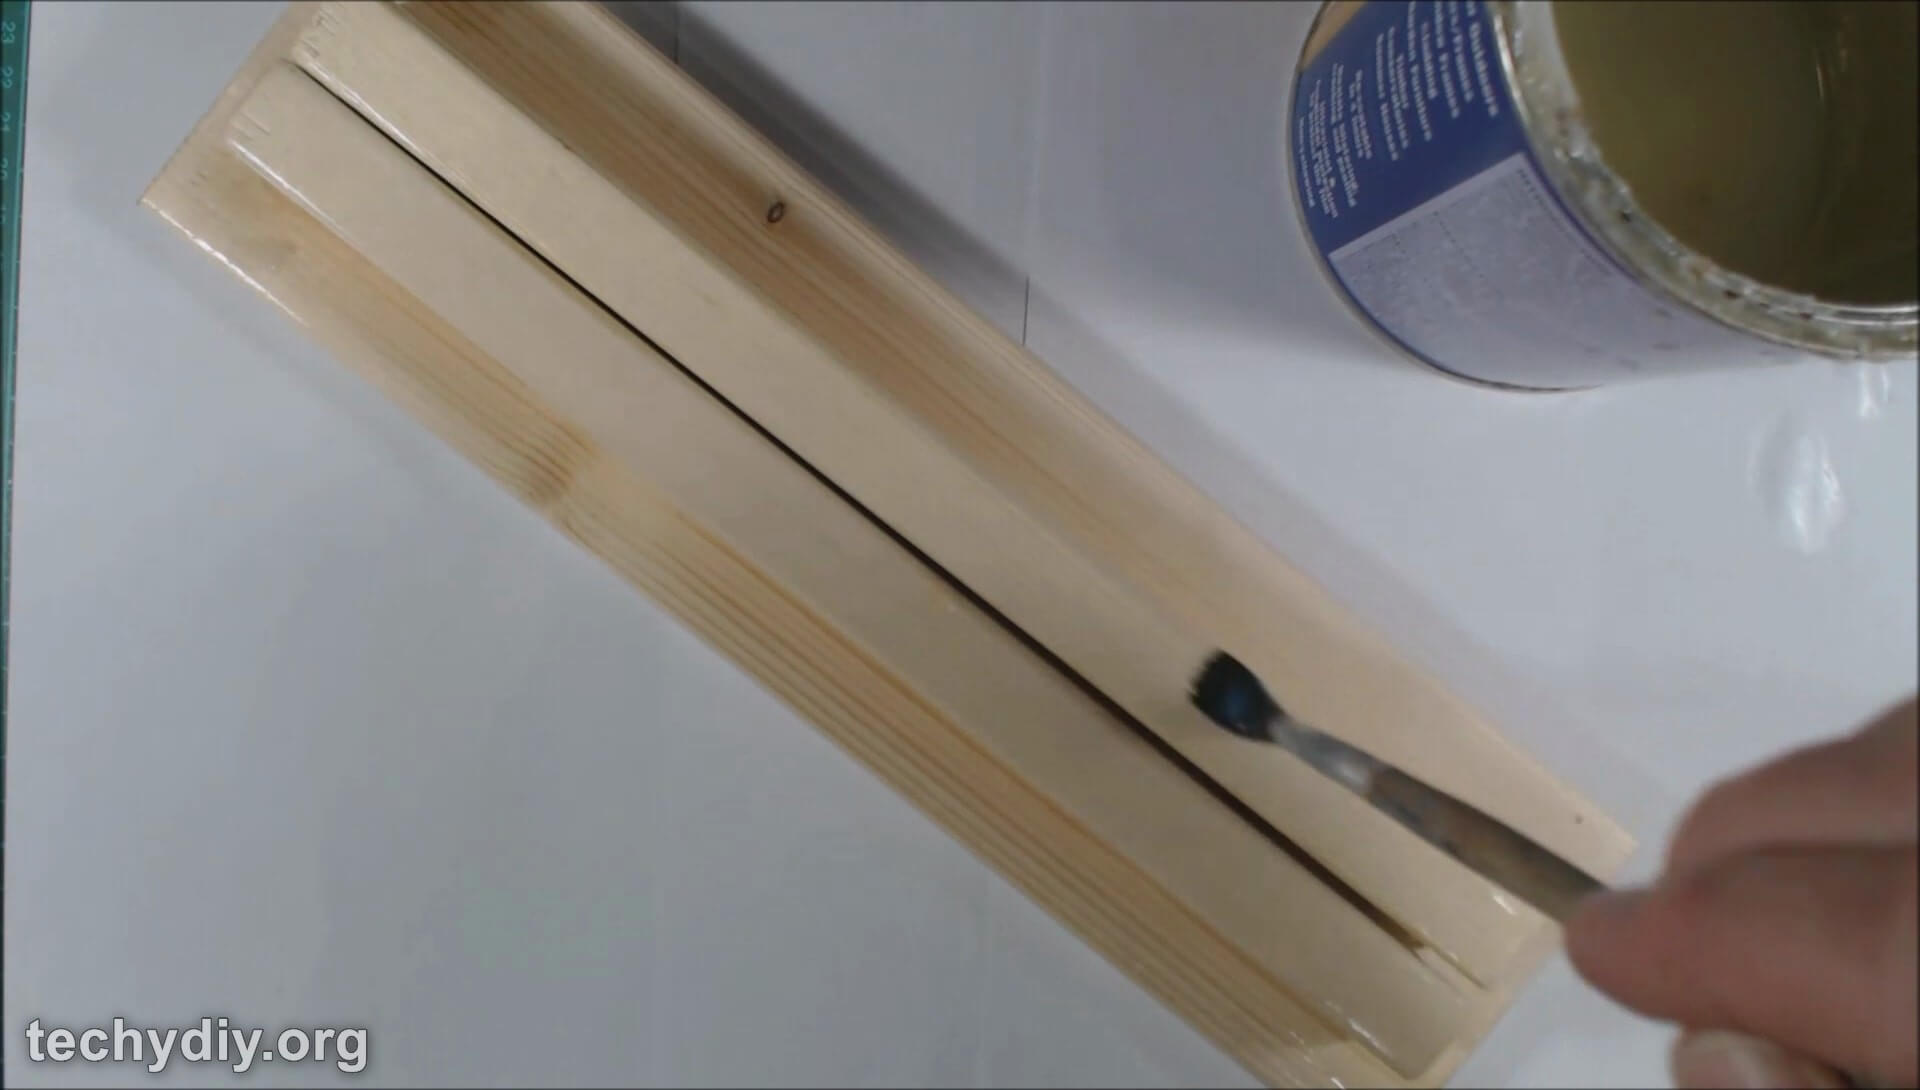
Varnish the base
Putting the sign together
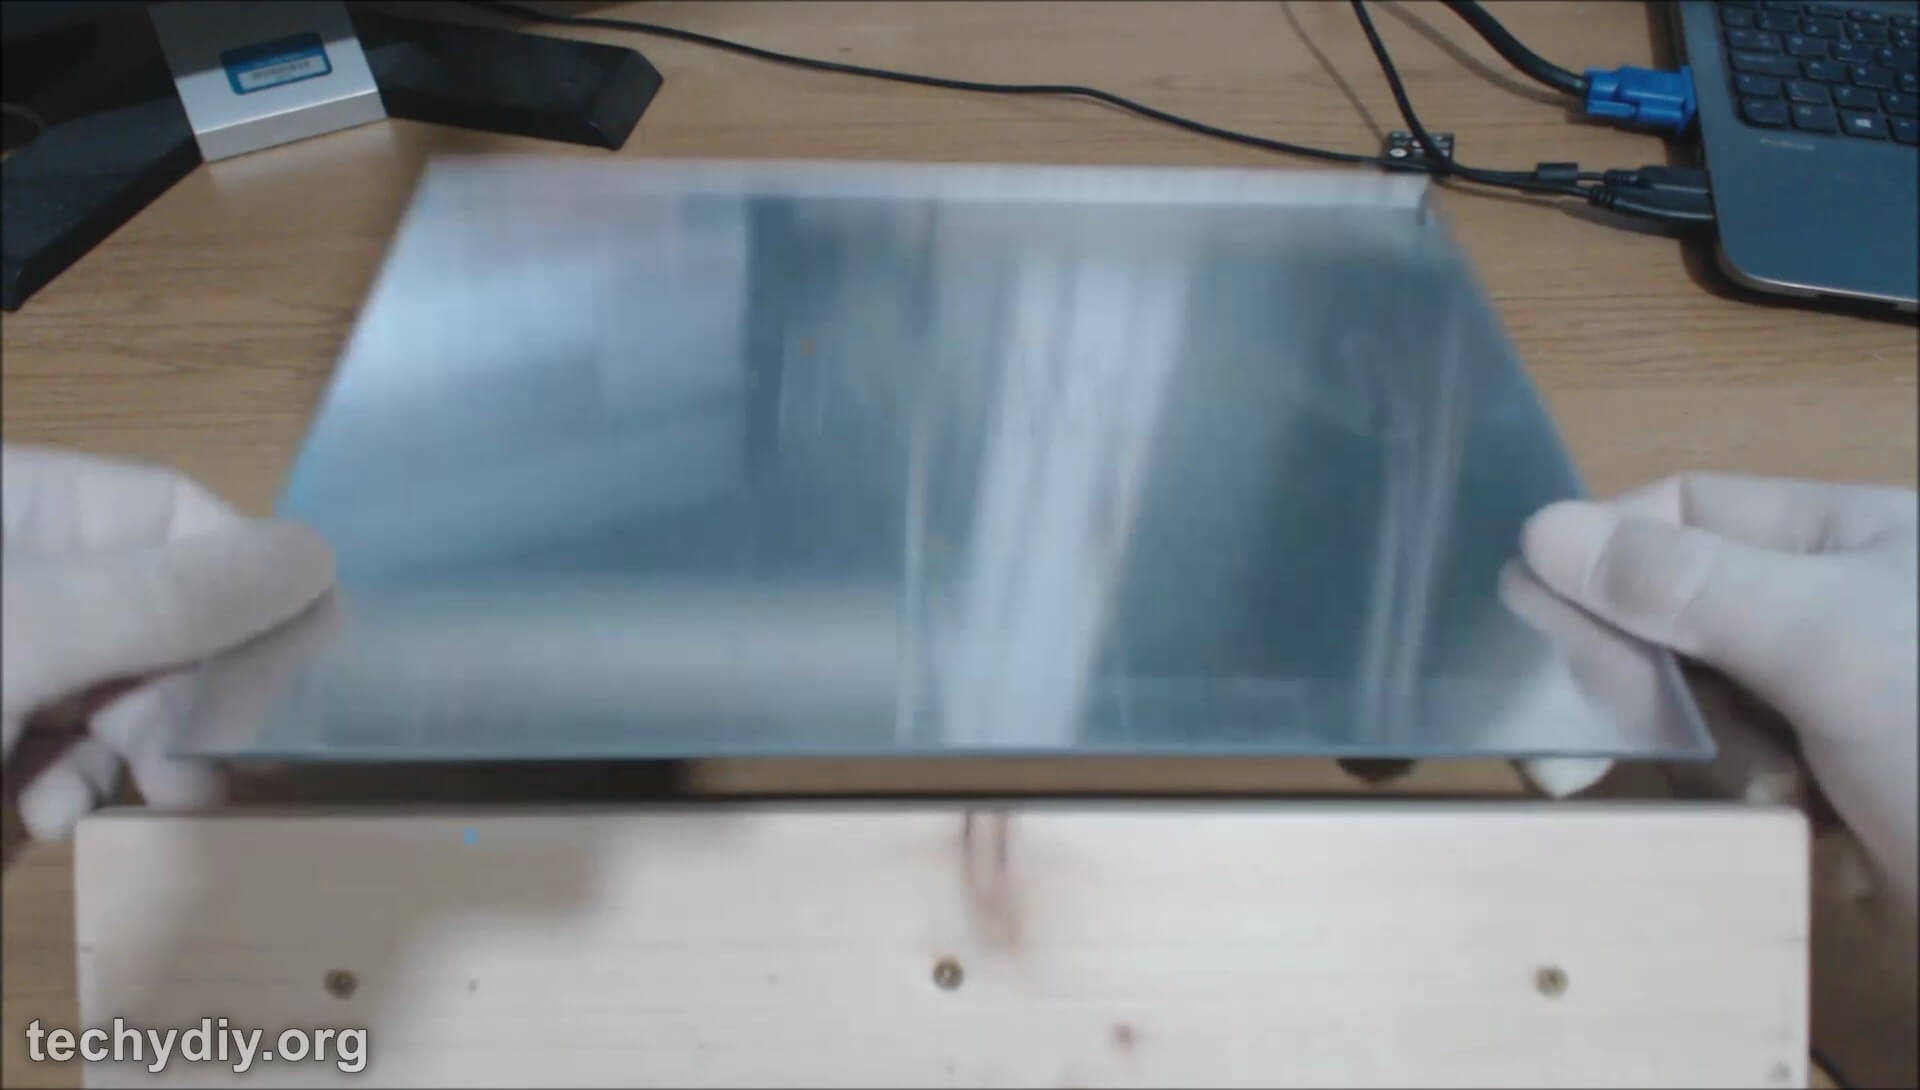
Remove the protective film from the acrylic sheet (Leave the last 2cm)

Remove the protective film from the acrylic sheet
Leave 1 inch of protective film
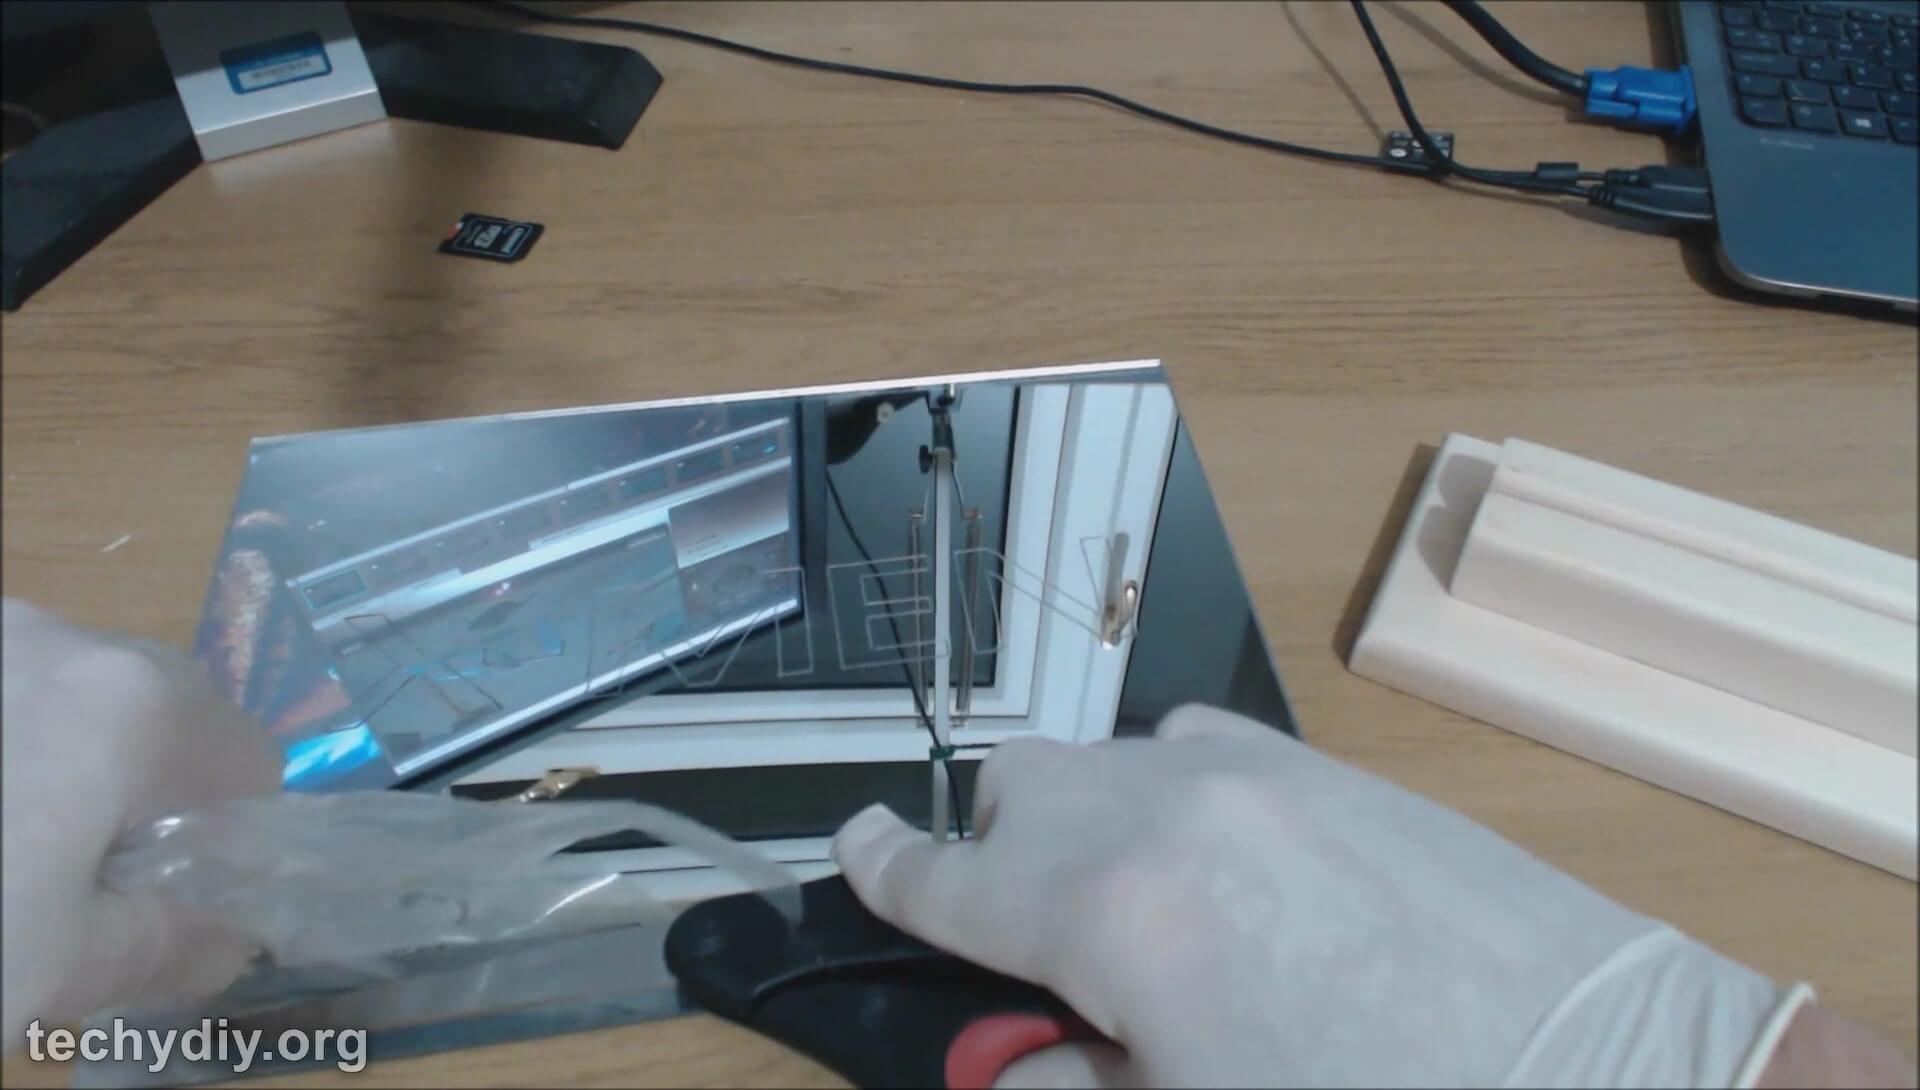
Insert the acrylic sheet into the base
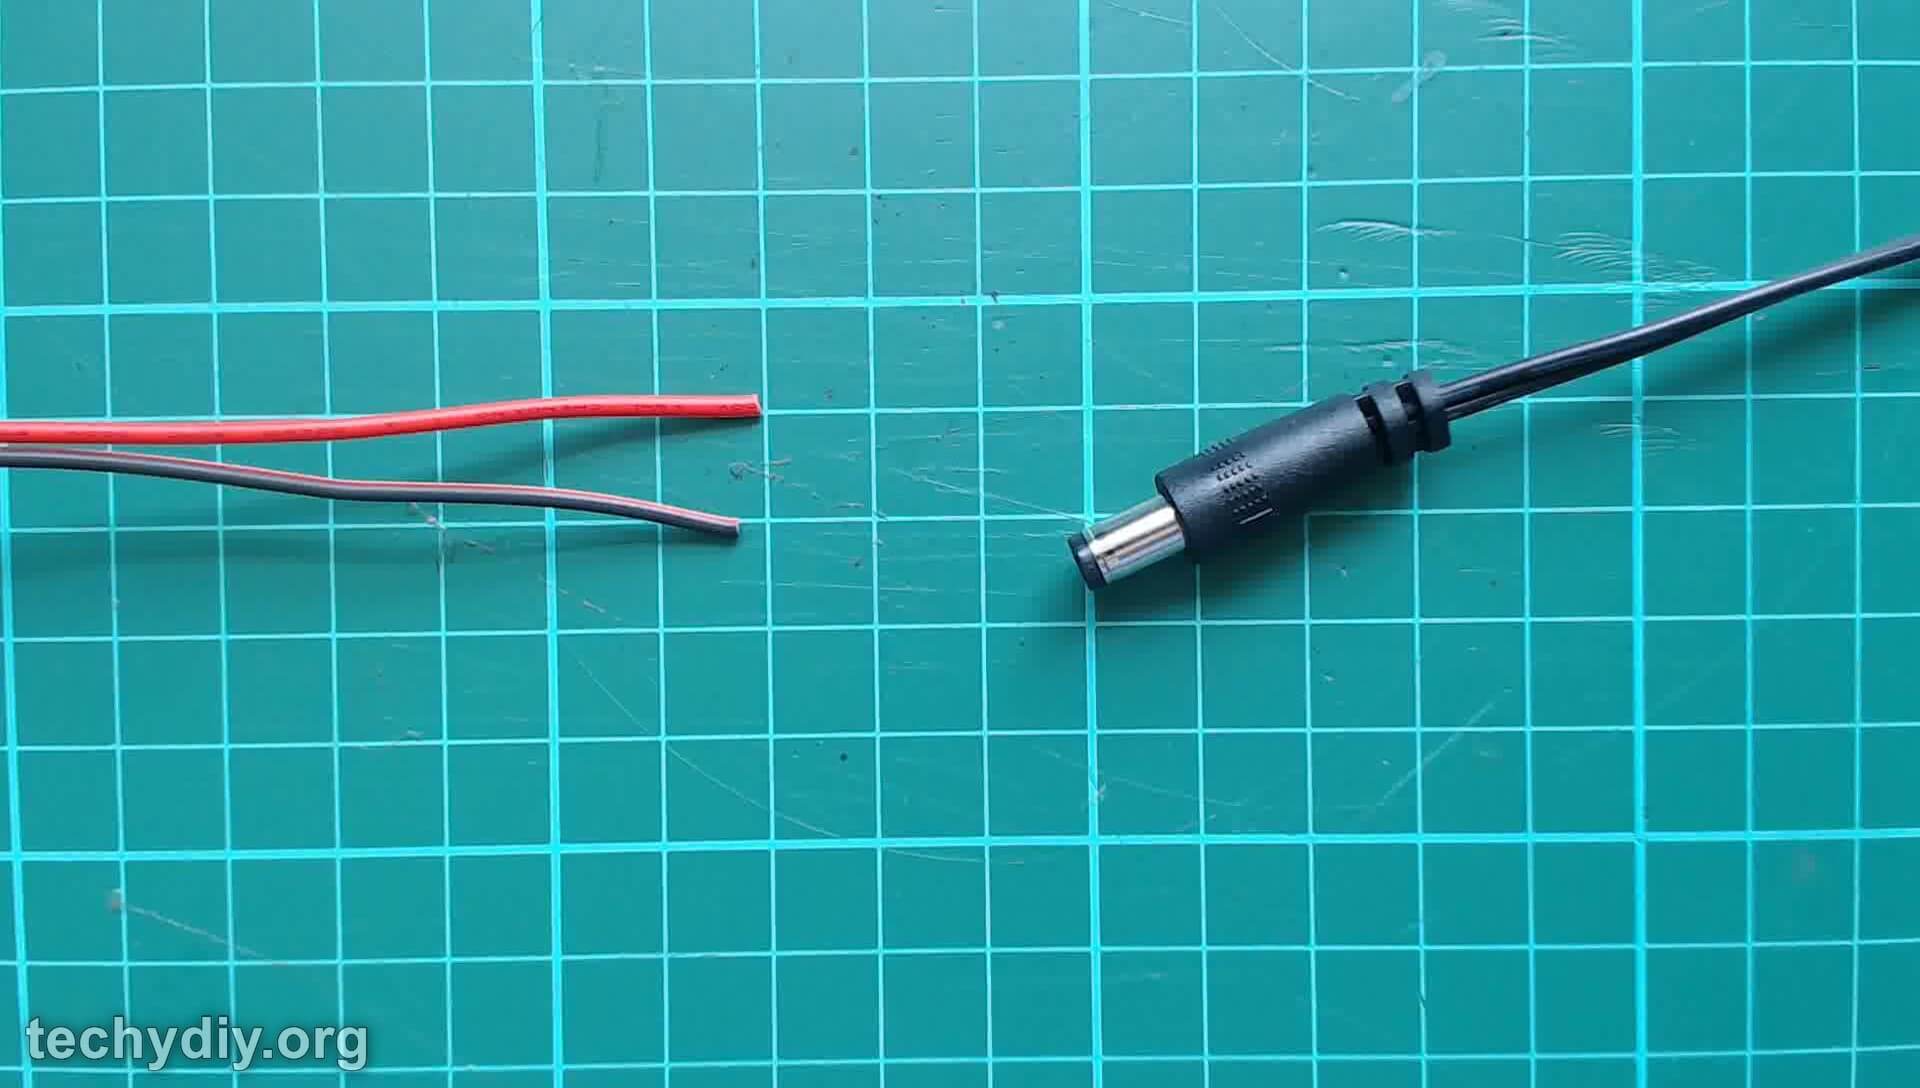
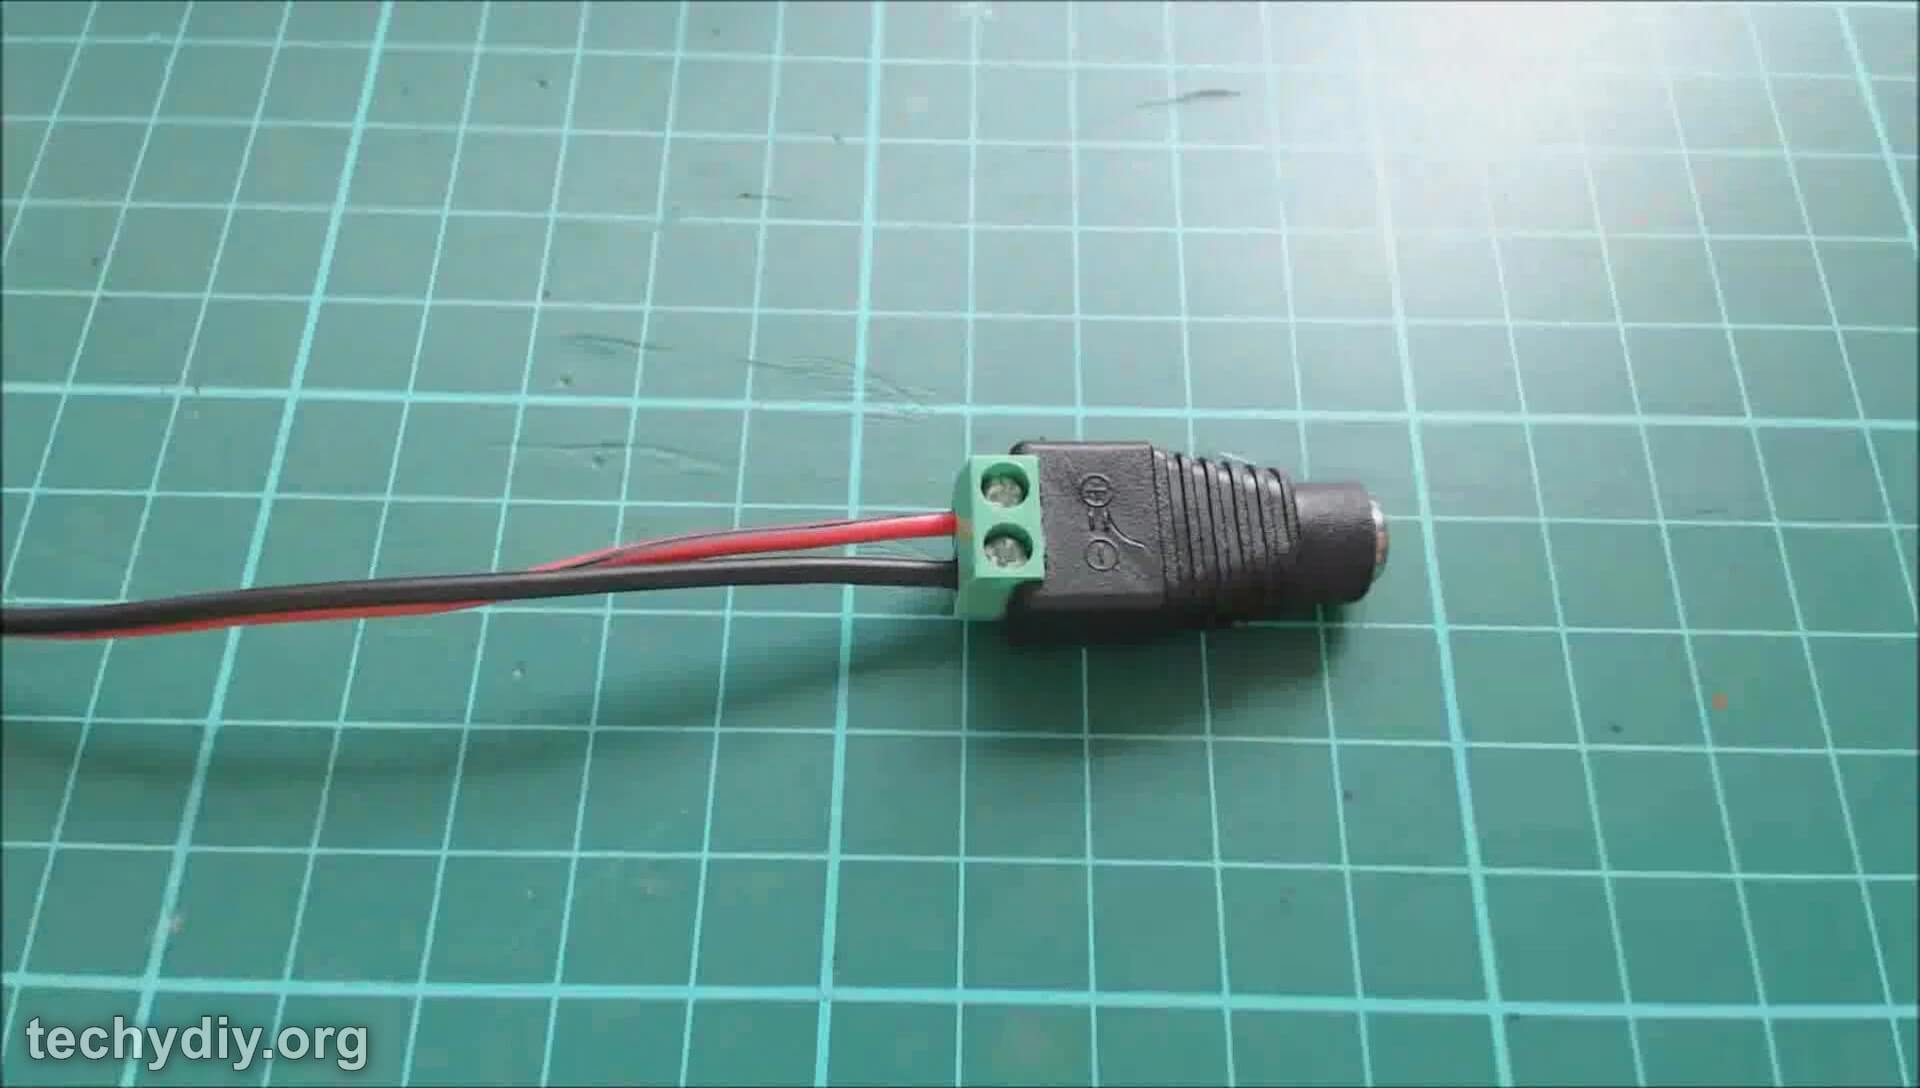
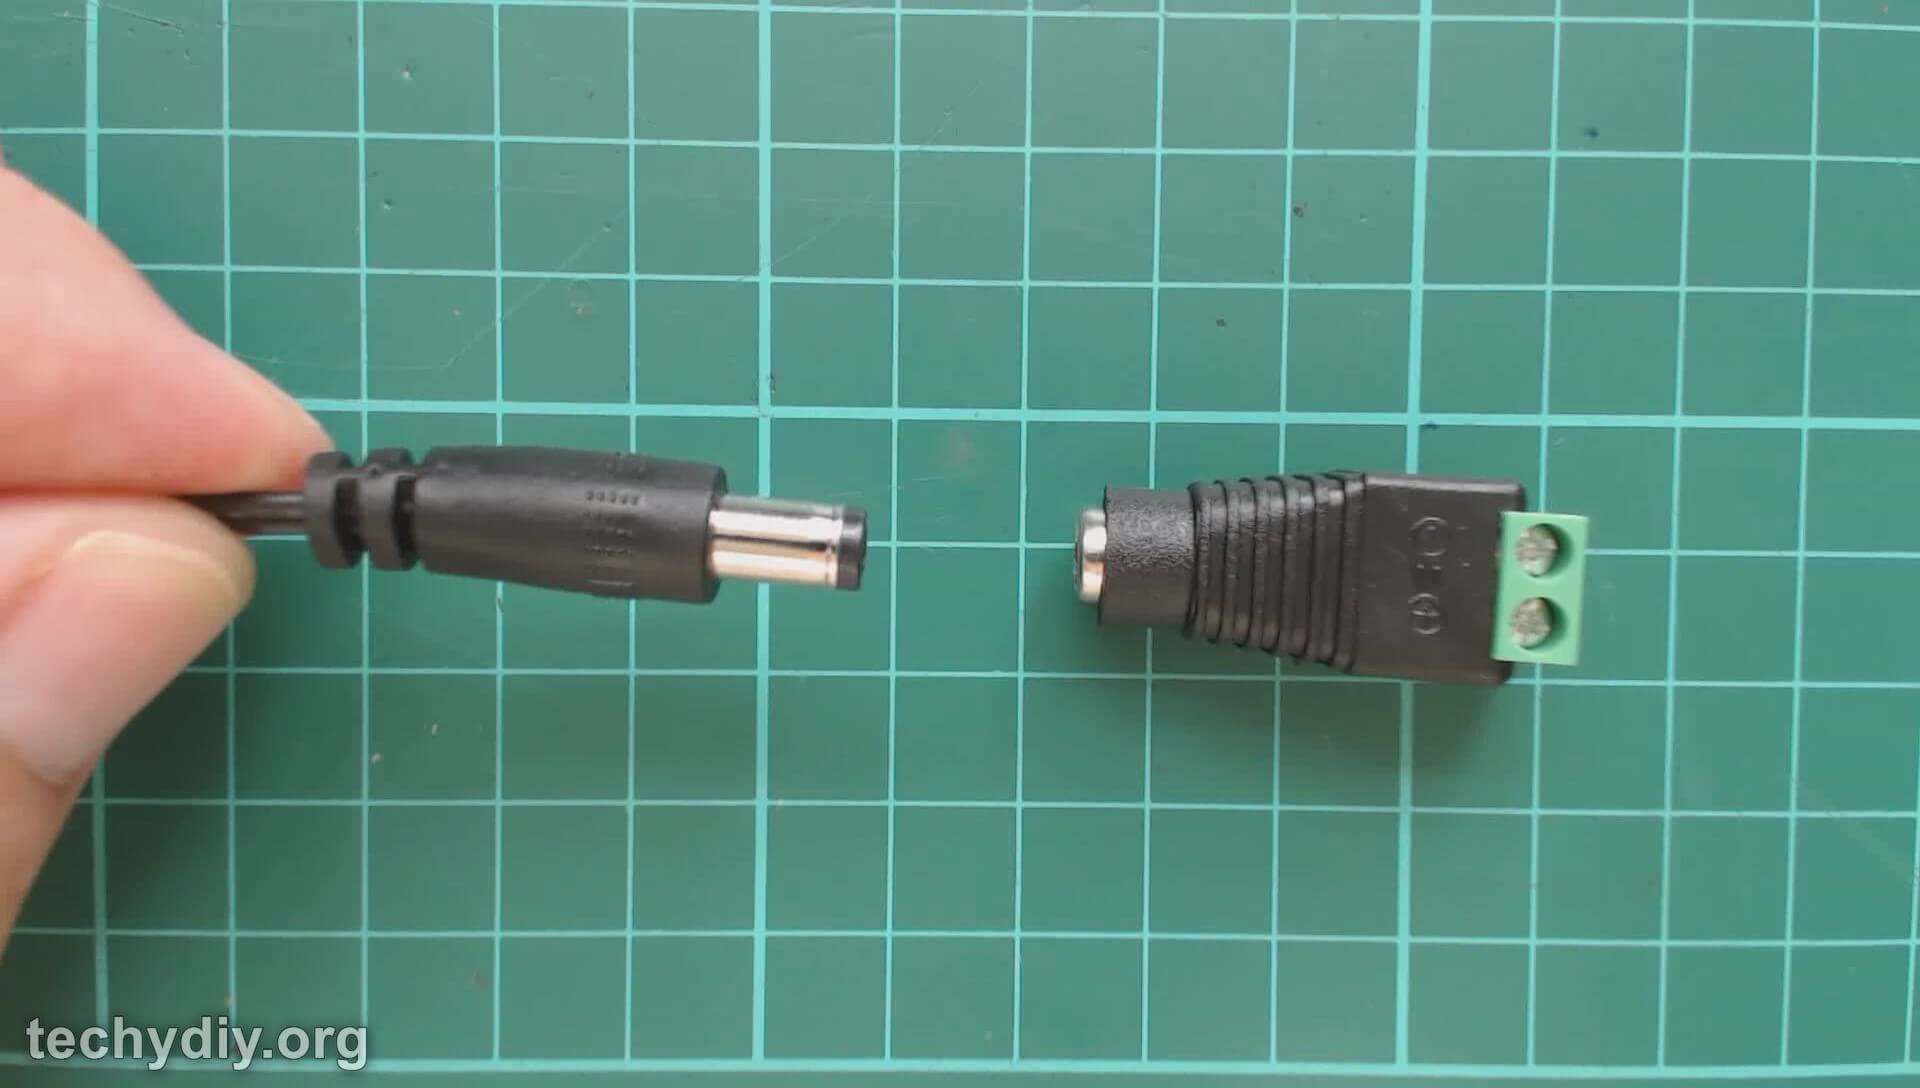
Connect the power supply
The led strip that I used required a 12 volt dc power supply. For this size of led strip a 1 or 2 amp 12 volt power supply is sufficient.


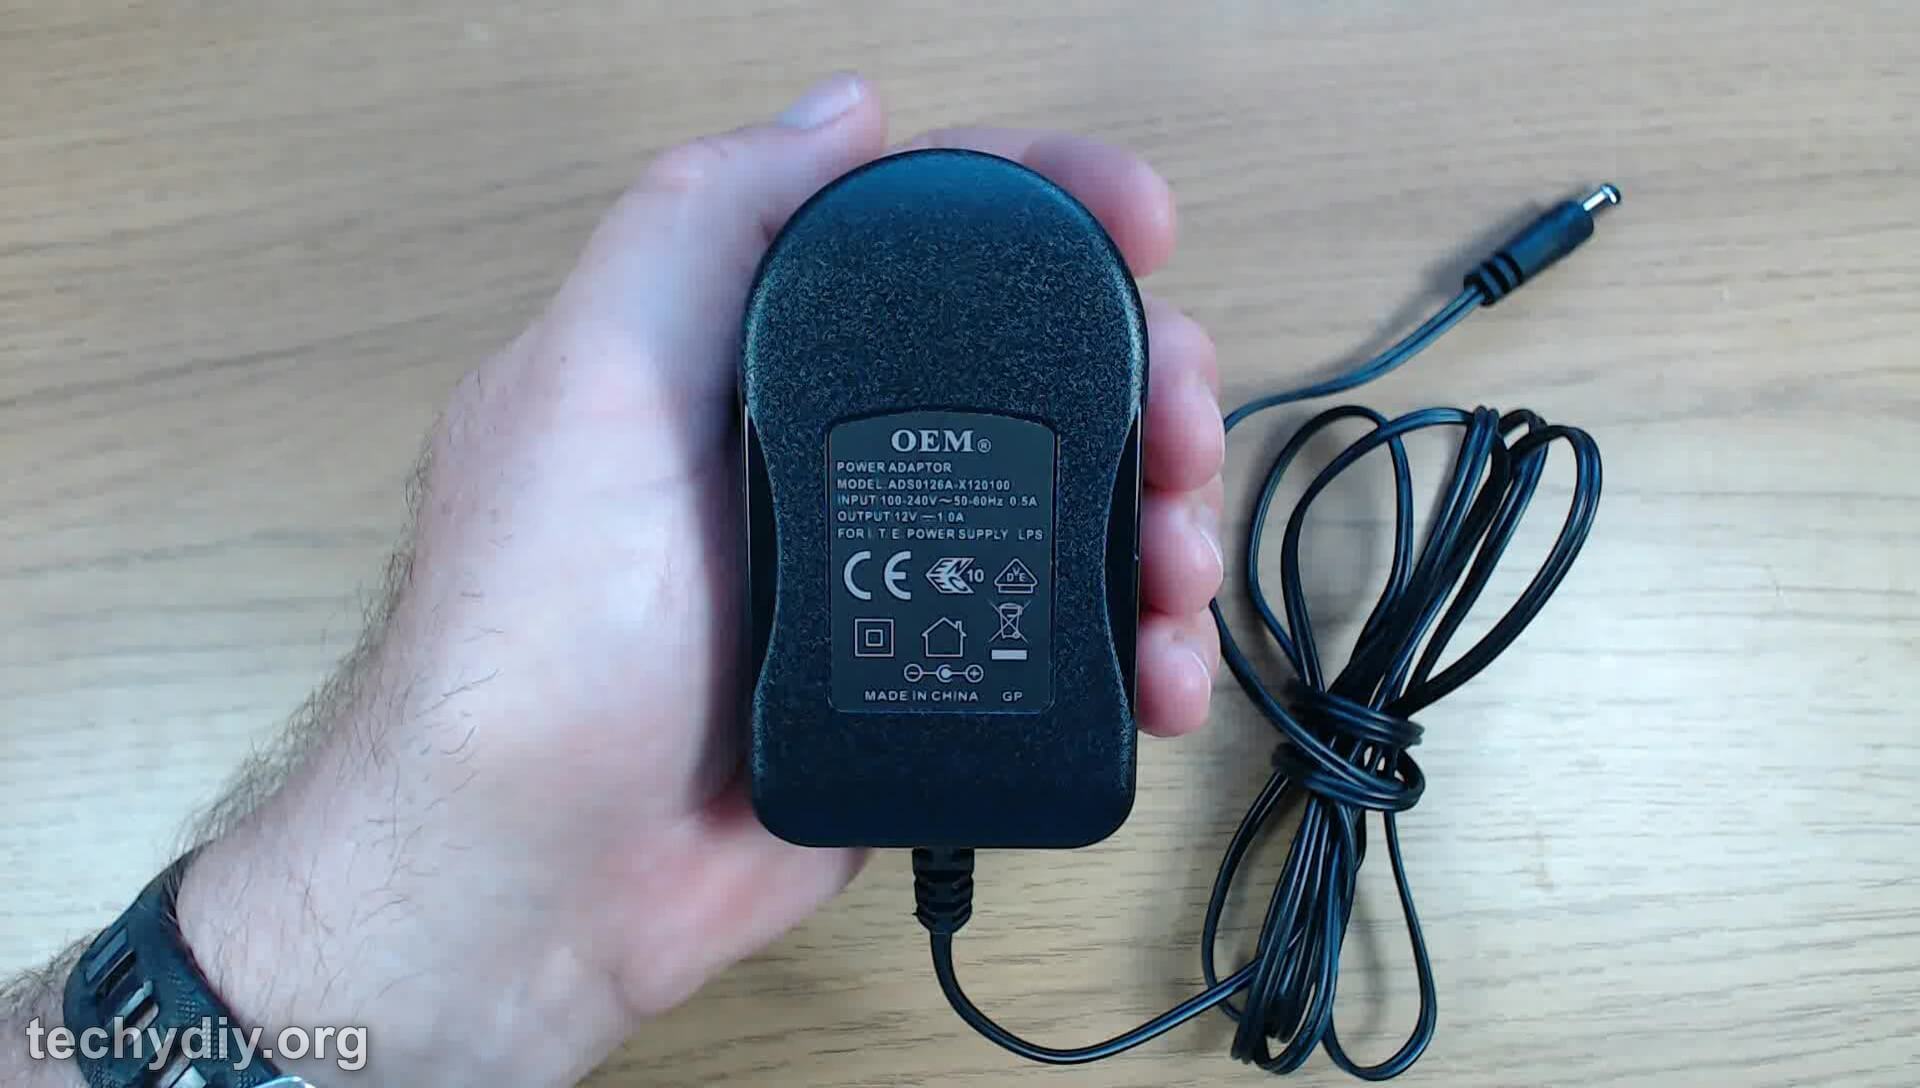
To connect the wires from the led strip to the power supply I used a dc power adapter socket which has a socket on one side and screw terminals on the other.
The polarity of the wires is important but if you get it wrong it wont damage the leds.
Will this work for 2mm acrylic sheet?
Yes