

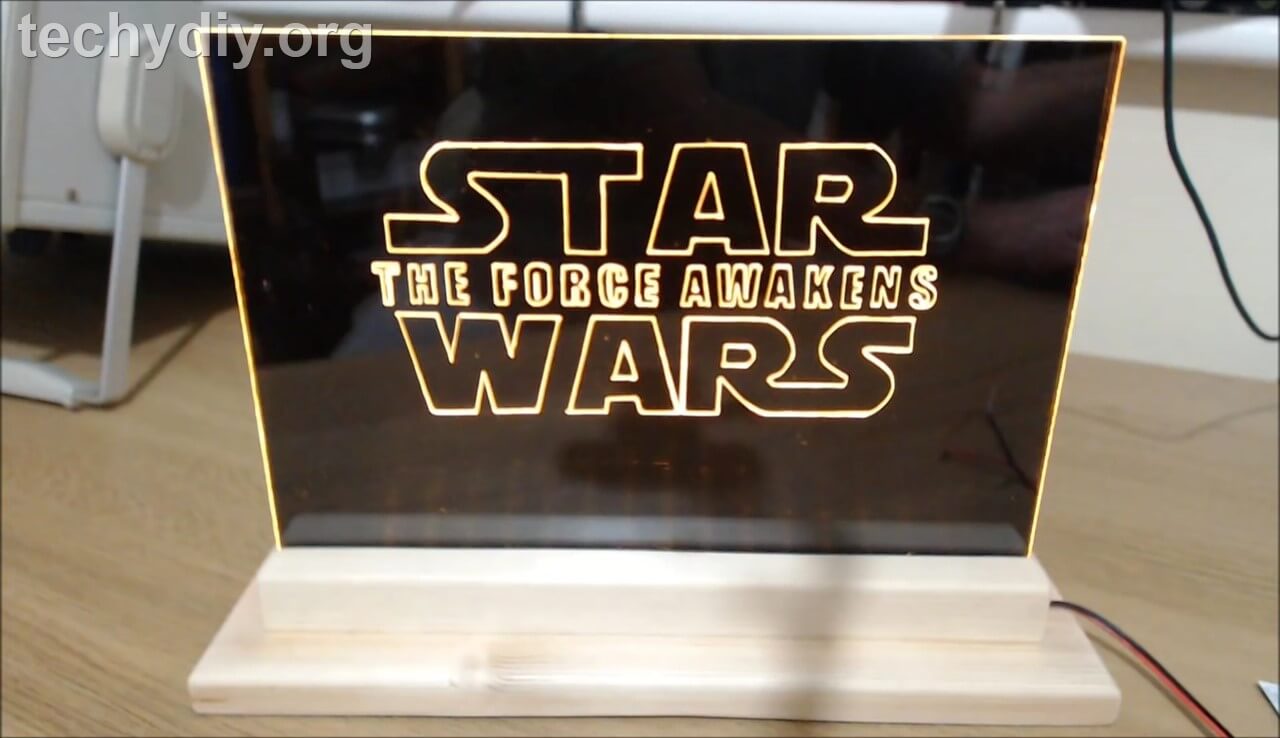
In this article, I am going to describe how you can make a Star Wars led edge lit sign.
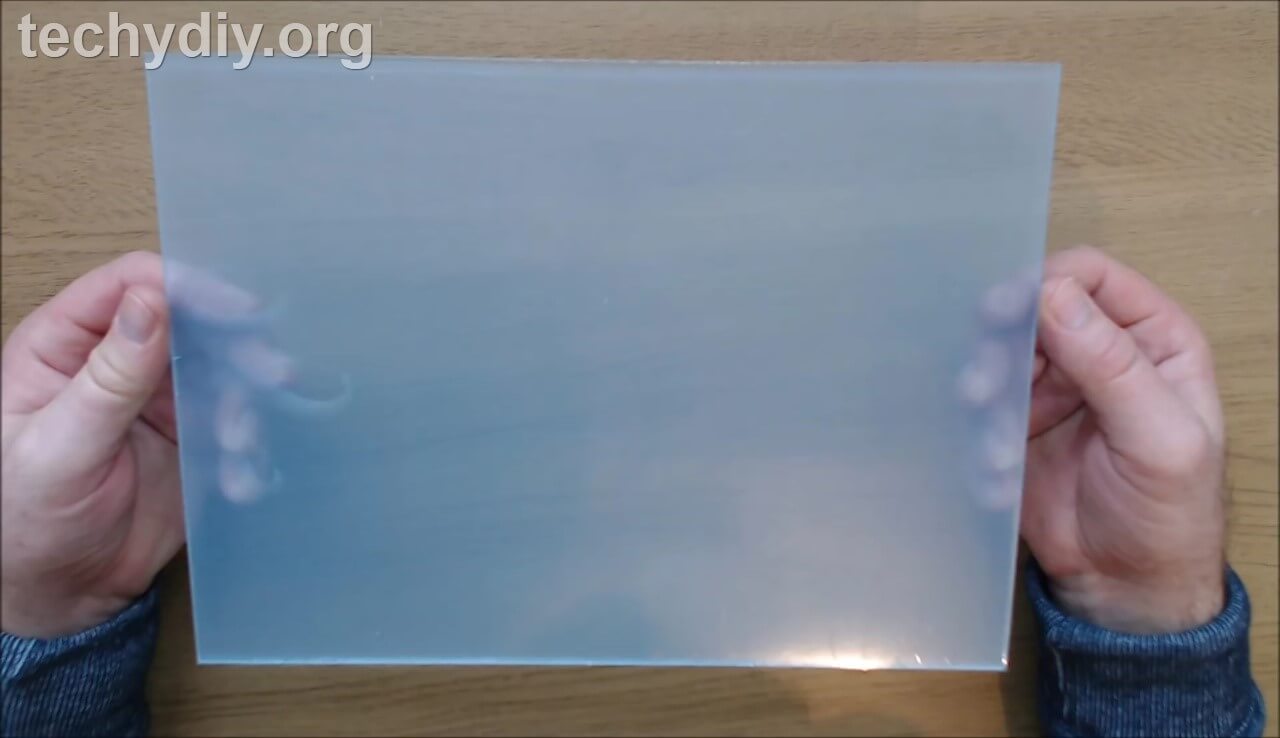
The sign is engraved on a clear acrylic sheet. I have used an A4 sized 3mm thick sheet, which is common in Europe. In the US where A4 sheets are not as easy to obtain then you can use 8″ x 12″ x 1/8″ which is a similar size.
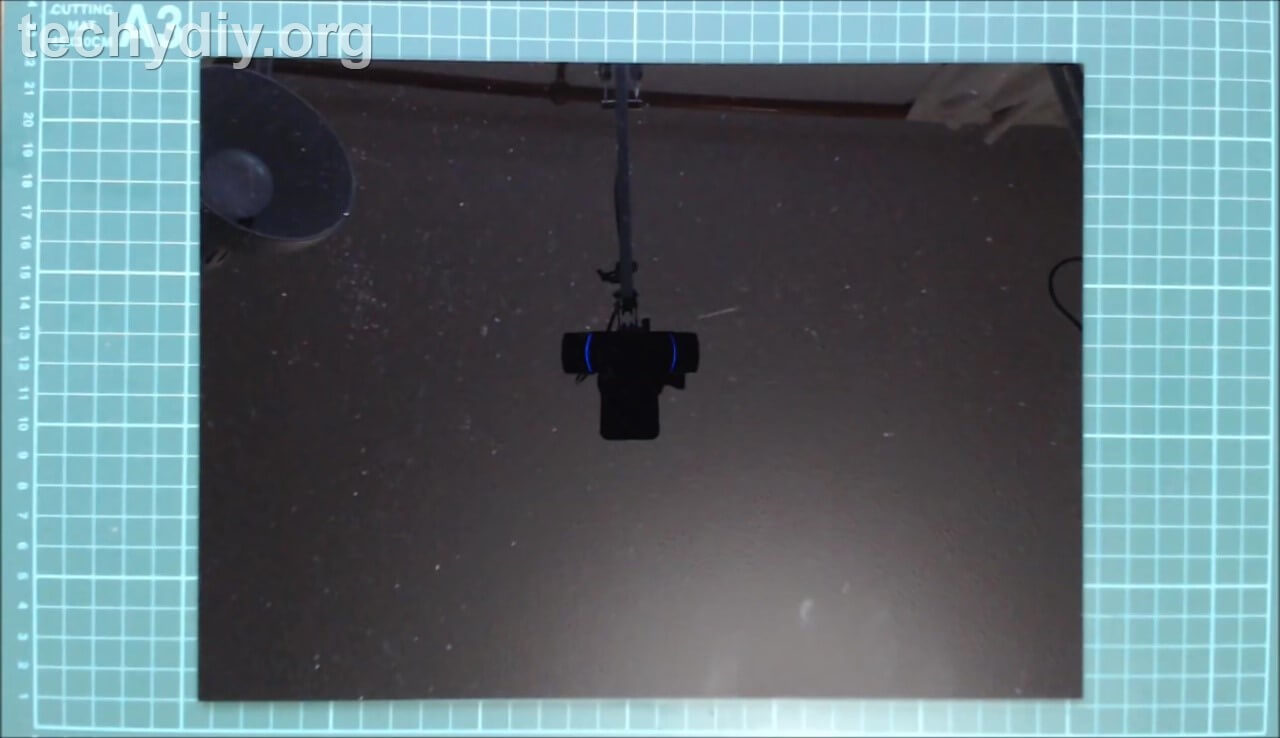
To obtain the Star Wars effect I have used a gloss black acrylic sheet behind the clear sheet.

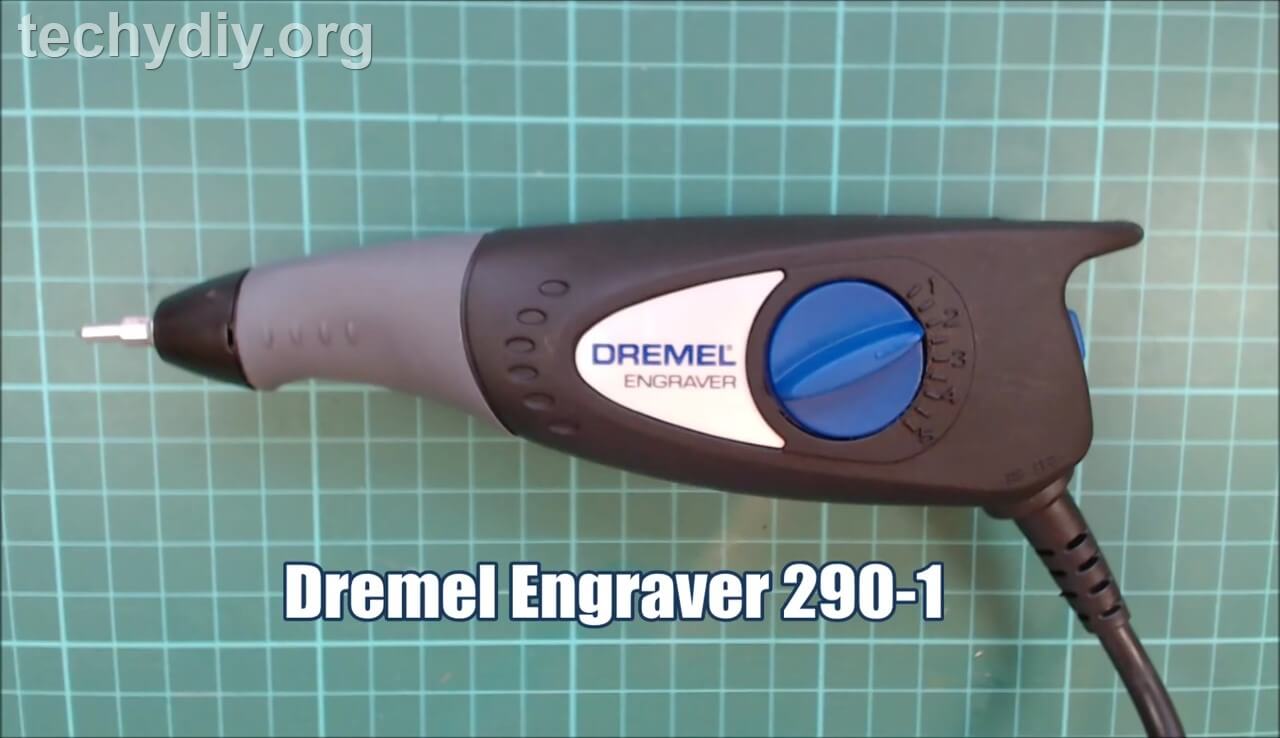
A Dremel 290 tool was used for the engraving but if you have a cnc router or laser etching device then you can use that instead. Another option is to use a Demel drill or other rotary tool and an engraving bit. The main advantage of a Dremel engraver over a rotary tool is that it has a reciprocating action which makes engraving lines easier.
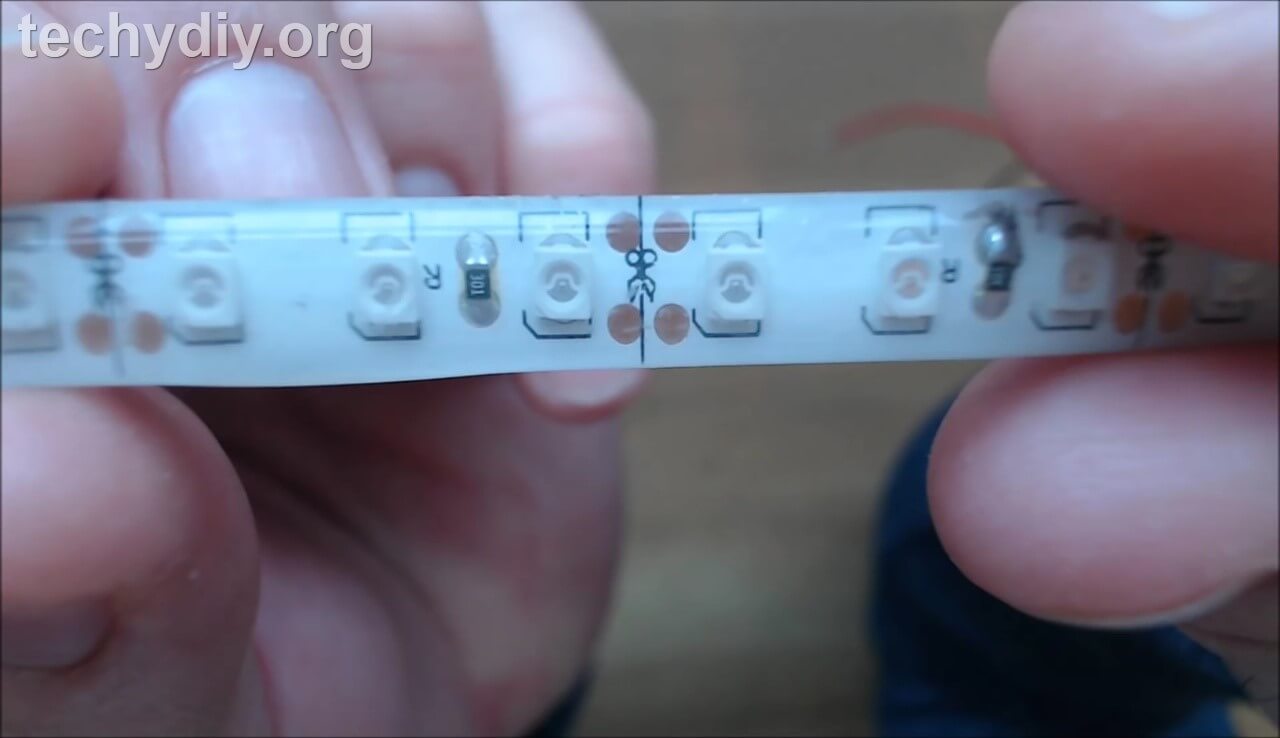
The sign is lit by an orange 12 volt led strip light tape. These can be purchased in various lengths with wires attached or in whole reels, which can be cut to length at marked positions and wires soldered to the tape.
Parts & Tools
Parts:

Yellow led strip light tape UK Link
Power supply 12 volts DC 1 – 2 Amp UK Link
DC power adapter connector UK Link
UK: A4 size clear acrylic sheet – 201 x 297 x 3mm
US: 8” x 12” x 1/8” clear acrylic sheet
UK: A4 size gloss black acrylic sheet – 201 x 297 x 3mm
US: 8” x 12” x 1/8” gloss black acrylic sheet
2 x lengths of square planed wood – 300 x 21 x 25mm
1 x length of square planed wood – 340 x 95 x 18mm
Screws
220 grit sandpaper
Thin card
Tools:
or an engraving bit for use with a Dremel rotary tool UK Link
Drill bit
Countersink drill bit UK link
Mitre saw UK link
Mitre saw stand Uk link
Router UK link
Router table UK link
Star Wars Stencil


In the video I describe how to make the Star Wars stencil using a font called Sf_distant_galaxy Font download: SF Distant Galaxy Font (2800 downloads )
But you can also download the stencil graphic:
Star Wars the force awakens stencil (2429 downloads )
Star Wars stencil (2462 downloads )
Print the graphic onto thin card.
Place the card on a cutting mat.
Cut out the letters with a sharp knife using a ruler to help maintain straight edges.
Engrave the clear acrylic sheet


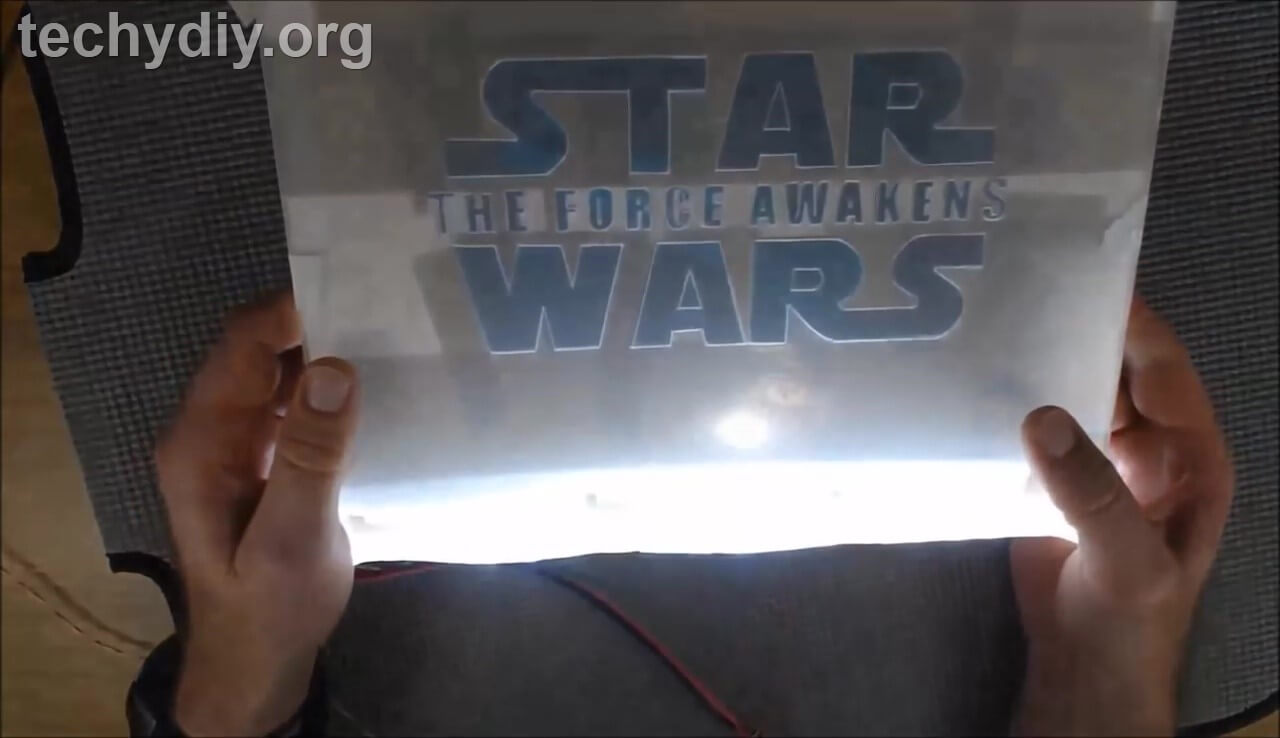
We are going to engrave on the back of the acrylic sheet, so reverse the template. This will ensure that the letters are correctly orientated when viewed from the front.
Tape the stencil to the back of the acrylic sheet.
The engraving process creates quite a bit of dust, so please wear a dust mask.
Before you start engraving it’s a good idea to try it out on some scrap material or failing that you can use the bottom 1/2″ of the acrylic sheet as this will be covered by the led base.
Using a ruler, trace around the template letters with the engraver.
To highlight where you have engraved, you can attach an led strip to the edge of the acrylic sheet; this will make the engraved lines glow.
The engraving process should take about half an hour.
Make the led edge lit base


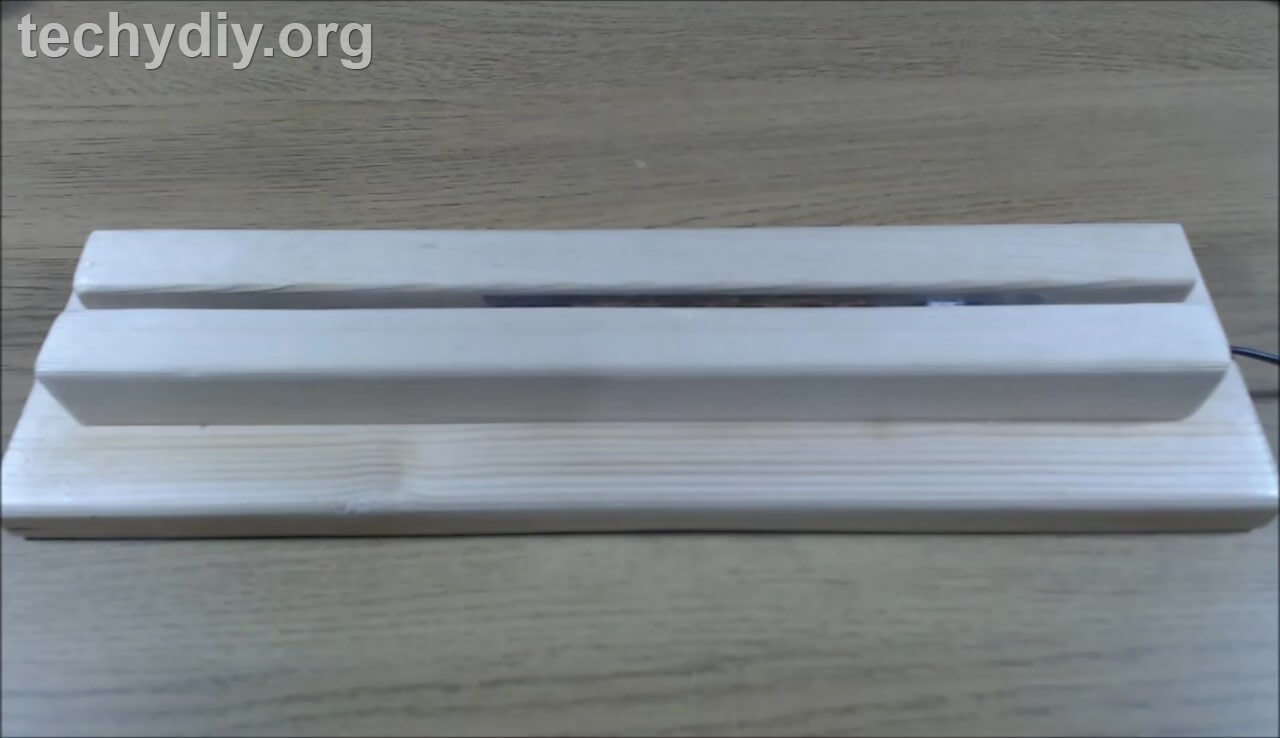
The led base is made from three pieces of wood glued together to form a slot for the led strip light tape. The led tape is wider than the acrylic sheet, so we use a router to remove the bottom edges from the sides to form a V slot. If you don’t have a router then you can cut or sand these edges away with whatever tools are available.
- For an A4 sized acrylic sheet cut the wood base to 340mm in length or alternatively for 8″ x 12″ acrylic sheet cut the base to 13 1/2″.
- Round over the top edges of the wooden base with a roundover bit in a router.
- Round over the top two edges of the wood to be used for the sides with a roundover bit in a router.
- Turn this piece of wood over and route a 45 degree angle on one of the bottom edges using a chamfer bit in a router.
- For A4 sized acrylic sheet, cut this wood into two side pieces with lengths measuring 300mm or alternatively for 8″ x 12″ acrylic sheet cut two lengths of 12 1/8″.
- To improve the finish, sand the base and sides with 220 grit sandpaper.
- To find the correct position of the led strip on the wooden base, find the centre line and then add half the width of the led strip. Mark this line with a pencil.
- Remove the backing from the led strip.
- Placing a ruler against the marked line, apply the led strip to the centre of the wooden base.
- To find the position for the first side piece, rest the clear acrylic sheet on the centre of the led strip.
- Hold one of the wooden side pieces against the acrylic sheet. The chamfered edge should be at the bottom and facing the acrylic sheet.
- Mark the position of the wooden side with a pencil.
- Apply wood glue to the base and the side.
- Clamp the side in position using the second side for stability.
- Wipe away any excess glue with a damp cloth.
- For additional strength drill three pilot holes through the base and into the side, countersink the holes and then screw the side in position.
- Clamp the second side in place using the clear acrylic sheet and the black acrylic sheet as a spacer.
- Drill three pilot holes through the base and into the second side, countersink the holes and then screw the side in position.
- Remove the two acrylic sheets from the base and then finish the base with varnish.
Assemble the edge lit sign
Once the base is dry you can remove the protective covering from the front of the clear acrylic sheet and the black acrylic sheet.
Use gloves to handle the acrylic sheets as they pickup finger prints very easily.
Place both acrylic sheets into the base. They should be a tight fit but not difficult.
Power supply
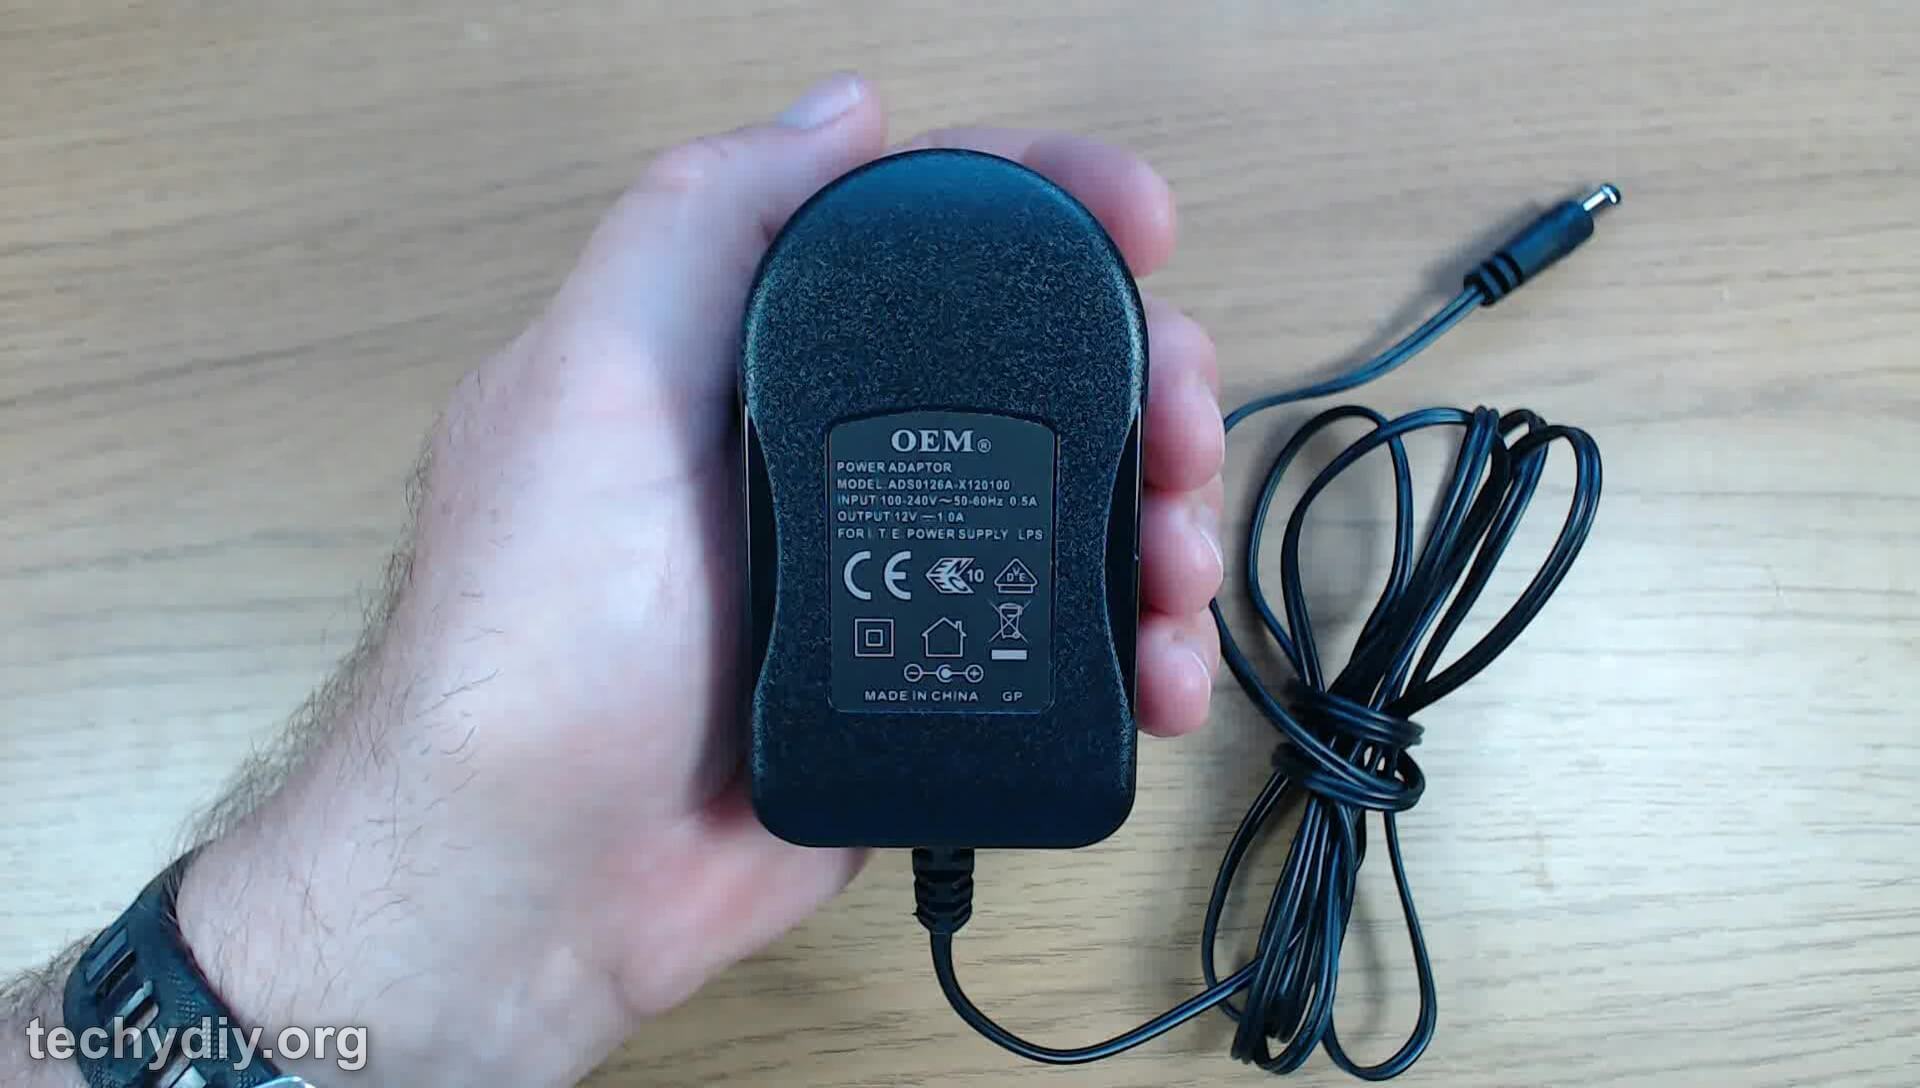
The led strip that I have used requires 12 volts and approximately 0.16 amps.
The power supply can supply 12 volts at 1 amp, which should be sufficient for led strips of this length.
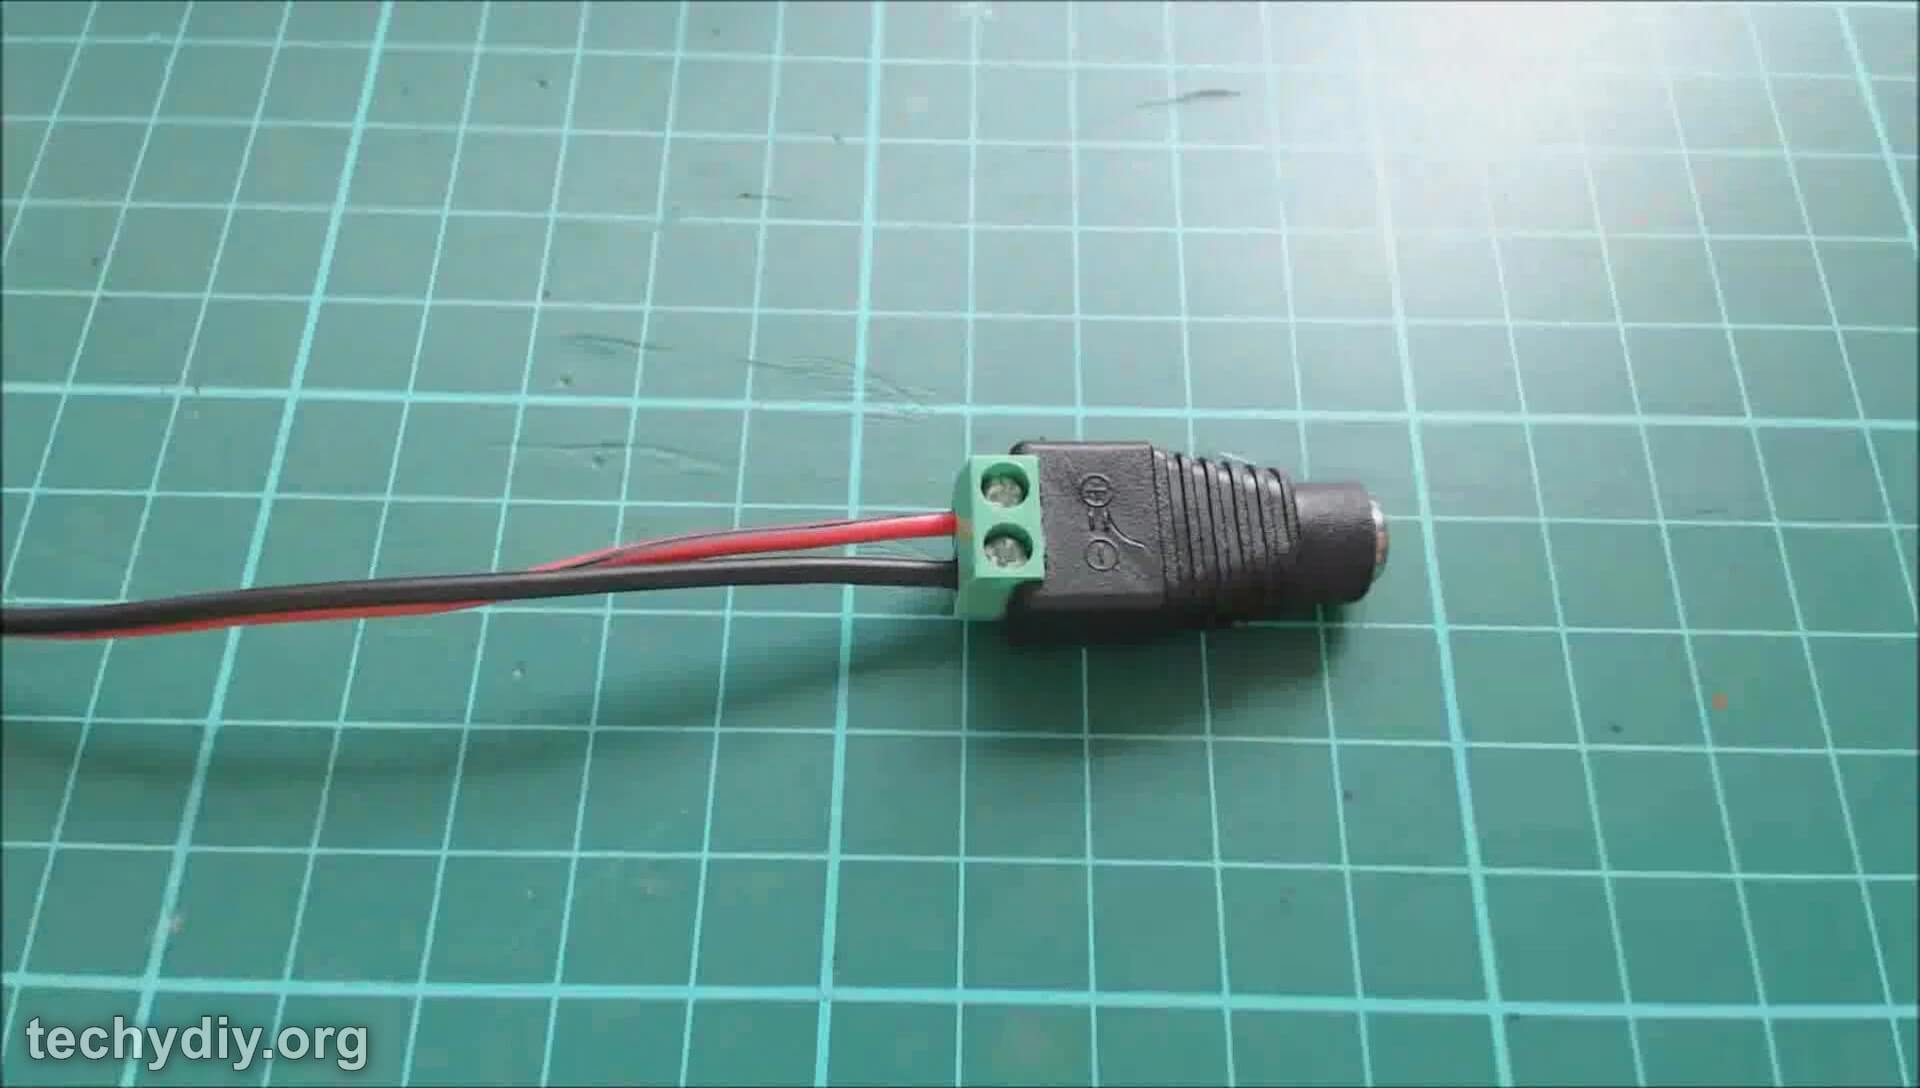
To connect the power supply to the wires of the led strip I have used a dc power adapter with a dc socket on one side and screw terminals on the other. These are typically sold for use with cctv cameras.
Alternatively you can of course chop off the connector and connect the wires together with a choc bloc or soldering iron.
For normal led strips with sections containing three leds and a resistor between the cut lines you can estimate the required current by counting the number of sections and multiplying by 0.02 amps.
Example:
The LED strip has 8 sections each containing 3 leds and 1 resistor with a total of 24 leds.
8 * 0.02 = 0.16 amps.
To calculate the power required multiply the current by the supply voltage
0.16 * 12 = 1.92 Watts.
Despite the relative efficiency of leds a large percentage of this 1.92 Watts is lost as heat but in effect, with this base design, the led strip remains cool.
Other LED videos:
How to make an Xmen led edge lit mirror
How to make an led christmas tree edge light sign
How to make an led heart in a light bulb project
Solar LED light electric slug fence
Video script
Hi guys in this video I’m going to show you how to make this fantastic led Star Wars sign
The materials that I’ve used are:
An A4 sheet of clear acrylic.
This is 3mm thick which is about one-eighth of an inch.
An A4 sheet of gloss black acrylic, again 3mm thick.
A yellow led strip light tape. You can get these in various lengths or cut them to length at the marked positions.
I have also used some kitchen foil and three pieces of square planed wood.
To etch the design on the acrylic sheet I’ve used a Dremel engraver tool
First of all I downloaded a font called SF Distant Galaxy,
which is freeware and similar to the Star Wars font.
I’ll put a link to that in the description.
So I have just double clicked on it and installed it.
Then I ran the paint program.
I setup the page by going to print and then page setup.
I set the paper size to A4.
The orientation to landscape.
I set all of the margins to zero and the horizontal and vertical centering on.
Then I went into properties
and set the units to centimeters the width to 29.69
and the height 20.98
Once the paint size was setup correctly, I went into the text tool,
selected the SF Distant Galaxy Font
and a font size of 72.
Then typed in Star Wars.
Then I resized the text to 200%.
I opened the text tool again.
this time setting the font to impact with a size of 48.
Then added the force awakens with double spacing.
Then I just re-positioned everything.
and then it wasn’t quite big enough, so I resized it by 120%.
Finally I lengthened and a few of the characters.
I joined the S and the T and the R and the S
and then it was ready for printing.
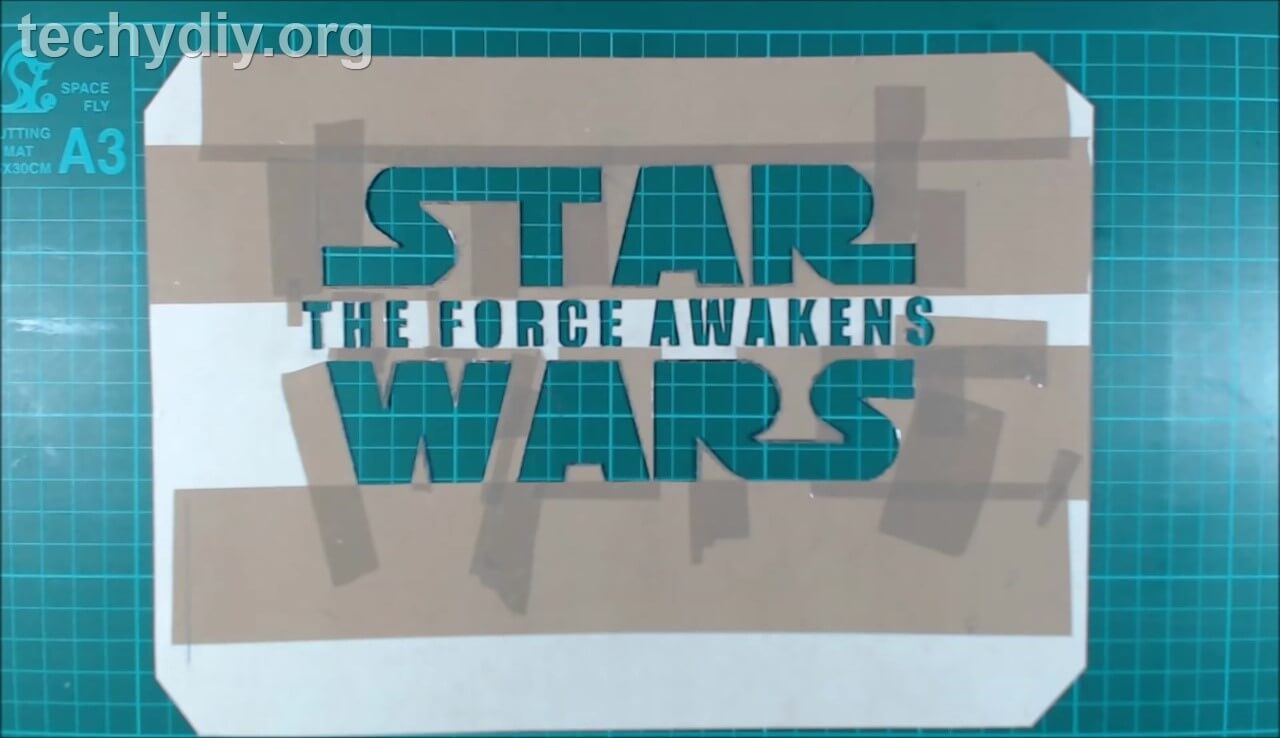
To make the stencil
I printed out the design onto some thin cardboard
and then cut out the letters with a very sharp knife.
i also reinforced some of the edges of the letters with parcel tape.
Firstly I removed the protective coating from the back of the clear acrylic sheet
Taped on the stencil and then taped on the LED light strip
And the reason for this is it makes it much easier to see where your engraving.
During the engraving, I used a ruler to make sure I had nice straight lines.
To engrave the insides I used the cut out cardboard letters.
Mark the corners and then use the ruler to fill in the lines
I followed the stencil and engraved the rest of the pattern.
It took about an hour in total.
And that was it done!
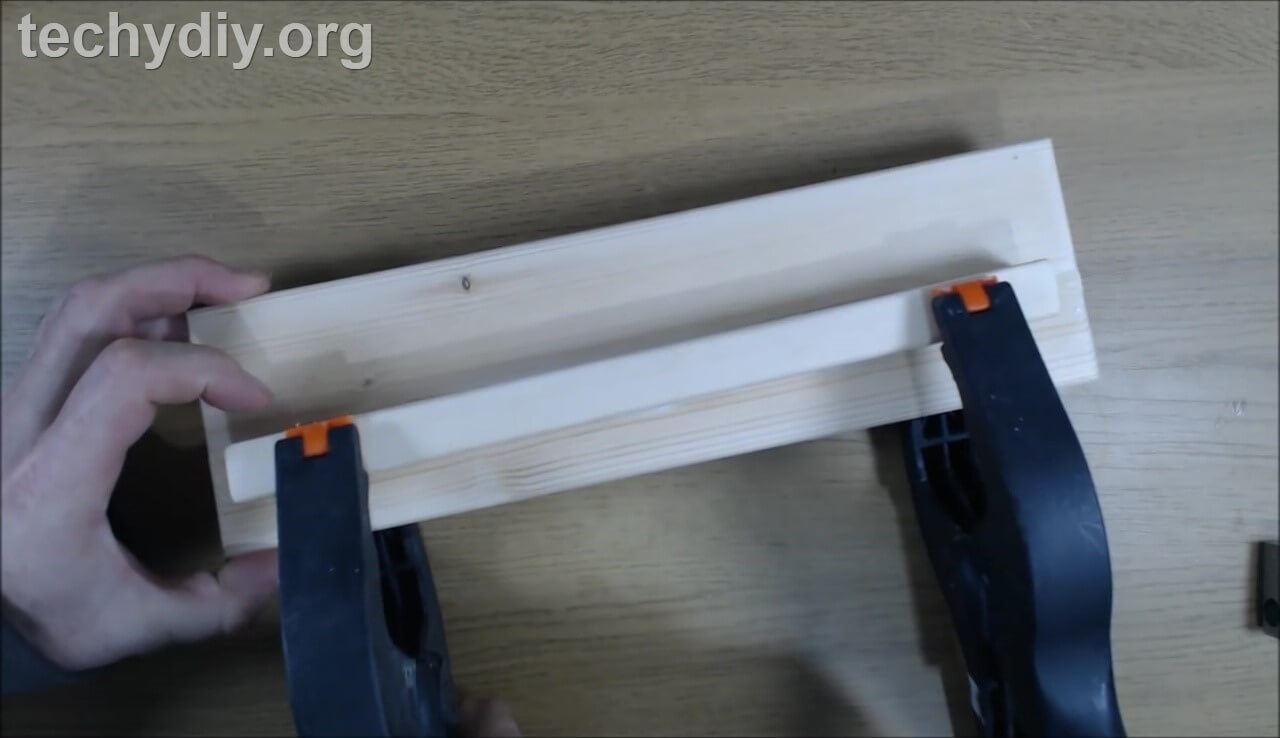
The base is quite simple, it consists of three pieces of wood glued together to form a slot
with the LED strip in the center.
First of all I cut the two side pieces of wood to the same width as the acrylic sheet
which was 297mm. Then I cut the base piece 40mm longer.
Next I used the router to remove an edge from the two side pieces.
The reason for doing so was that the LED tape was wider than the acrylic sheet and it allowed for some clearance.
To improve the finish, I sanded the wood with 240 grit sandpaper.
Then I applied wood glue to the base of one of the side pieces.
Stuck it onto the base.
Clamped it in place.
Wiped away the excess wood glue and then left it to dry.
Once it was dry I glued foil to the side to reflect light.
An alternative is to use self adhesive foil tape. And then I did the same again for the other side.
To finish the would I gave it a clear coat of varnish.
I removed the backing from the LED tape and stuck it in place
I removed the protective coverings from both of the acrylic sheets
and placed them onto the base, with the clear sheet over the LED strip.
Then I used clamps to hold the rear piece of wood in place.
I drilled some pilot holes through the base of the wood into the side piece
and then secured it with screws.
So that’s the base finished!
All I need to do now is plug the leds into a 12 volt power supply.
So thanks for watching.
Please comment, like and subscribe and see you next time.